Practically Perfect Tropical Muffins

I don’t make muffins much.  I think I’ve made them 10 or 15 times in my life.  I like muffins a lot actually – to the point where I will seek them out if I hear that a place makes good ones (Mostly Muffins in Colebrook, NH makes some that are spectacular).  But I don’t bother with them.  I find mine to be dry most of the time or the crumb is weird or the texture is just off putting in general or there’s not enough fruit (or too much fruit).  But these muffins, these are a force to be reckoned with.

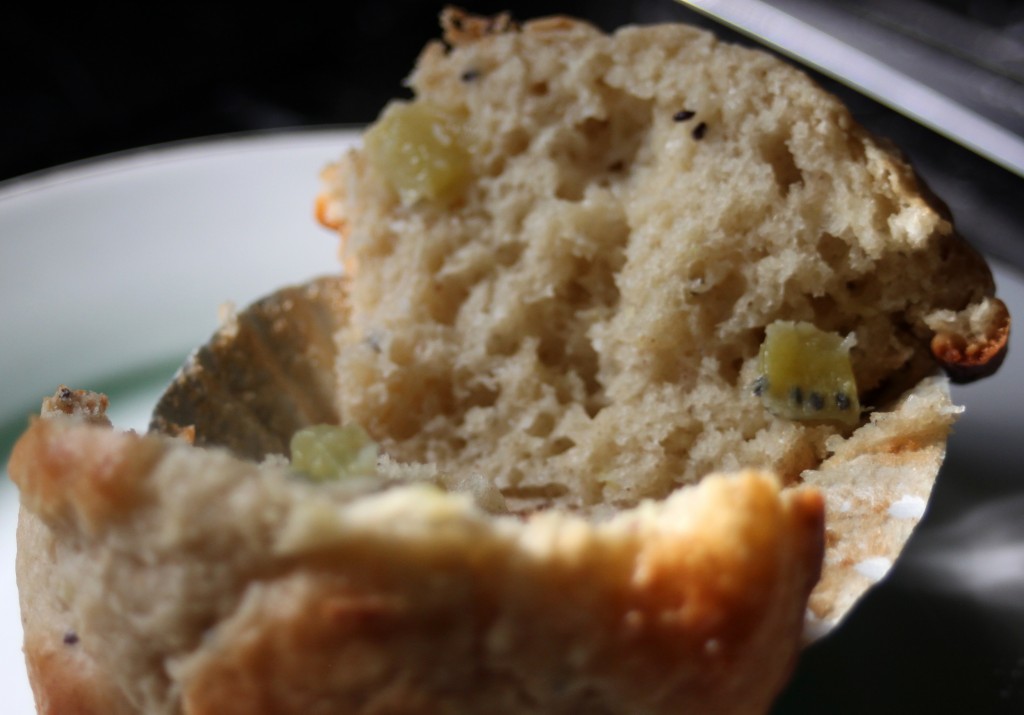
These are best hot, though I’m the only statement to that fact since I’m the only one that tried them hot.  But the kiwi and mango get almost syrupy when these muffins are fresh from the oven, a jam like fruit texture and an undertone of coconut.  These are indeed tropical, though if you want other fruit go ahead and swap that in a peach in place of the kiwi would be stellar or pineapple for the mango is a genius idea. I love the versatility here – working with a good base is such an important component to baking.  From measuring flour to getting that perfect dome on top; muffins are only as good as their delicious cake-like base.  These muffins have that base.

I wasn’t the only one that adored these muffins though, BF declared them extraordinary and a two year old asked to bring the leftovers home (he also asked for Kaylee but I had to draw the line somewhere).  I also ate like four of these, which is something I never do. Yes I bake a lot and yes I do tend to eat a lot but mostly I foist off my baked goods on BF, co-workers, and other random people that appreciate a good dose of butter.

Practically Perfect Tropical Muffins

Note: These are an original recipe though I used ratios and suggestions from The Best Quick Breads for this recipe.
  • 2 cups flour
  • 1/2 cup finely shredded coconut
  • 1 Tbs baking powder
  • 1/2 tsp baking soda
  • 1/2 tsp salt
  • 1 tsp cinnamon
  • 1/2 cup coconut cream (if you get a can of coconut milk and don’t shake it there will be cream right on top of the water inside – use that)
  • 3/8 cup (6 Tbs) sugar
  • 2 kiwi, chopped into 1/4-1/2 inch dice
  • 1 – 6 oz container greek yogurt (I like Mango Chobani but plain would work too)
  • 2 eggs
  • Preheat the oven to 350
  • Combine the flour, coconut, powder, soda, salt and cinnamon in a medium bowl. Mix until everything is even – the mix will be a light brown (from the cinnamon).
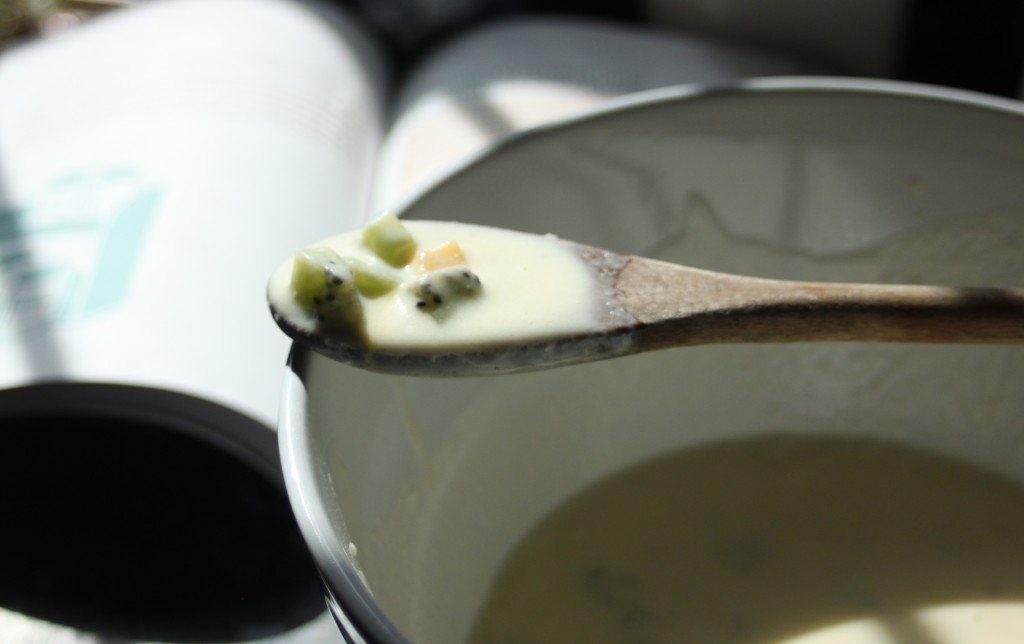
  • In a large bowl whisk the sugar and coconut cream together until fluffy.
  • Add the eggs and yogurt to the creamed sugar/coconut cream mixture.
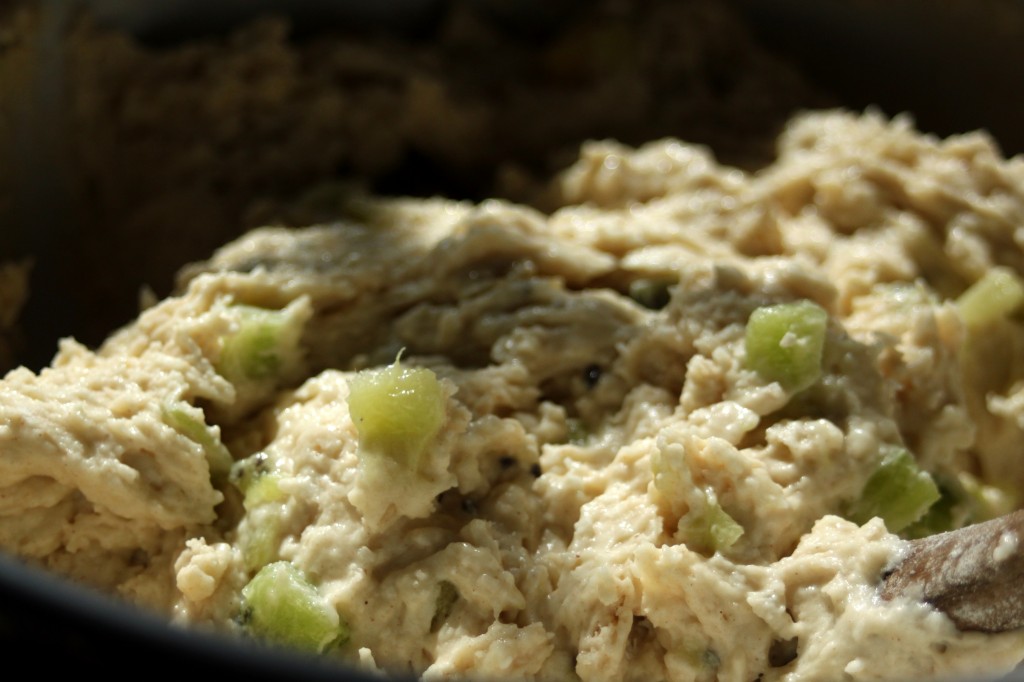
  • Add the fruit to the liquids and stir to combine.
  • Add the dry ingredients and stir until just mixed – it will be a little chunky.
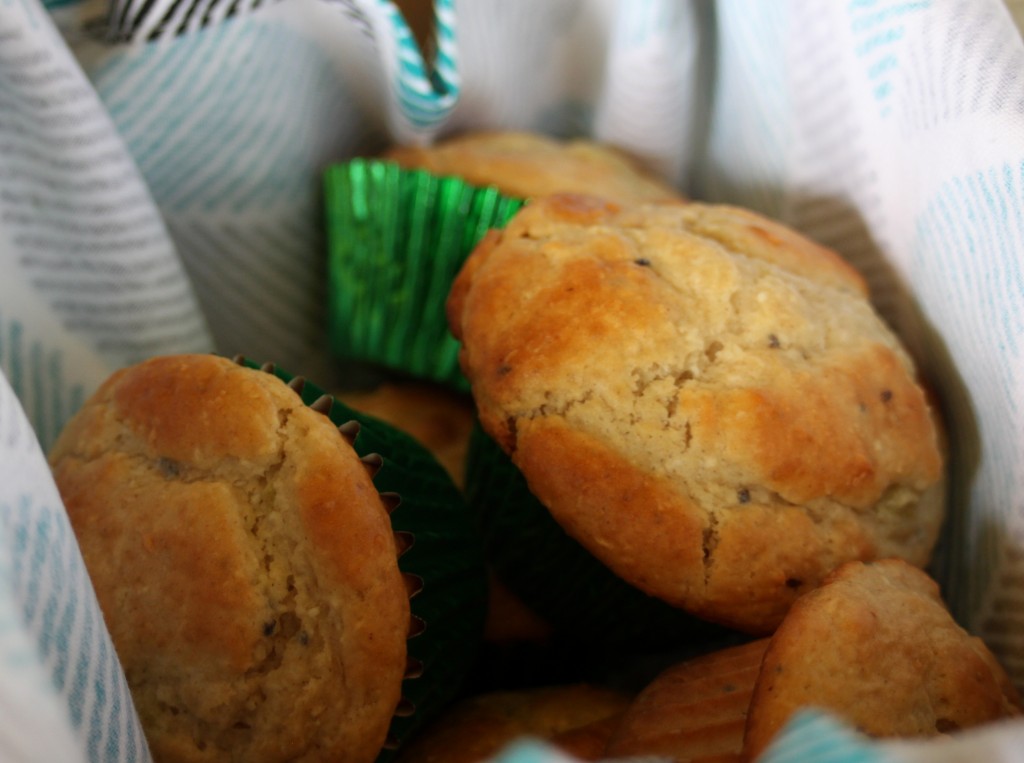
  • Scoop into a lined and greased muffin pan, fill the muffin liners right up to the top. Makes 12 large muffins
  • Bake the muffins for 25-30 minutes until they are golden brown and a skewer comes out clean.
  • Eat these muffins while still warm, they are best that way.

Mustard-Cauliflower Tart

I’m getting back to that point in the year where I over-commit myself. That point where I a things like, oh you need a blog post by thus and such a date – of COURSE I CAN DO IT. Then I forget. Or the product I’m reviewing/creating a recipe for arrives in the mail and I’ve totally forgotten what it’s for and the original, magical, wonderful recipe I had planned for said item goes out the window and something entirely new shows up on the table instead. I’m not saying this is uncommon, actually just the opposite – it happens ALL THE TIME. Not because I miss deadlines, though that sometimes happens too, but because I forget to write down my brilliant idea to creatively use whatever I’ve been thinking on. I’ve been getting better, at least a bit – now I email myself or write stuff down on random scraps of paper when I come up with them. I mention this craziness to point out that I am entirely fallible (but don’t tell Kaylee), and because of this last night’s dinner was a cauliflower tart as opposed to the initial goat cheese cheesecake I came up with.

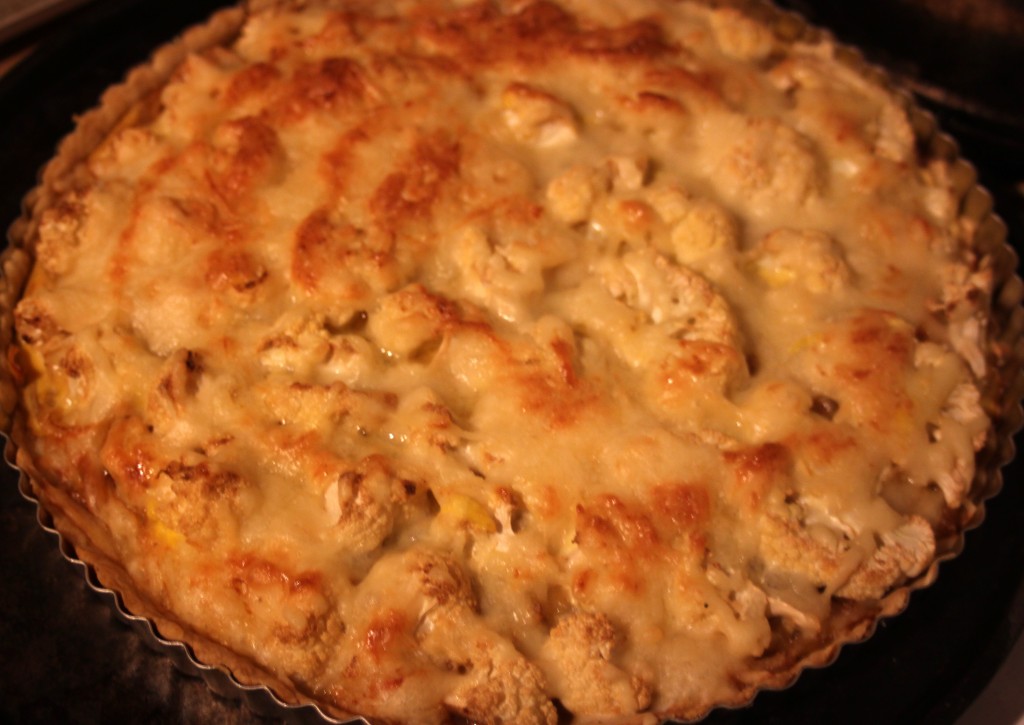
So here we are now. Cauliflower tart and not a goat cheese cheesecake. The cheesecake would have had a pretzel crust and a mustard drizzle. It would have been ultra rich and delicious. But then I did some research – apparently goat cheese cheesecake is bizarre, a little too rich and more like a spreadable warm cheese than anything else. So I came up with something else – this tart. This tart was delicious it was layers of perfect flavor – from the mustard infused tart crust to the maple glazed caramelized onions to the crispy swiss cheese browned and bubbling on the top.

I plotted this tart after a tweet from Stonewall Kitchen saying they were conducting a blogger contest using their mustards. I immediately tweeted them my interest. I asked for the Maine Maple Champagne mustard – as a Maine kid I gravitated to this because it brought me back to my love of Maine, my love of maple, and, of course, my love of mustard.

Mustard and Cauliflower Tart

Note: This tart is my own creation though the idea is a morphing of one from Epicurious.

For the Crust:

For the Tart:

  • 3 Tbs Stonewall Kitchen Maine Maple Champagne Mustard, separated
  • 1 medium onion, sliced into thin half moons
  • 2 Tbs butter
  • 1 Tbs good maple syrup (I like grade be best)
  • 1 half head of cauliflower, cut into 1 inch florets
  • 1 1/2 cup of shredded swiss cheese
  • 2 eggs
  • In the bowl of a food processor combine the flour and butter. Use the pulse feature and blend 3-4 times. You should be able to see the butter bits in the flour.
  • Add the tablespoon of mustard to the butter/flour mixture in the food processor, pulse this for a minute until fully incorporated.
  • Add water, one tablespoon at a time until the dough just starts to come together.
  • Roll the dough out so it will cover the bottom and sides of a removable bottom tart pan and then line the pan.
  • Melt the butter in skillet over medium heat.
  • Gently spread the onions out in as thin a layer as possible over the melted butter in the skillet. Allow the onions to sweat over medium heat until they are translucent (about a minute).
  • Drizzle the syrup over the onions and allow them to caramelize slowly over a 15-20 minute period, stirring every few minutes.
  • While the onions cook preheat your oven to 350 degrees farenheit.
  • spread 2 Tbs of mustard on the bottom of the tart.
  • Once the onions are fully caramelized spread them over the mustard slicked tart evenly.
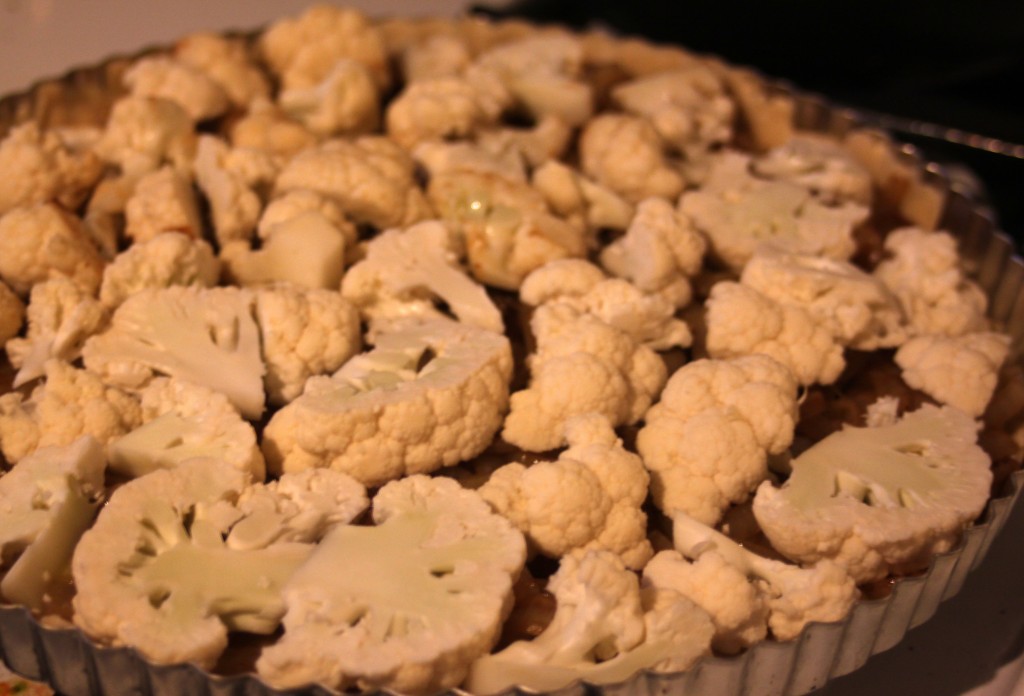
  • Place the pieces of cauliflower over the tart in a single layer until the onions are covered – this takes about half a head of cauliflower, though you could use more if you liked. Sprinkle the whole thing with the shredded Swiss cheese.
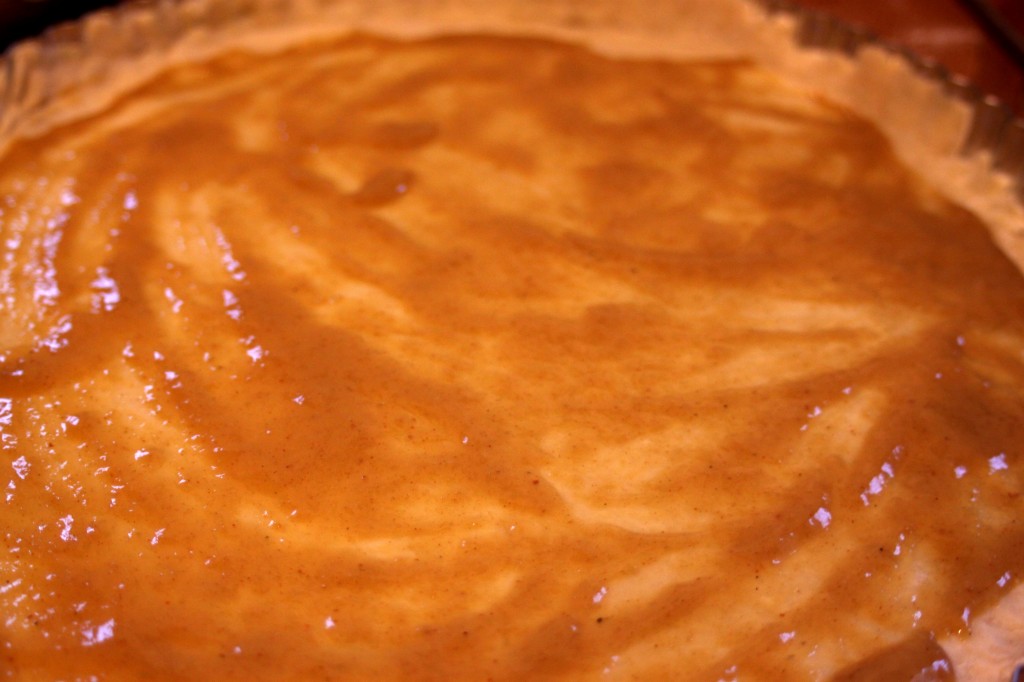
  • In a small bowl combine the eggs and remaining tablespoon of mustard. Blend this with a fork, like making scrambled eggs. Pour the egg/mustard mix over the whole tart as evenly as possible (you should get a good swirl).
  • Bake the tart for 35-40 minutes, until the cheese is brown and bubbly and the crust if golden on the edges.
  • Serve the tart with a light salad and a drizzle of mustard.
  • Enjoy!
I was given this mustard to create a recipe with for Stonewall Kitchen. All opinions listed here are my own.

Cinnamon Sugar Pull-Apart Bread

I love to bake yeast breads.  I find the smell of rising bread dough reminds me of being little and making dough with my mom on snowy days.  When we were growing up we always made the same bread – a standard white bread recipe that always made six loaves.  We would make the dough and I would stand on a chair to turn the handle of the dough kneader – a big steel bucket with a dough hook that we turned with a worn wooden handle.  Now when I make dough I use the dough hook attachment for my Kitchen Aid and it takes two or three minutes, it’s quick and does a great job – but I still kind of miss turning that big crank to watch the dough turn into a perfect ball.

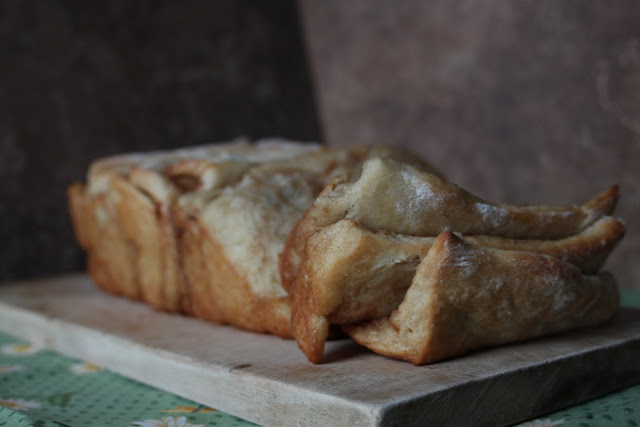
This bread is not from the recipe I used as a child – it’s a sweet dough, so there’s sugar there and some spices too.  This is a recipe that Elly used in my high school baking class to teach students about yeast risen dough.  It’s rich in all the right ways and makes a perfect loaf of pull-apart bread.  I’ve mentioned Elly on here in passing a couple of times, she gave me the best recipe for Ginger Snaps I’ve ever tried and she is one of the reasons I still cook.  I remember her coming to school suppers and serving baked beans when I was little and staying until the very end of the meal – making sure everything was put away and the kitchen was spotless.  She was a woman who cooked because she loved to do it, not because it was a chore or something her family needed – sugar and butter were her lifeblood.

Every year when she showed her intro baking classes this recipe she talked about getting up at four in the morning to bake perfect cinnamon buns for her kids and husband because it was the best smell to wake up to.  She’s right, it is the best wake-up smell.  I make this bread every other month or so for BF and I, and even though I don’t get up at four in the morning to have the bread ready by 6:30 I understand her meaning.  That magical scent of cinnamon, sugar, and butter baking in the oven always makes me happy to be awake.  And I know I say this often – but there’s nothing more satisfying on a lazy weekend morning than kneading bread dough and playing with yeast.  It takes a bit of time to bake a yeast risen dough, but the payoff is totally worth it. I promise.

Cinnamon Sugar Pull-Apart Bread
Adapted from my introduction to baking cookbook where it is written in purple, sparkly pen.


For the Bread:
1 cup warm water
1 Tbs yeast
1/4 cup sugar
2 Tbs butter, melted
1 tsp vanilla
1 tsp salt
2 1/2-3 cups all-purpose flour
1 tsp cinnamon

For the filling:
4 Tbs butter, melted
1/4 cup sugar
2 Tbs cinnamon

Combine the water, yeast, sugar, and butter in the bowl of a stand mixer fitted with the dough hook attachment and allow the mixture to get a little frothy.
Stir in the vanilla and the salt.
Add 2 cups of flour and combine, on low, with the dough hook.  Continue to add flour in 1/4 cup increments until the dough comes together as a ball.
Continue to stir the dough with the dough hook for another two minutes.
Place the dough in a lightly oiled, large bowl covered in plastic wrap.  Put it somewhere warm to rise until doubled in volume, about an hour.
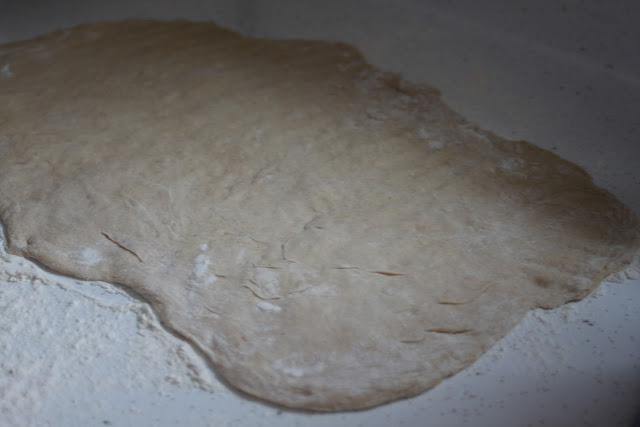
When the dough has risen dump it out onto a lightly floured surface and roll it out until it’s a rectangle about 9″x15″.
Lightly grease a loaf pan with butter.
Combine the melted butter, sugar, and cinnamon so they become a paste – I’ve spread the butter then used cinnamon sugar as well, but prefer the paste method.
Spread paste evenly over the rolled out dough.
Cut the dough into strips about 3″ wide.  Stack them on top of each other. There should be about five.
Cut the stack of dough strips into thirds.
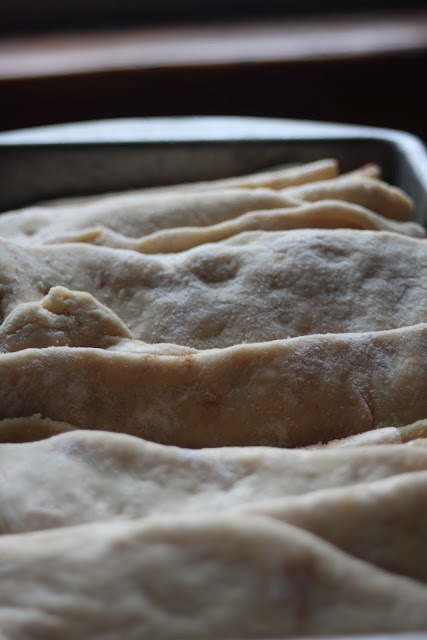
 Stack the cut dough in the loaf pan so that the cinnamon side of the dough is touching the non-cinnamon side.
Cover the pan with plastic wrap again and let it rise somewhere warm.
While your dough is rising, preheat the oven to 350 degrees.
When the loaf is ready, about 30 minutes later – it doesn’t need to double this time, we were just letting the flour relax a bit – pop it in your preheated oven.
Bake the bread for 30-35 minutes, until it’s golden brown on the top.
Allow it to sit at room temperature for 5-10 minutes before eating.
This is ideal with a cup of coffee.
Share with a friend.

Fried Chicken, for Breakfast

I had my first experience with chicken and waffles on Easter Sunday 2011.  BF’s family was visiting and in lieu of having a big Easter dinner we opted for brunch so they could drive the four hours home afterwards.  I did some research and narrowed our choices down to four – The Biltmore, Russel House Tavern, East Coast Grill, and Lord Hobo.  Ultimately we went for The Biltmore which was perfect.  Lots of natural light a decent bloody mary and, oh yeah, CHICKEN AND WAFFLES.  Two full sized waffles and what looked like half a chicken graced my plate that morning, I barely ate half of it but it gave me a brunch epiphany.

See, before this eye-opening brunch I hadn’t really considered chicken and waffles an option – I thought it seemed like a weird slightly off-putting combination because I’ve always been a fried chicken and savory sauces kind of girl.  As soon as I tried that crisp chicken skin and tender waffle piled together and doused in maple syrup, I knew – this was my kind of brunch meal.  This is savory and sweet without being too much of either, it’s decadent – so eating it feels like a celebration and it pairs perfectly with a bloody mary.

So I tried it on a Saturday morning when B came over for brunch.  She made the waffles (pumpkin-yogurt ones, recipe coming soon), I dredged and fried the chicken, and BF made the bloody marys.  We ended our meal completely stuffed and thankful our most strenuous activity for the rest of the day was putting together a puzzle and chatting.  Saturday should always be full of good food, great friends, and relaxation I think.  I sent B home with enough leftovers so that she had dinner later and was able to still have enough at home so BF and I could as well, we ate it all that night.

I won’t lie.  Fried chicken takes patience, also an instant read thermometer, but it’s worth it.  that crisp crust and soft fall apart chicken is one of the greatest things in the world.  Paired with a good (grade B) maple syrup and a perfect bloody mary it’s breakfast heaven.  True. Story.


Fried Chicken
Adapted from Bon Appetit February 2012 issue.
Note:  This recipe makes one full 3 lb chicken, but I just used thighs because, while I can butcher a full chicken I’m not very good at it.  So I got three pounds of bone-in thighs instead.  This worked perfectly.  I  also subbed in one cup of whole wheat flour for the regular in the dredge, I ran out of all purpose, and it worked great – I’ll probably do it again.

1 3 lb whole chicken, or 3 lbs chicken pieces, either way it needs to be bone-in

Dry Rub
1 Tbs coarse kosher salt
2 tsp fresh cracked pepper
1 1/2 tsp paprika
3/4 tsp cayenne pepper (don’t worry these aren’t spicy)
1/2 tsp garlic powder
1/2 tsp onion powder

Dredge
1 cup buttermilk
1 large egg
1/2 cup water
2 cups all-purpose flour
1 cup whole wheat flour
1 Tbs cornstarch
1 Tbs kosher salt
1 Tbs fresh cracked black pepper

The night before breakfast – create the dry rub by mixing all of the ingredients together.  Rub the chicken pieces evenly with the rub and set them in a covered bowl in the fridge overnight.

The morning of breakfast – pull your chicken out of the fridge an hour before cooking to allow it to come to room temperature, so it doesn’t drop the oil temp too much.  In a bowl combine the buttermilk, egg, and water – whisk until well combined. In a second wide flat bowl (I used a pie pan and it worked great) combine the flours, cornstarch, salt, and pepper – you can sift these together to combine them or just give them a gentle whisk to get everything evenly blended.  In a large cast iron skillet (I used my enameled dutch oven and it was wonderful) bring about 3/4″ of your preferred brand of frying oil (BA recommends peanut, I like safflower) up to 325-350 degrees Fahrenheit (I used my candy thermometer, but any deep frying thermometer will work). Remember to check your oil temp periodically throughout cooking to make sure it is staying consistent, it may get a little high or low depending on the temp of your chicken.  When your oil is heated and your chicken is not cold start the dredge. You should try to maintain the same hand for each dip – one hand for chicken to liquid to flour, the other had for flour to oil – trust me this will make the process much tidier.  Dip each piece of chicken completely in the liquid mixture then the flour mixture, make sure to fully coat each piece.  Place the chicken gently in the hot oil one piece at a time – Do Not Crowd the pan – I cooked about three thighs at once, anymore and the chicken would have been touching.  Turn each piece of chicken every 1-2 minutes, to ensure even crisping and brownness until an instant read thermometer shows an internal temperature or 165, about 12 minutes.  Move the chicken to a draining rack to cool for a couple minutes (three is good) then serve with warm maple syrup.  Delicious.  This is definitely a meal to share.  Enjoy!

Antonio Bakes Pear-Gingerbread Cake

Recently I had the opportunity to attend a fantastic brunch hosted by Harvard Common Press in their publishing offices – where there were many shelves of impressive cookbooks to encourage my kitchen obsessions.  One of the first books that caught my eye was Gadgetology, a cookbook for kids about cooking with specific tools that are in most kitchens (mixing bowls, whisks, spatulas – stuff like that).  As a child I had the Klutz Kid’s Cooking cookbook and, in theory, it was great but the best recipe in the whole book was for homemade play dough which isn’t even edible so when I saw Gadgetology I got excited.

I have a nine year-old brother, Antonio, who can usually be found in the kitchen with my mom – mixing things and in general getting in the way.  More than anything I have wanted to get him a good kids cookbook for a long time – I wanted him to have a book full of reliable recipes and consistent easy to understand directions that he could refer to and cherish for a long time.  So while at HCP I perused Gadgetology and, to my great delight, found it to be exactly what I was looking for.  When Adam kindly offered me a copy I did a little happy dance and started plotting.

When I got home that afternoon I showed the book to BF and explained my plan, we would get ‘Tonio a bunch of cookware to go with Gadgetology and then cook with it while my fam was visiting for the holidays.  As plans go it was pretty brilliant and I was able to come up with what I thought were some fundamental kitchenware pieces – nesting bowls, measuring cups and spoons, a paring knife and blade sheath, a small bar board, and some bamboo utensils.  So Christmas came and ‘Tonio was basically bouncing to open his big box under the tree, which I had packed to the gills with his individually wrapped Christmas presents.  He was ecstatic.

Fast-forward a couple days later and ‘Tonio and I are the first people up so we scurry to the kitchen and start perusing Gadgetology.  There were quite a few recipes that we thought looked good – Chicken Satay with Peanut Sauce and this Gingerbread Cake being at the top of the list.  We went with the cake – it looked breakfast-y and a great use of the excess pears we had around.  It was perfect – spicy and filling, and with the pears it seemed healthy as a breakfast option 🙂  I loved this cake, but the actual cook (‘Tonio did all the work, I was merely a guide and did some of the more challenging stirring) thought it was a little too spicy and asked that next time we decrease the ginger.  He also asked for more powdered sugar topping, so I think his priorities might have been a bit skewed.

Antonio’s Pear-Gingerbread Cake
Adapted from Gadgetology by Pam Abrams


1 1/4 cup All Purpose Flour
1 1/2 tsp Ground Ginger (‘Tonio recommends only 1 tsp if you don’t like it too spicy)
1 tsp Baking Soda
1/2 tsp Salt
1/4 cup Granulated Sugar
1/4 cup (1/2 stick) Unsalted Butter, softened to room temp
1/3 cup Molasses
1/3 cup Boiling Water
1 Large Egg
1 Bosc Pear, peeled and chopped into 1/2 inch pieces
Confectioner’s Sugar (for topping)
Whipped Cream (optional)

Preheat the oven to 350 degrees and grease and flour an eight inch square pan. Sift flour, ginger, baking soda, and salt into a medium bowl, set aside.  In a large bowl cream the butter and sugar together, we just used upper arms and a whisk but a hand mixer would also work here.  Add the molasses and boiling water the the sugar-butter mixture, mixing well.  Stir the egg into the wet mixture making sure it doesn’t scramble.   Mix the dry ingredients into the wet until everything is just blended, 25-30 strokes by hand.  Fold the pear pieces into the batter until evenly mixed in.  Pour the mix into the pan and bake for 30 mins until a toothpick inserted into the center comes out clean.  Allow the fully cooked cake to cool for five minutes in the pan and then flip it out onto a cooling rack to cool another ten minutes.  Dust the cooled cake with confectioners sugar, we made a crosshatch pattern with paper towels and it was pretty neat.  Share the cake with all of your family and make sure to let them know just how awesome a cook you are.  Especially if you’re nine 🙂