On My Shelf: The Momofuku Milk Bar Cookbook

cookbookshelf

Sometimes you need something to aspire to. Sometimes you need to step out of your comfort zone and just have a book that you can look at and know, with certainty, that it’s a hair out of your range.  That is why I own the Momofuku Milk Bar Cookbook.  I find this book incredibly daunting – like a giant sundae when I’ve already had too much to eat. But I can’t stop myself from picking it up every few months and thinking I should give it a try.

milk3

For the record – I’m usually a show no fear kind of cook.  I’ll try anything at least once – I’ve made my own bacon and babysat my own sourdough starter so I always think I can handle this cookbook. Which means I pull it out and look up a cake – now a cake in this book has at least four separate ingredients that must be cooked/mixed/pureed/blended before I even consider the possibility of putting it together. I did mention I found the book daunting, ya?

milk2

Most people look at this book for the pictures I think – okay the crack pie is fantastic and the compost cookies are extraordinary but the rest of the book is meticulous. Everything is weighed and soothed into the rest of the ingredients. But maybe that’s why I love it, it’s a book of challenges and dares me to break my boundaries a little bit.

milk1

I do plan on actually tackling a few of these recipes in the next couple weeks – I’ll share my results. Don’t you worry. Though I’m still a tad intimidated, at least I’m building my own birthday cake so I won’t wreck someone else’s birthday, right?

Chicken Marsala Ravioli and Mushroom Bake

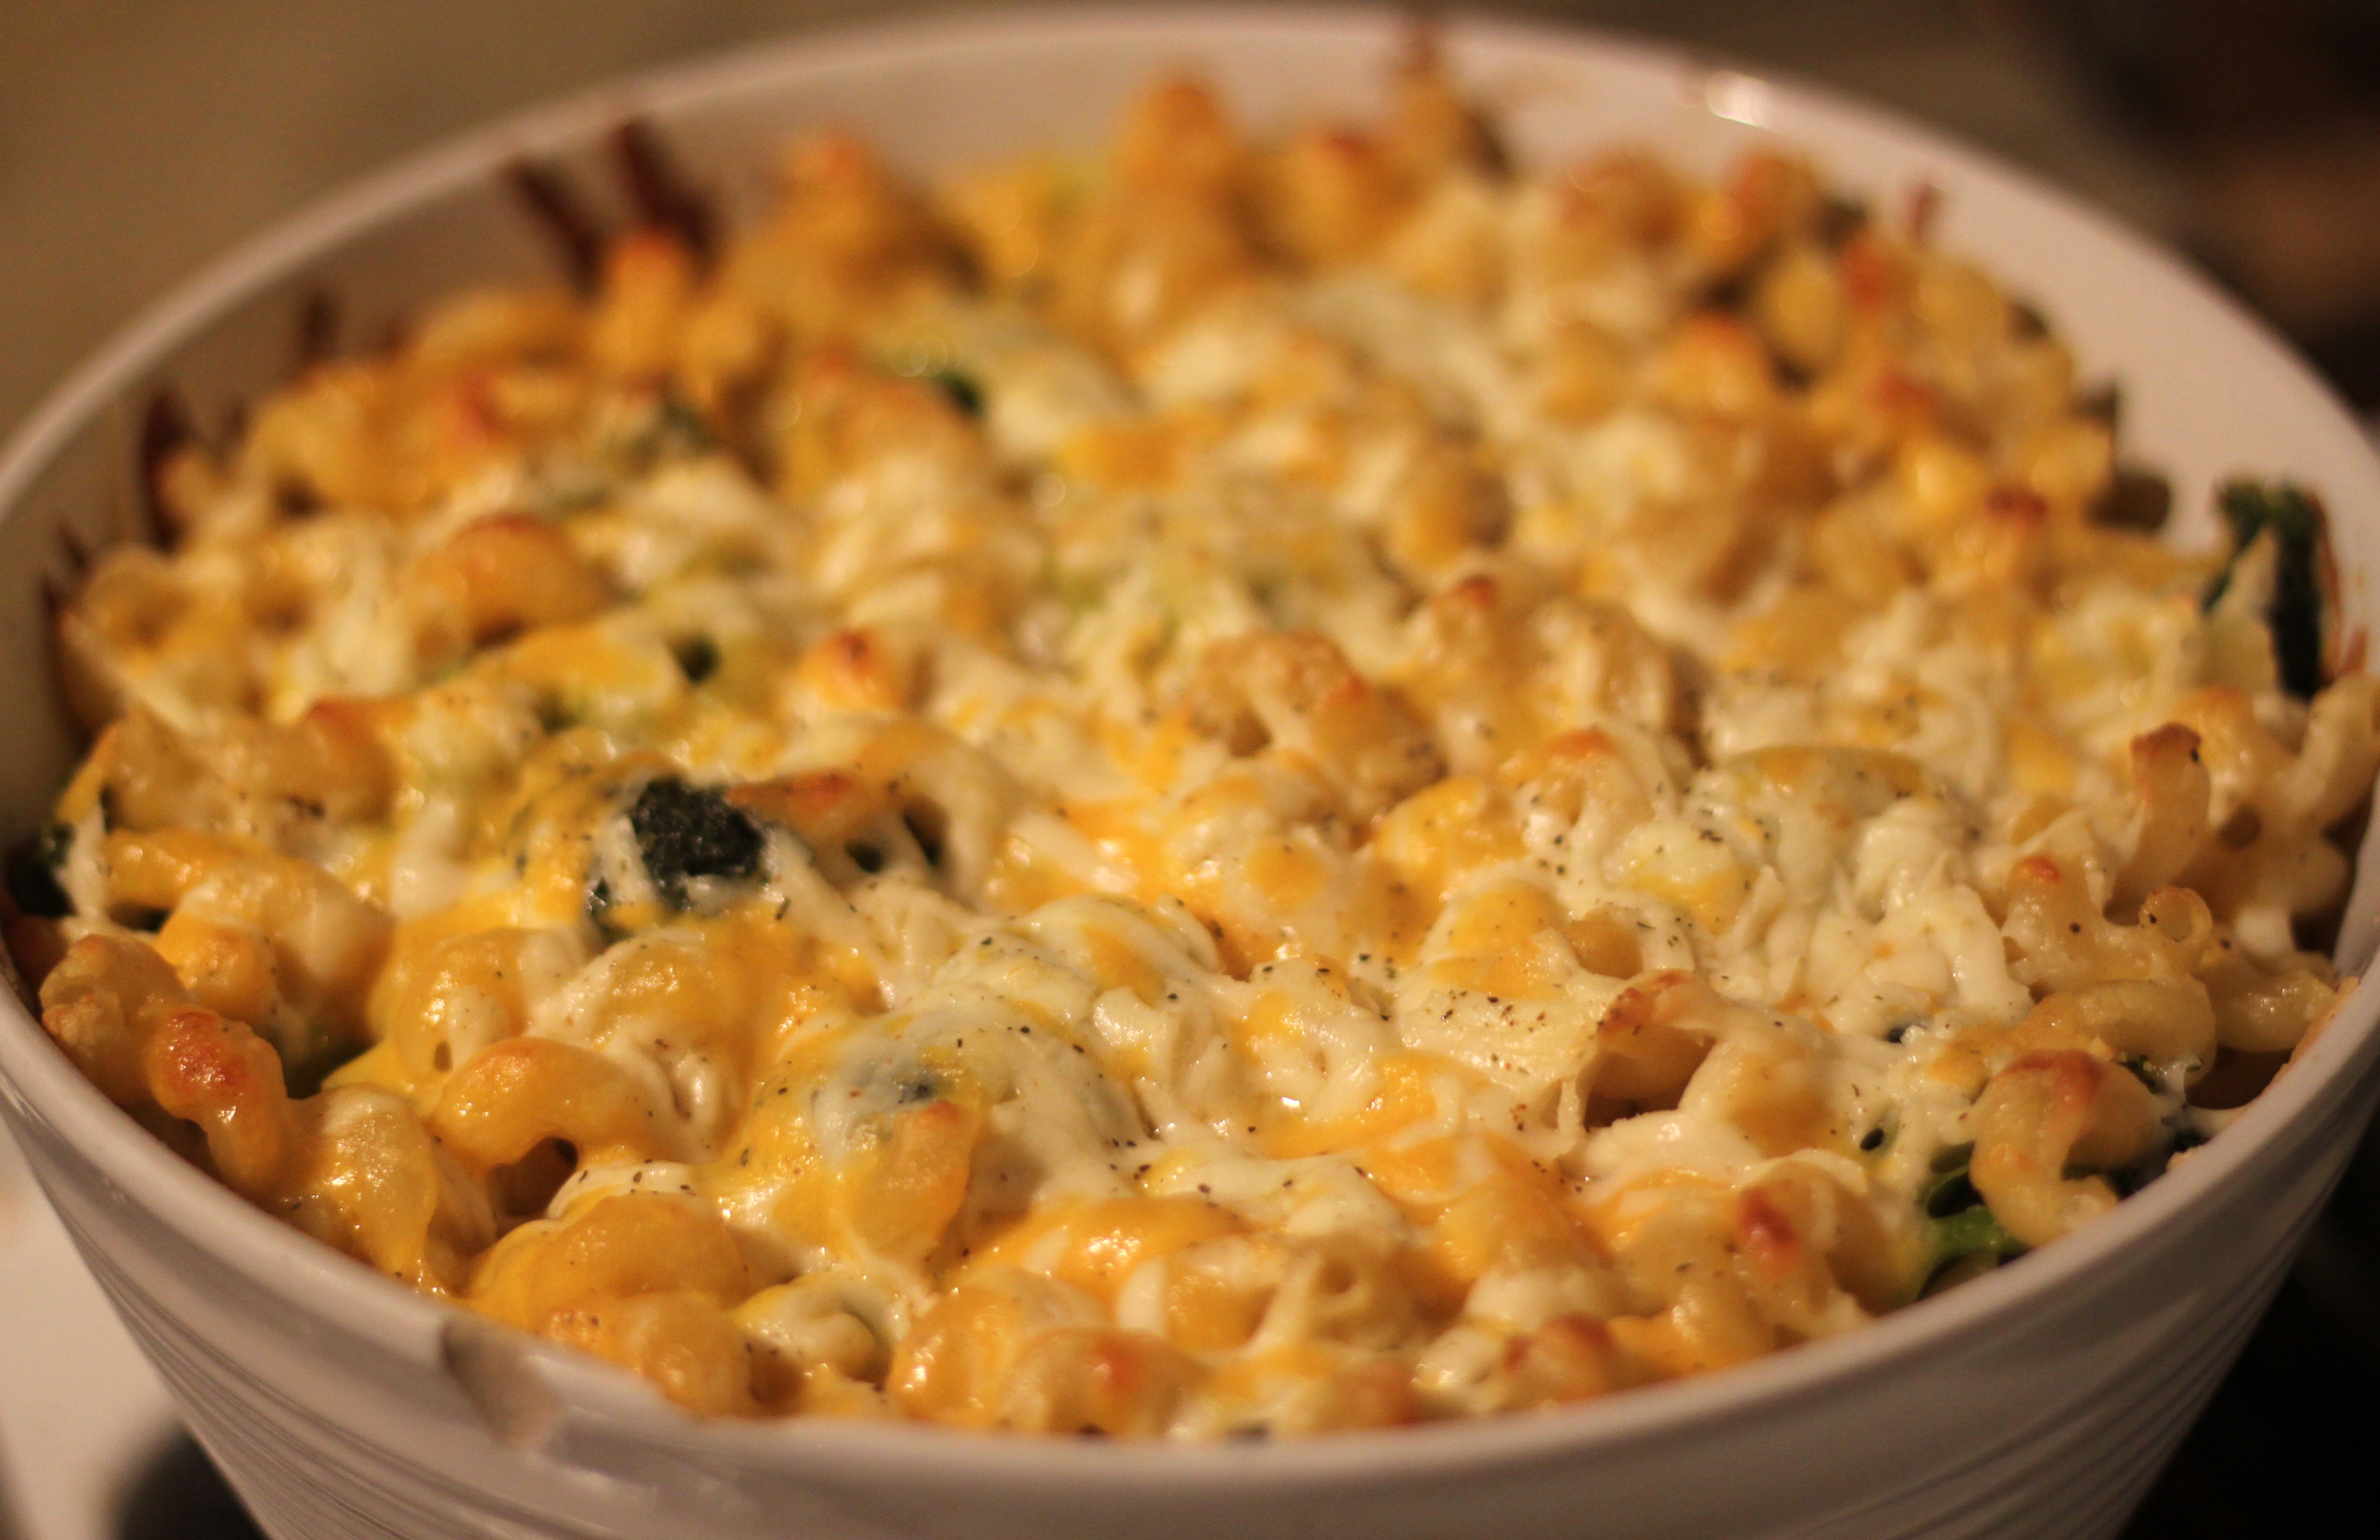
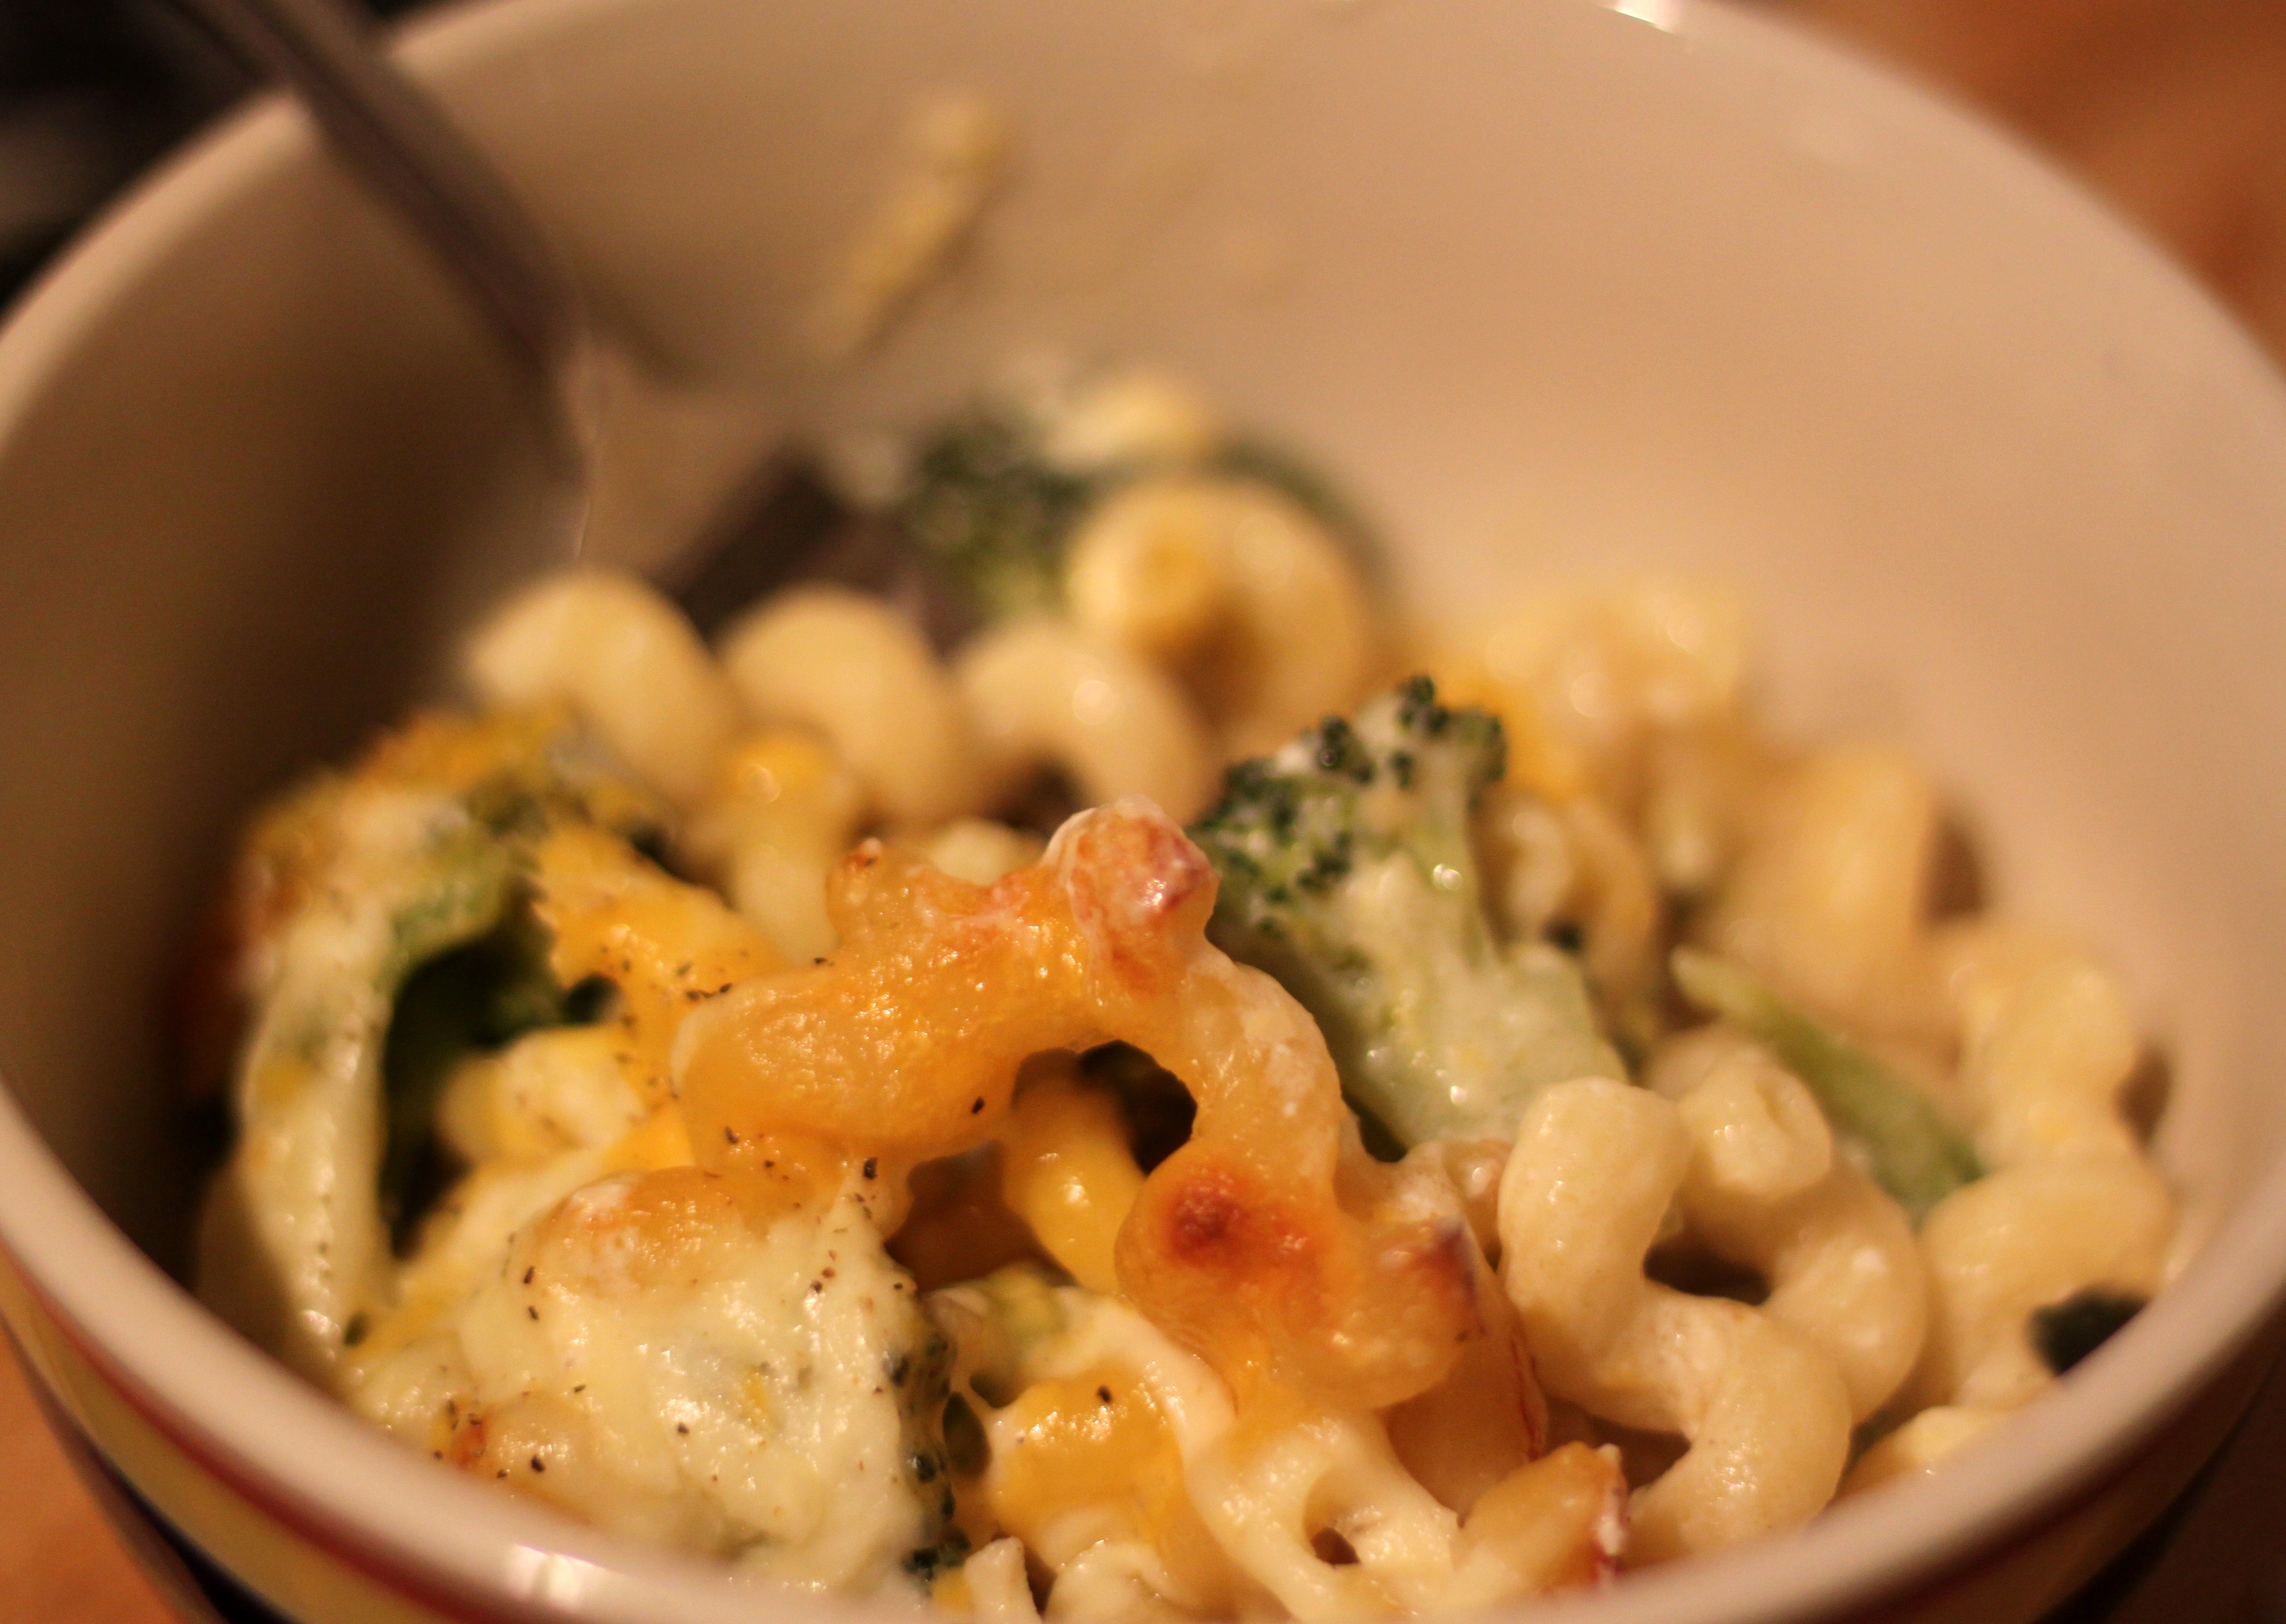
Note: These pics are not my best.  This dish is just NOT photogenic.

Some days I am lazy and want nothing more than some al dente pasta with butter and salt and pepper for dinner.  This is a regular (if moderately unhealthy) meal in my house.  I am always please by it, BF can make it if i’m not motivated, and it’s more or less fail proof.  When Buitoni contacted me about creating recipes for their delicious new refrigerated pastas I just couldn’t say no.  If I’m buying pasta in the refrigerated section of the grocery store I reach for theirs anyway – having fresh pasta is a great an simple way to fancy up a meal that can be a bit boring (pasta, butter, salt and pepper) or bring something that is awesome anyway to the level of extraordinary.
What I was not expecting was a thoughtful package that contained an ultra-soft bamboo fiber hand towel, an apron, and a cutting board from Vermont all artfully branded with the buitoni logo.  Not to mention the pasta – both bf and I fell in love with the pastas we were sent; a chicken marsala one that tasted of earthy mushrooms and sherry and a lovely butternut squash one that tasted like thanksgiving.
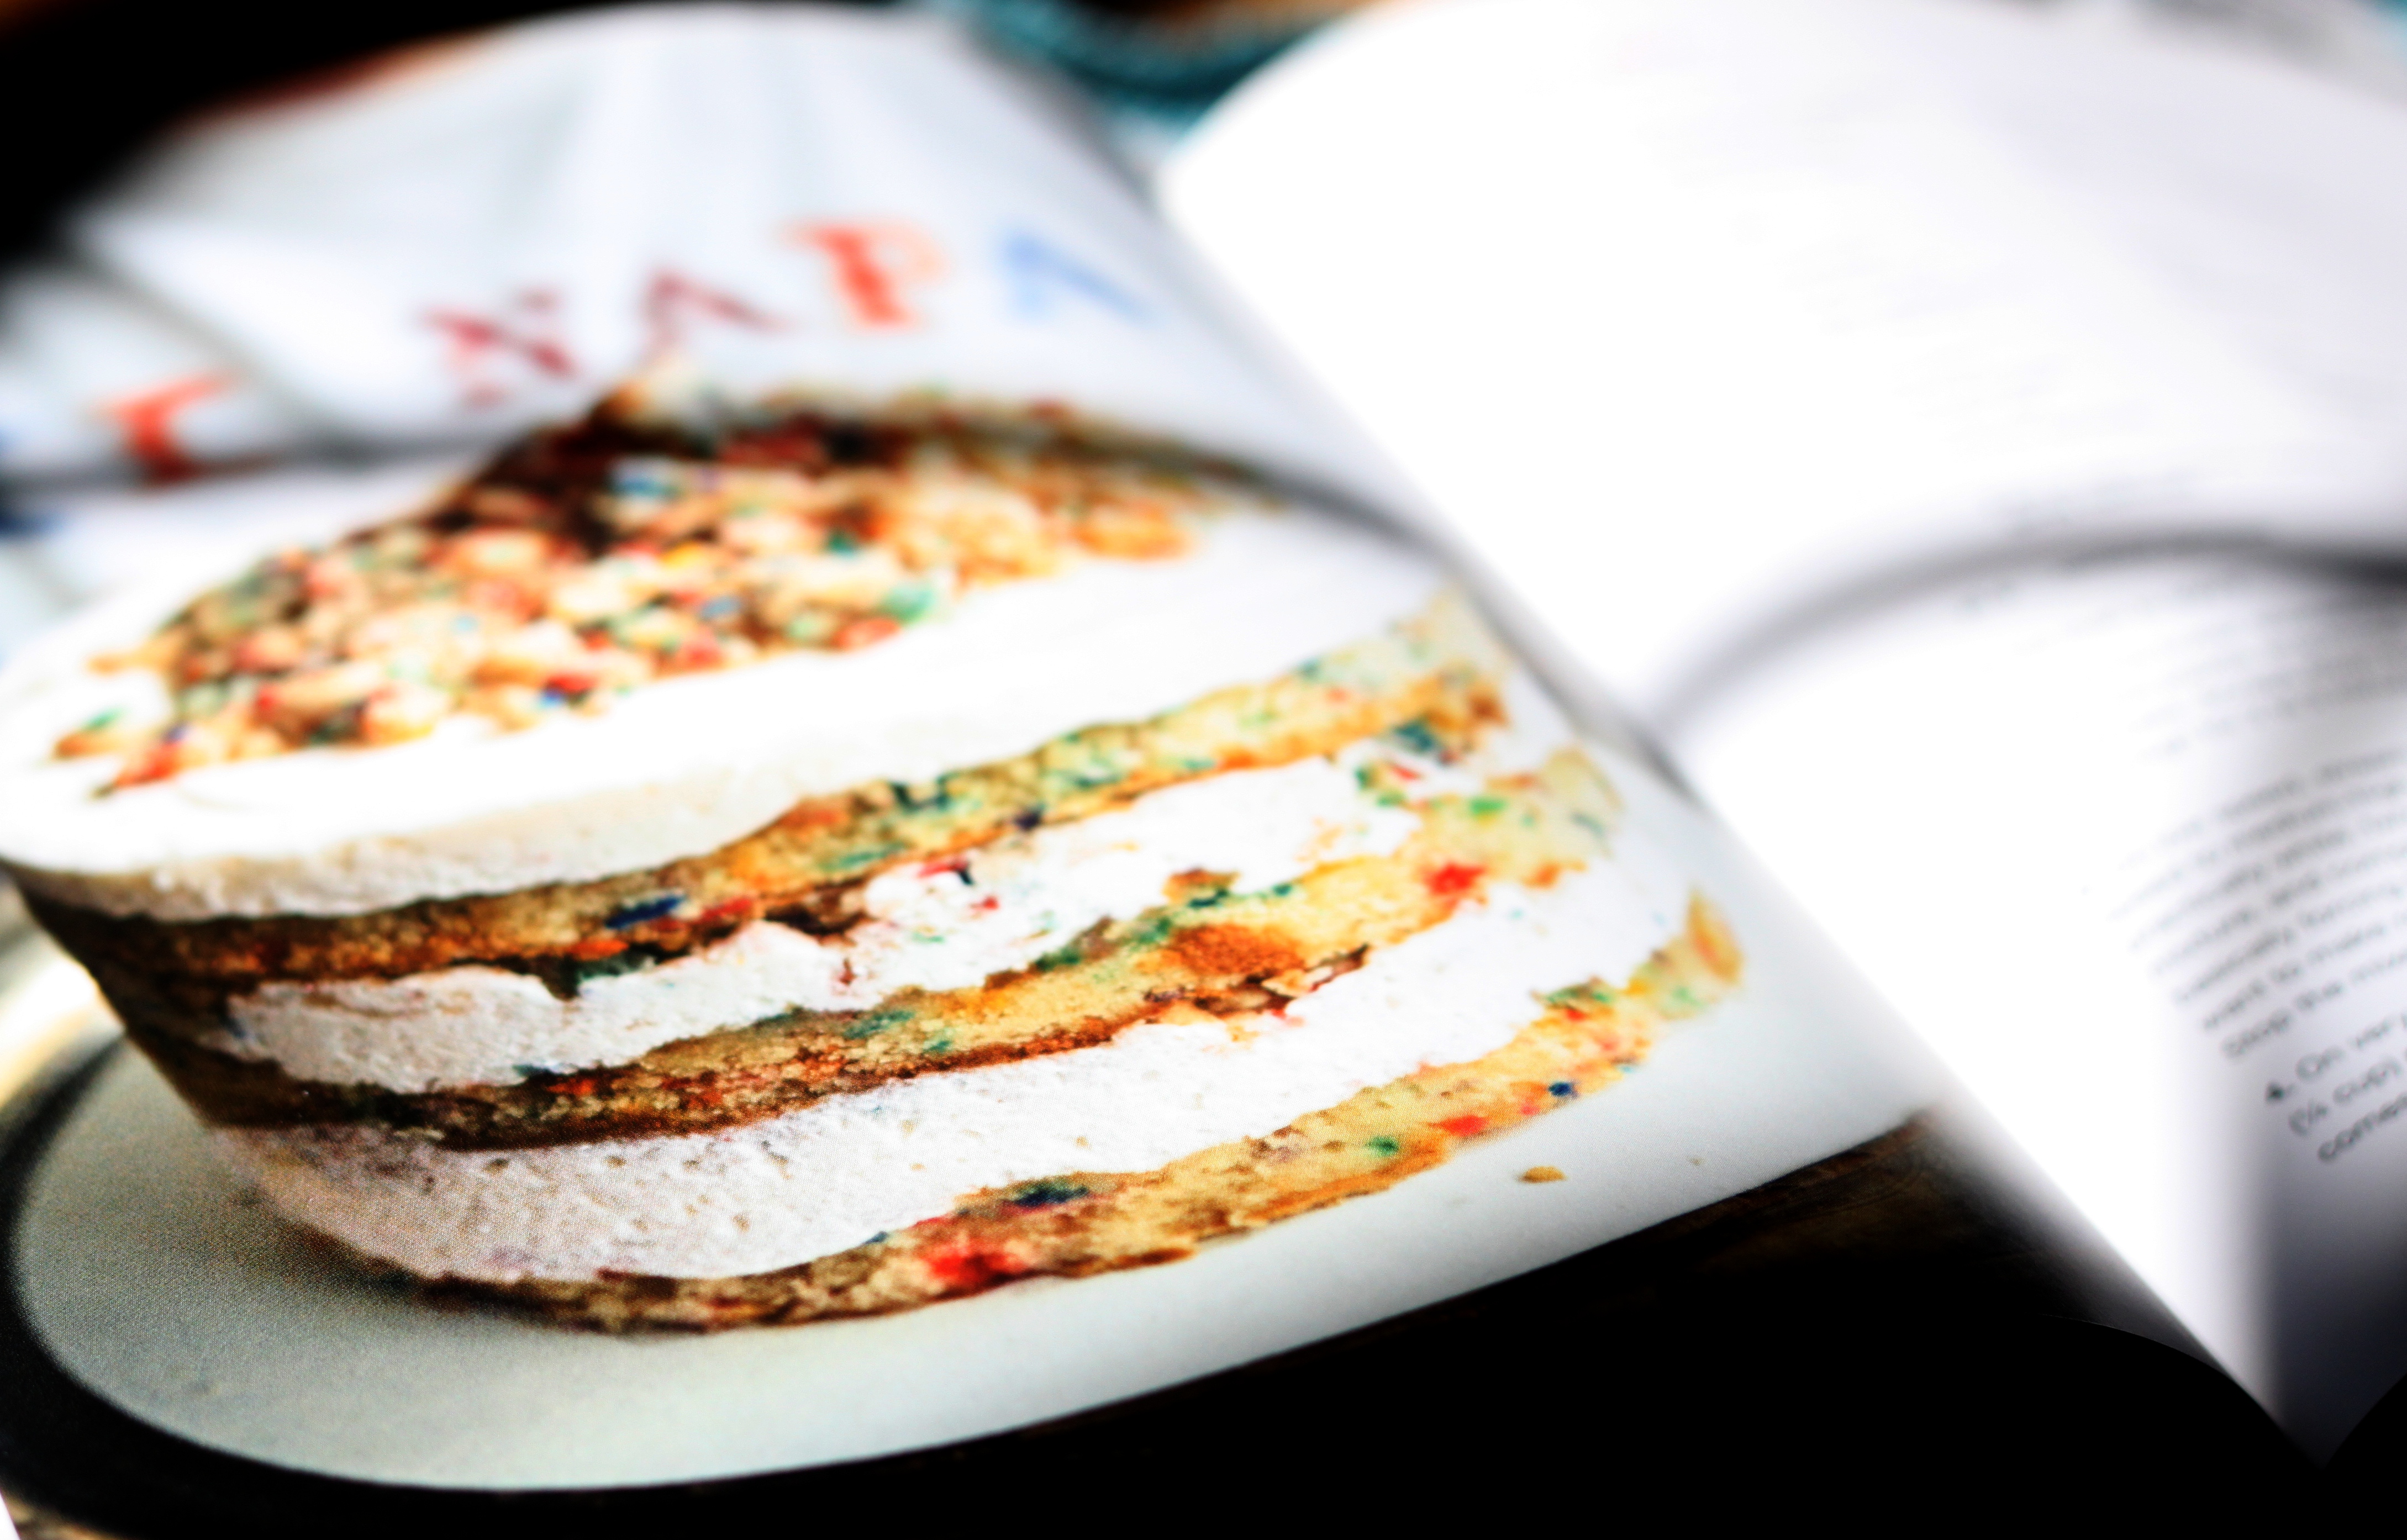
After indulging in each pasta doused in butter (I had to sample them to look for pairing flavors…) I started to plot recipes.  Initially I thought I would end up working with the butternut, it was definitely my preferred flavor, but then I had an idea sort of based on an old episode of The French Chef where Julia Child makes a mushroom lasagna with cream sauce.  I wanted to bake with the Chicken Marsala Ravioli, I wanted those complex flavor layers good mushrooms would give me.  I wanted rich heavy cream and butter.  I wanted cheese.  I wanted to make something for colder months because that’s when I most like stuffed pastas – when it’s cold and I want something hearty, filling, and rich. And that is exactly what this is. It is also great with a salad 🙂  Also, make sure to read down to the bottom for a fun giveaway!

Chicken Marsala Ravioli and Mushroom Bake

Note: I don’t care for mushrooms and as I ate my second bowl of this I was exclaiming that I couldn’t believe how much I liked it. Just saying.

  • 2 Packages Buitoni Chicken Marsala Ravioli
  • 1 lb Cremini mushrooms gently cleaned and sliced
  • 4 Tbs butter, separated
  • 2 Tbs flour
  • 2 cups whole milk
  • 2 tbs brandy
  • 1/4 cup swiss cheese
  • 1/4 cup parmesan cheese (or any other hard cheese)
  • salt and pepper, to taste
  • Preheat the oven to 350. Spray the inside of a medium sized casserole dish with cooking spray
  • In a medium saute pan melt two tbs of butter over med-high heat. Once the butter is fully melted and the pan is hot add the mushrooms. Saute the mushrooms gently until they are a nice golden brown all over, 5-7 mins.
  • Add the ravioli straight from the package to the mushrooms and gently toss everything together so it seems evenly mixed. Put the ravioli and mushrooms in your casserole dish and set it aside.
  • In a medium sized saucepan combine the two tbs of butter and the flour. Stir them until they form a paste then let them simmer for one minute without browning.
  • In a second saucepan (I know a lot of dishes, I’m sorry!) warm your milk to hot but not boiling or simmering. Gently stir the hot milk into the butter/flour roux, in pan 1. This will help prevent clumping. If you add the milk cold (like I usually do) you will have lumps; be okay with the lumps or have the patience to sit by while the whole thing cooks over low heat and you whisk it.
  • Add the brandy and mix well. Once the brandy has incorporated into the base white sauce add the Swiss cheese. Stir to combine and allow the cheese to melt into the sauce, it should take a minute or so.
  • Pour the cheese sauce over the ravioli/mushroom mixture. Top this with the Parmesan.
  • Bake at 350 for 25-30 minutes, until bubbly and light brown.
  • Remove it from the oven and let it rest for 5-10 mins. This is a perfect meal to make when your partner is dawdly about coming to the table.
  • Enjoy. Eat this with gusto. It’s pasta, that’s how you eat pasta.


Now the fun part! Did you see that pretty picture up there? That one with the snazzy apron, sexy cutting board and pretty kitchen towel? You could totally own ALL.THOSE.THINGS. and I will send you four coupons so you can hunt down and try some of this delicious pasta yourself! Just leave me a comment telling me what your favorite way to eat ravioli is. I will give you until July 13th to get your comment in. I like mine with a rugged red sauce if it’s ricotta filled or with a browned butter-sage sauce if it’s butternut squash. 🙂

Disclaimer: I was provided this pasta and the kitchen goods free of charge in return for this recipe/review. All opinions here are my own, I would (and do) buy this pasta on my own dime in the future.

Mustard-Cauliflower Tart

I’m getting back to that point in the year where I over-commit myself. That point where I a things like, oh you need a blog post by thus and such a date – of COURSE I CAN DO IT. Then I forget. Or the product I’m reviewing/creating a recipe for arrives in the mail and I’ve totally forgotten what it’s for and the original, magical, wonderful recipe I had planned for said item goes out the window and something entirely new shows up on the table instead. I’m not saying this is uncommon, actually just the opposite – it happens ALL THE TIME. Not because I miss deadlines, though that sometimes happens too, but because I forget to write down my brilliant idea to creatively use whatever I’ve been thinking on. I’ve been getting better, at least a bit – now I email myself or write stuff down on random scraps of paper when I come up with them. I mention this craziness to point out that I am entirely fallible (but don’t tell Kaylee), and because of this last night’s dinner was a cauliflower tart as opposed to the initial goat cheese cheesecake I came up with.

So here we are now. Cauliflower tart and not a goat cheese cheesecake. The cheesecake would have had a pretzel crust and a mustard drizzle. It would have been ultra rich and delicious. But then I did some research – apparently goat cheese cheesecake is bizarre, a little too rich and more like a spreadable warm cheese than anything else. So I came up with something else – this tart. This tart was delicious it was layers of perfect flavor – from the mustard infused tart crust to the maple glazed caramelized onions to the crispy swiss cheese browned and bubbling on the top.

I plotted this tart after a tweet from Stonewall Kitchen saying they were conducting a blogger contest using their mustards. I immediately tweeted them my interest. I asked for the Maine Maple Champagne mustard – as a Maine kid I gravitated to this because it brought me back to my love of Maine, my love of maple, and, of course, my love of mustard.

Mustard and Cauliflower Tart

Note: This tart is my own creation though the idea is a morphing of one from Epicurious.

For the Crust:

For the Tart:

  • 3 Tbs Stonewall Kitchen Maine Maple Champagne Mustard, separated
  • 1 medium onion, sliced into thin half moons
  • 2 Tbs butter
  • 1 Tbs good maple syrup (I like grade be best)
  • 1 half head of cauliflower, cut into 1 inch florets
  • 1 1/2 cup of shredded swiss cheese
  • 2 eggs
  • In the bowl of a food processor combine the flour and butter. Use the pulse feature and blend 3-4 times. You should be able to see the butter bits in the flour.
  • Add the tablespoon of mustard to the butter/flour mixture in the food processor, pulse this for a minute until fully incorporated.
  • Add water, one tablespoon at a time until the dough just starts to come together.
  • Roll the dough out so it will cover the bottom and sides of a removable bottom tart pan and then line the pan.
  • Melt the butter in skillet over medium heat.
  • Gently spread the onions out in as thin a layer as possible over the melted butter in the skillet. Allow the onions to sweat over medium heat until they are translucent (about a minute).
  • Drizzle the syrup over the onions and allow them to caramelize slowly over a 15-20 minute period, stirring every few minutes.
  • While the onions cook preheat your oven to 350 degrees farenheit.
  • spread 2 Tbs of mustard on the bottom of the tart.
  • Once the onions are fully caramelized spread them over the mustard slicked tart evenly.
  • Place the pieces of cauliflower over the tart in a single layer until the onions are covered – this takes about half a head of cauliflower, though you could use more if you liked. Sprinkle the whole thing with the shredded Swiss cheese.
  • In a small bowl combine the eggs and remaining tablespoon of mustard. Blend this with a fork, like making scrambled eggs. Pour the egg/mustard mix over the whole tart as evenly as possible (you should get a good swirl).
  • Bake the tart for 35-40 minutes, until the cheese is brown and bubbly and the crust if golden on the edges.
  • Serve the tart with a light salad and a drizzle of mustard.
  • Enjoy!
I was given this mustard to create a recipe with for Stonewall Kitchen. All opinions listed here are my own.

Rosemary-Asiago Shortbread

Rosemary Asiago Shortbread

I’m a sucker for savory-sweet combinations – so when my Boston Organics box arrived last Thursday and had a clamshell container of rosemary inside I did a little jump of joy. See, I’d been thinking about a savory shortbread for quite awhile after an accidental tweet to the fantastic Shelby saying I owed her some parmesan shortbread. I meant to say parmesan crackers but that accidental tweet started my cooking brain going. There was a salty-sweet cookie that sounded swoon-worthy and it lingered. I started to fantasize about this cookie and spent a lot of baking time playing with it.

Ingredients

Then I tried the Lark’s fine foods Rosemary Shortbread – I ate an entire package of these cookies in a sitting. I would say oops to that lapse in common sense, but I don’t regret it – they were luxurious and decadent with a perfect crumb. Here’s the thing – I am not typically a fan of shortbread in any form. I find it bland and lackluster most of the time. But, this shortbread – the Lark’s and my own are perfect. They are a little sandy and offer just the right amount of sweetness to keep you eating them.

Dough

I am hopelessly in love with these cookies, and everyone I’ve shared them with (aside from BF, because he’s not the biggest rosemary fan) has felt similarly. These are rich without being overly so, they are sweet without being cloying, and the rosemary is such an unexpected burst of flavor you really just want to keep eating them until they are all gone.

Wedges

Rosemary-Asiago Shortbread

Note: This recipe is an odd Frankenstein’s Monster of at least three that I’ve had kicking around my apartment for a while. I’m now fiercely attached to it though and will probably continue to use the base for all of my shortbread needs.
  • 1/2 cup grated asiago or parmesan cheese
  • 3-4 Tbs rosemary leaves removed from the stem, more rosemary is a stronger flavor – I prefer more, BF prefers none
  • 1- 1 1/2 Tbs maple syrup
  • 1/2 cup dark brown sugar
  • 1 cup butter
  • 2 cups flour
  • 1/2 tsp baking powder
  • In a small saucepan over medium-low heat, melt the butter and gently swirl it around until it becomes a light brown and smells nutty. DO NOT WALK AWAY FROM THIS BUTTER AT ANY TIME. The butter will burn if you do that, because it’s an evil thing that wants you to waste more butter.
  • Set the browned butter aside to cool slightly.
  • Add the cheese, rosemary, brown sugar, and maple syrup to the bowl of a food processor, pulse or run this until it resembles wet sand – about fifteen pulses or 45 seconds of steady speed.
  • Add the butter to the food processor and allow it to fully absorb into the sugar mixture (this should only take a couple of seconds).
  • Add the flour and baking soda and pulse until just combined. The mixture will look like loose pie dough.
  • Wrap the dough in plastic wrap (a couple layers are better, I find) and chill it in the fridge for half an hour to an hour.
  • Separate the chilled dough in half.
  • Press each half of dough into a 9-inch round cake pan. You may need to crumble the dough up then press it back in tightly. Don’t worry, you won’t hurt it. I usually use a piece of parchment and a ball jar to smooth mine out so it’s even.
  • Press the edges of the dough down with a fork, so there are little lines all around (this is my favorite part).
  • Bake the shortbread at 325 for 20-25 minutes; the edges will be a light golden brown and they will smell amazing.
  • When the shortbread is done, remove it from the oven and immediately flip it out onto a cutting board. Cut this into wedges while it is still warm. If you don’t cut the cookie while it is still warm it will turn to crumbs when you try to cut it later. THIS IS YOUR WARNING.
  • Eat this with tea on a sunny porch. You will love it. I promise.