Browned Butter Rice Krispy Treats

RiceKrispytreat1
I have a confession: I love rice krispy treats. I love them in an unabashed I will gorge myself silly on them if they are in the house kind of way.  I love them in a “these are made with breakfast cereal so they totally count for breakfast” kind of way.
RiceKrispytreat2
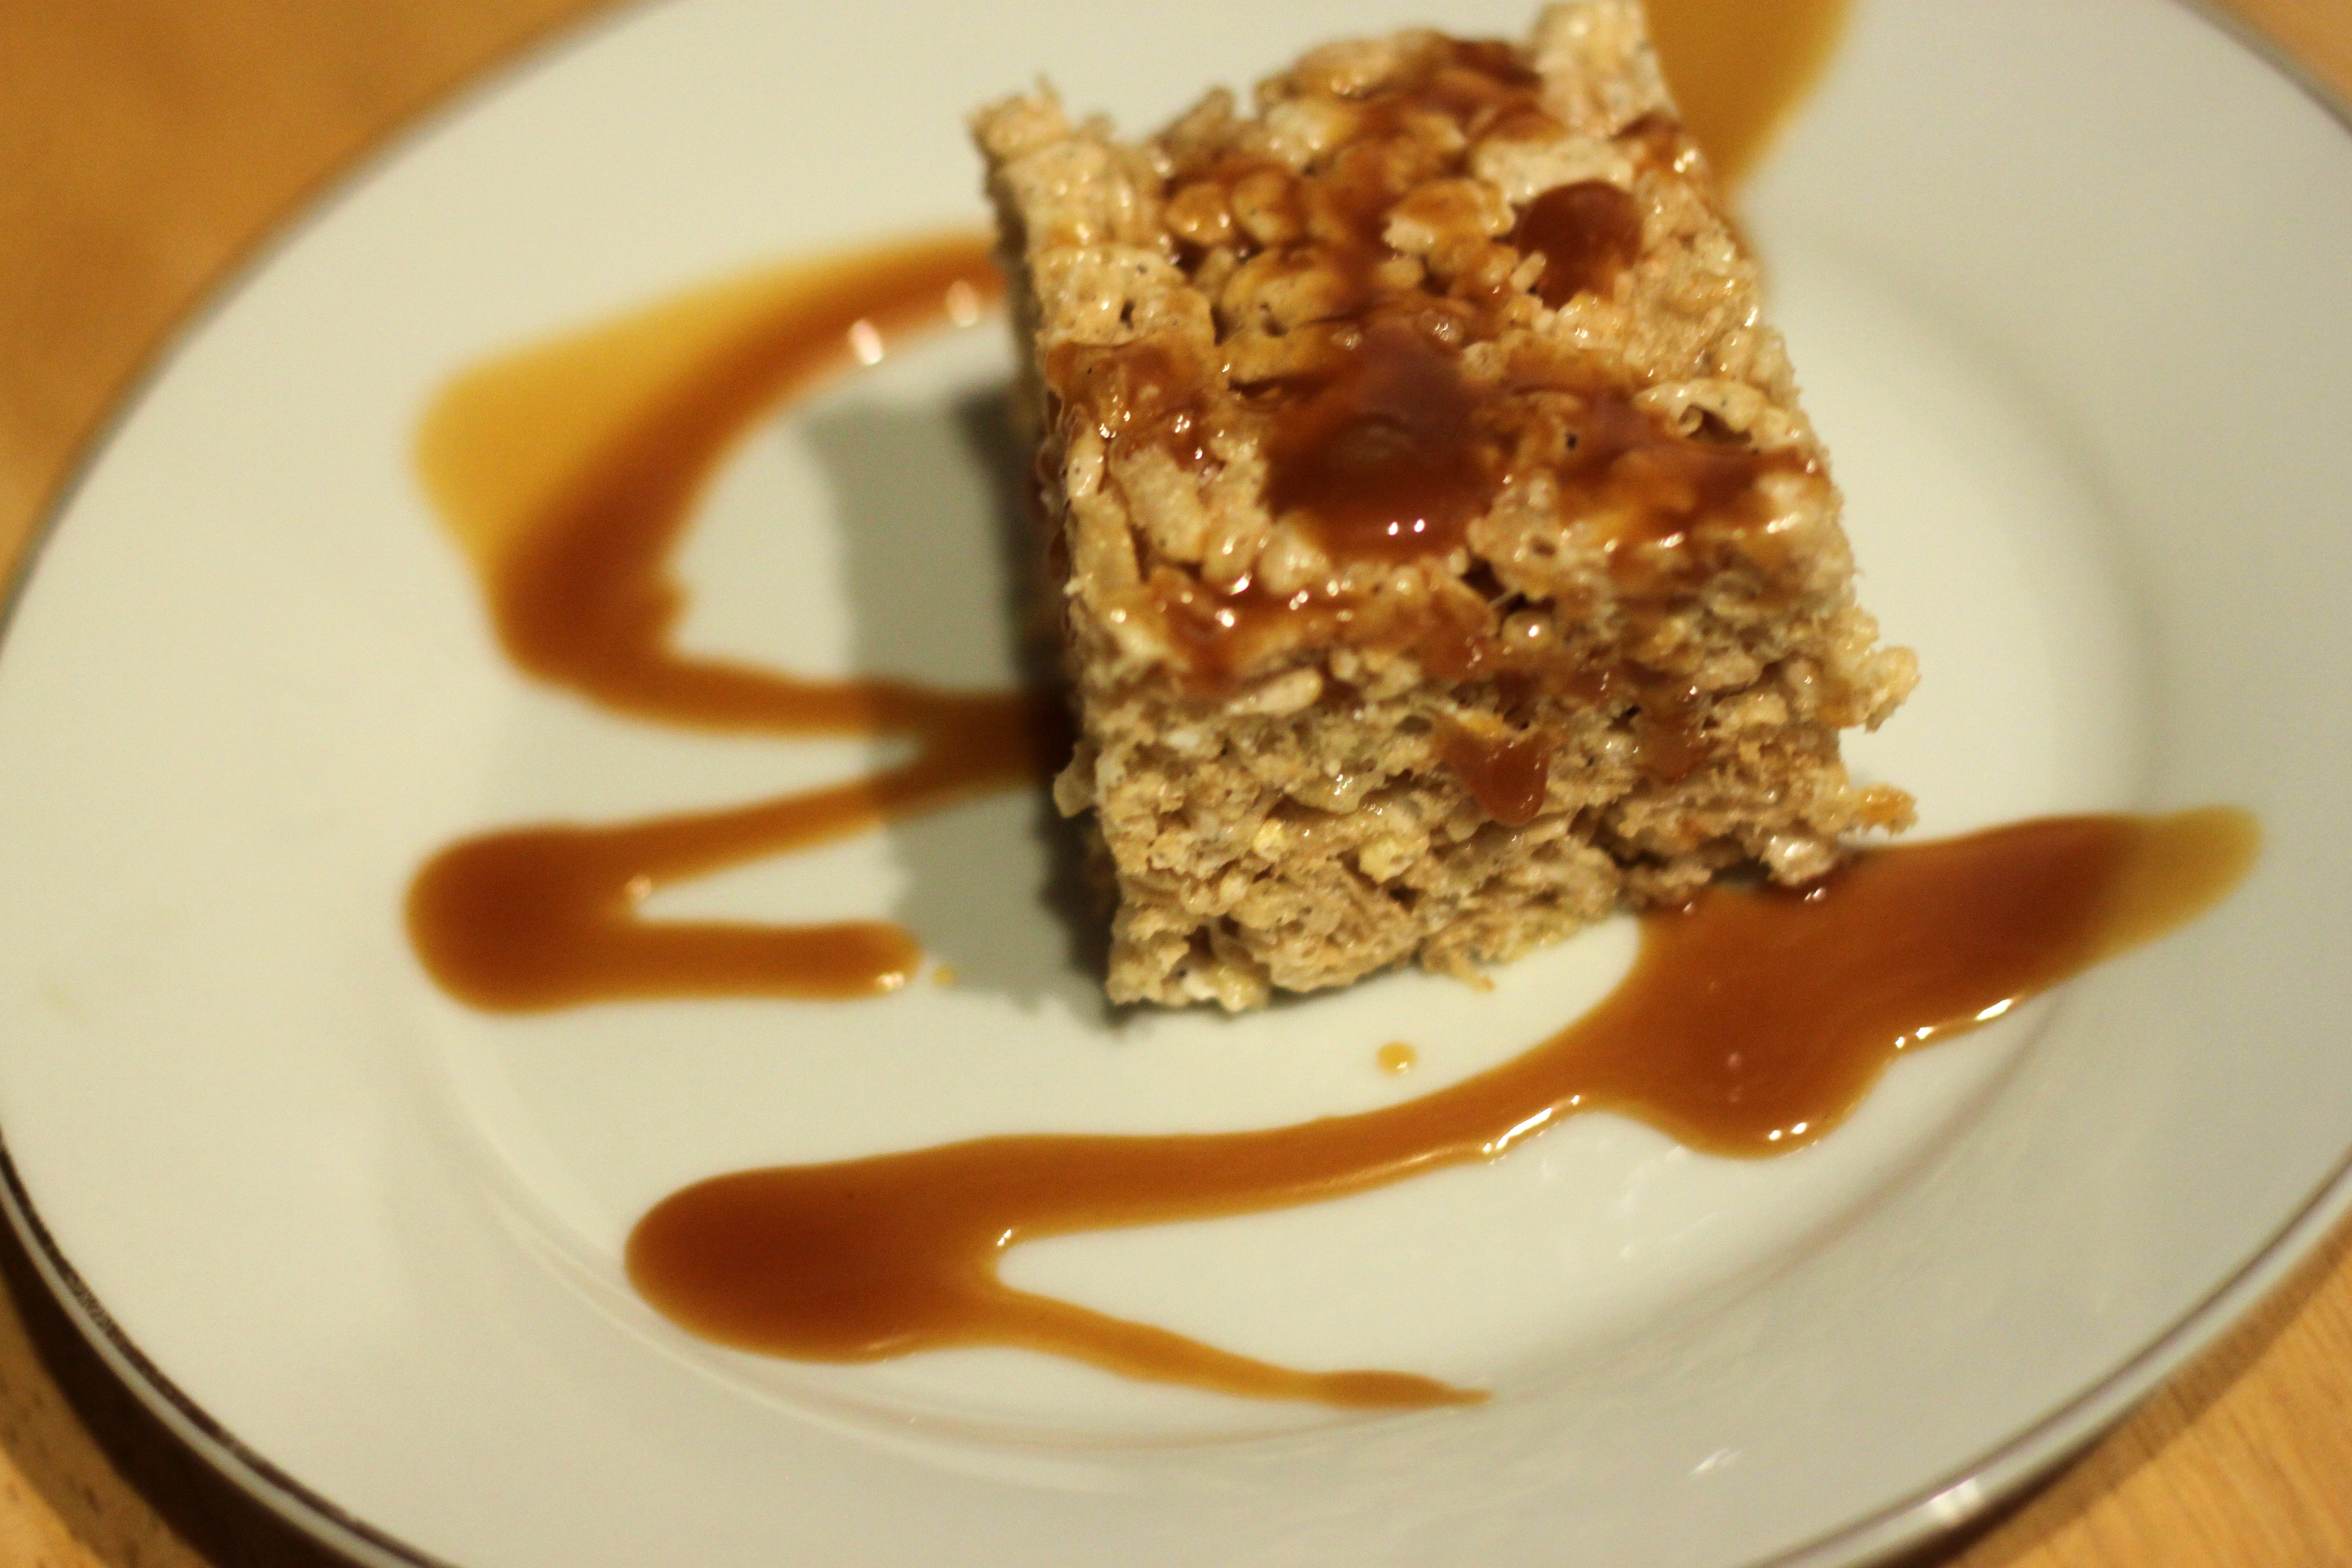
I’ve been making these little snacks for at least three years, every six months or so I get a hankering and cook up a batch.  It takes ten minutes at the most and you get to have a super classy and delicious dessert/snack/breakfast at the end.  I made these ones with my sister and she took all the pictures for me, I also made her some salted caramel sauce that same night so we got creative with the drizzling.
RiceKrispytreat3
Now go grab the ingredients and make these.  They’ll cost you less than $3 and they disappear within twenty four hours. I promise.

Browned Butter Rice Krispy Treats
This recipe is adapted from Flour:Spectacular Recipes from Boston’s Flour Bakery and Cafe by Joanne Chang – I love this book, you should too.

  • 9 cups of rice cereal (generic Rice Krispies are totally fine)
  • 1 bag of marshmallows (I use Jet-Puffed Mini Marchmallows becasue they melt better)
  • 1 cup unsalted butter
  • 1/2 a vanilla bean (optional but it really does make it better)
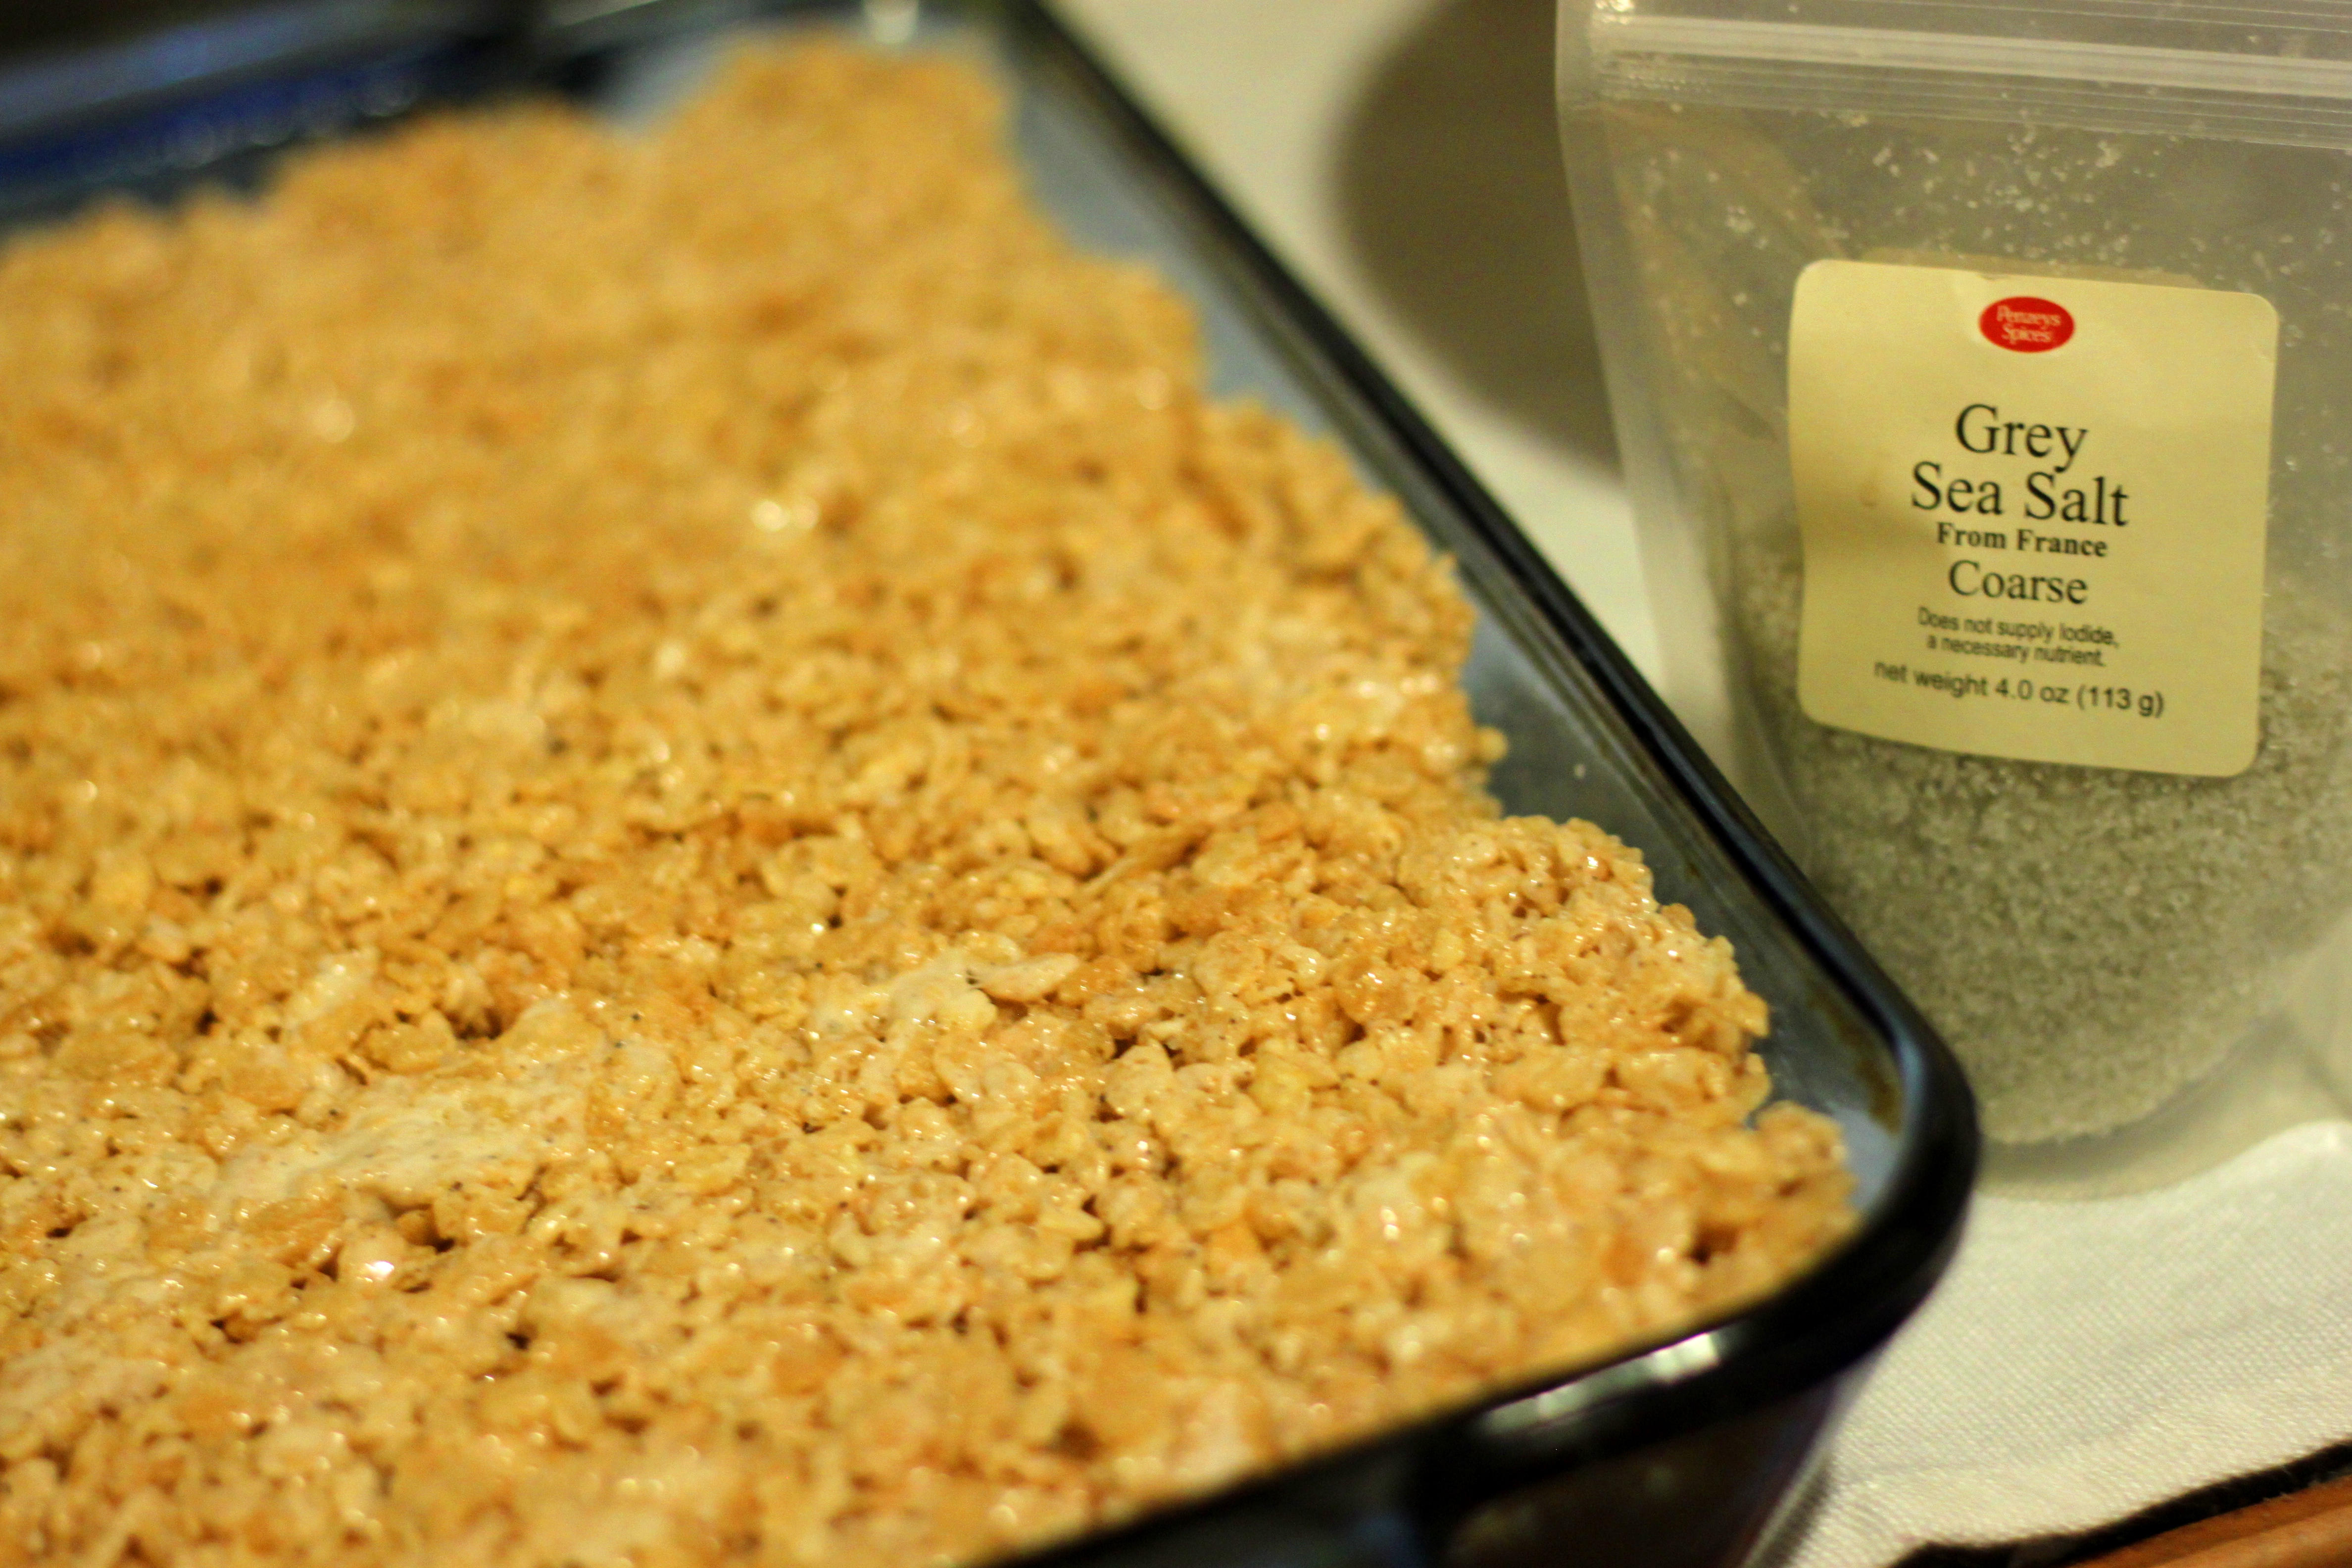
  • 1/2 tsp coarse kosher salt
  • Lightly grease a 9×13 pan with butter, just to coat. Measure out the rice krispies into a large bowl.
  • Add the butter and the caviar from the vanilla bean (all those seeds inside when you split it) to a medium pot. Melt the butter over medium heat and keep a close eye on it. The butter will go from browned to burnt in about two seconds. Wanna Be a Country Cleaver has a great How To for browned butter over on her blog if you want some pictures and a step-by-step tutorial.
  • Add the marshmallows to the browned butter and stir to combine and melt. This will be a bit sticky and not all of the butter will blend with the marshmallows, that’s ok.
  • Pour the butter/marshmallow/vanilla bean mix over the cereal and stir quickly. The sugars in the marshmallows cool fairly quickly so being well prepared and stirring fast is key here.
  • Press the rice krispy treat mixture into your greased pan. I frequently use a piece of parchment to smooth out the top of my treats without getting my hands messy.
  • Sprinkle your coarse salt on top of the treats. The salt can be added to the cereal if you prefer but I always find that it falls to the bottom of the mixture when that happens.
  • Enjoy with a drizzle of caramel you made for your big sister, because she asked for it and you just couldn’t say no.

Maine Sourced Granola

This is a celebratory post. It is it my hundredth post here – I feel like it should have shown up sooner and there should be a greater fanfare, but I’ve been busy. I worked really hard and threw an epic beer fest with some absolutely fantastic people, I started a new job (more on that later), and I’ve just been sort of lazy. I know I’m not supposed to admit that here – where I show you pretty pictures of food and make you think I eat like that all the time – but I don’t. Most nights I eat pasta with butter and Parmesan on it or instant mac and cheese. I have plenty of knowledge but a low threshold for motivation. Occasionally that comes out here. This post is about the awesome though, this is a celebration of this little blog – this corner of the internet I have claimed as mine and proudly declared to be KATHY CAN COOK. I’ve covered it in 8-bit sprites, I’ve met some amazing people, and I’ve eaten SO.MUCH.GOOD.FOOD.
This is not me signing off – please don’t think that as I wax nostalgic about how great keeping this blog has been. I’m not giving up on it, at least not yet, I’m not even taking a break. I’m just sharing how loved this makes me feel – and how great it is to have made friends, actual friends, through blogging. That’s what this recipe is – new to me comfort food that is a little bit of home and a whole bunch of love. I made it with my big sister on a Monday afternoon that she’d taken off to hang out with my kid brother and I. It was a perfect leisure activity.
This granola is made with rolled oats sourced from Aurora Mills in Maine, and alone they are great and nutty oats – in granola they have just the right flavor and give while still being chewy and filling. This is not-too sweet granola either, it’s maple-y without being in your face and it holds its own against the tang of Greek yogurt.
I say this granola is home because it is. I feel a special connection to pretty much anything sourced from Maine and even now, when I don’t live in Maine anymore I still refer to myself as a “Maine kid” it gives me a sense of identity and place. I love it – so this granola is a perfect example of blogging for me – it’s new, my first homemade granola (win) paired with some old (a few Maine oats to make me feel like I’m home).

Home-Made Granola

Note: This recipe is loosely based on one from the Cooks Illustrated Cookbook in that I looked at that cookbook for ideas of what ratios to use and what temperature to cook my granola at. Please consider this a broad guideline to create your own granola recipe though, it’s totally adjustable I used the flavors and textures I really liked when I made this, as such you should adjust in your own way. It does make a lot of granola though, so be prepared to share!

  • 3 1/2 Cups Old Fashioned Rolled Oats – small batch rolled oats will be nuttier and more flavorful
  • 2/3 cup Pepitas, hulled pumpkin seeds
  • 1/3 cup sesame seeds. raw
  • 1/3 cup flax seeds
  • 2/3 cup nuts (I used pecans and they were AWESOME)
  • 2 tsp cinnamon
  • 1/2 tsp nutmeg
  • 1 tsp salt (I use coarse kosher, but go with your preference)
  • 1/3 cup high heat oil (I used peanut, but you can use safflower, sunflower or whatever else too)
  • 2/3 cup Real Maple Syrup (The corn syrup stuff will not work here)
  • 1 tsp vanilla extract
  • 1/4 cup Honey (the honey/maple syrup ratio is really forgiving and can be modified to what you have)
  • 1/2 cup toasted coconut
  • 1 1/2 cup dried fruit (I used cranberries, tart cherries, and candied ginger)
  • Preheat your oven to 300 degrees farenheit.
  • In a large bowl combine the dry ingredients (oats, nuts, and seeds) and mix until evenly distributed.
  • In a small pan combine the oil, honey, vanilla, and syrup. Heat them over low heat until the liquids are fluid and easily mixed.
  • Pour the liquid over the dry ingredients and mix until everything is evenly coated
  • Put the granola in a large pan (I use my turkey roaster) and spread it out evenly so it is an even layer (mine was about 3/4 inch thick).
  • Toast the granola in the oven for about an hour – stirring every 10 to 15 mins to prevent large clumping. THe granola will be golden brown and fragrant when it is done.
  • Allow the granola to cool completely, for at least an hour.
  • Mix the toasted coconut and dried fruit into the toasted granola.
  • Eat over your favorite yogurt or by the handful!

Honeyed Nectarine Oatmeal Pancakes

Sometimes you need to make delicious food on a rainy Sunday morning, it’s something that makes all gloomy days brighter.  I love these pancakes on any weekend morning, they are nutty and wonderful with a flavor that is only enhanced by the addition of nectarines and a cup of delicious coffee.  I don’t make these often, and usually save them for a special occasion when someone who leans toward gluten-free food is coming to my apartment for brunch, but when I do make them there are very rarely leftovers.

Specifically, I made these pancakes over Easter weekend when BF’s parents were visiting.  His dad was bowled over, I’ve been getting a weekly email for this recipe to be posted since.  There are various reasons this post didn’t go up earlier, bad pictures being the big one but also a lack of oats in my house as a contributing factor.  But, when there were finally oats in my house (again) and time was on my side I made these gems but, of course, I modified them to be better than the ones I had been making.  I added nectarines.  I would have added peaches but when I went to Russo’s the peaches were unripe and hard as rocks, so I grabbed white nectarines which were fragrant and perfectly ripe.
I made these pancakes thinking there would be leftovers for a “later-in-the-day” snack, what a fool I was.  When topped with nectarine infused maple syrup BF couldn’t stop eating them, and I liked them spread with a bit of butter and rolled up like a crepe.  The nuttiness of the oats really enhances the whole pancake, please use the oat flour – you really won’t regret it, the pancakes are still light and fluffy even in their gluten-free state.  Yes, you have to prepare for these pancakes, but it’s totally worth it.  After sitting overnight in buttermilk the oats break apart and offer a tenderness that absorbs the honey making them not to sweet and decadent without actually being decadent.  Make these for a friend, they’ll love you for it.
Honeyed Nectarine Oatmeal Pancakes
Adapted from The Inn at Fordhook Farm via Orangette
Note: I make these pancakes entirely gluten-free by using oat flour and I like them better that way.  I also use honey instead of refined sugar since I feel like it really brings out the flavor in the oatmeal.  I laid thin slices of nectarine on top of these pancakes but next time I make these with a stone fruit I’ll probably just chop the fruit and add it to the batter.
2 cups Buttermilk
2 cups Old Fashioned Oats
1/2 cup Oat Flour
2 Tbs Honey
1 tsp Baking Powder
1 tsp Baking Soda
1/2 tsp Salt
2 large Eggs
1/2 cup Butter, melted and cooled
1 Nectarine, peeled and chopped into 1/2 inch cubes
The Night Before:
Combine the buttermilk and oats in a medium sized mixing bowl, stir, cover with plastic wrap, and refrigerate overnight.
The Next Morning:
Remove the buttermilk and oats from the fridge and set it aside.  In a second bowl whisk together the oat flour, baking soda, baking powder and salt.  Add the honey, eggs, and melted butter to the oats and buttermilk mixture, mix until fully combined.  Add the dry ingredients to the liquids and stir until fully combined.  Fold in the nectarine pieces.  The batter will be thick.  Warm a skillet/griddle to a medium-high heat and brush/spray it with vegetable oil.  Drop the batter onto the griddle by scant 1/4 cup fulls onto the pan.  Cook the pancakes until bubbles start to form on the edges and the underside is lightly browned.  Flip the pancakes and cook the second side until it is browned.  Repeat, until all the batter is gone.  This makes 12-15 pancakes.  And they are delicious.  Serve the pancakes warm, with real maple syrup (I chopped a second nectarine and added it to my maple syrup, it was amazing).  You will definitely not be sorry for the time these took.  I promise.

Cheesy Grits

It’s Saturday morning and as I hang out at home I am, of course, thinking of breakfast.  I think of all things breakfast on the weekends – eggs and homefries, pancakes, scones, and muffins (and whatever else seems relatively breakfast-y, pie anyone?).  I like to take the time to make a breakfast that will satisfy BF and I through out most of our weekend days so our breakfast is usually large and late  (neither of us even starts to get hungry until 10 am or so, which means the actual breakfast isn’t consumed until around 11).  It’s on these late weekend days that I, more often than not, turn to eggs – they are quick and easy and fill me up so completely that they’re always perfect.

Now, down to grits.  My big sister (who lived with me from Jan-March of this year) introduced me to grits as hangover food.  She would come in late Friday and come Saturday morning when she rolled out of bed BF and I were starting to contemplate our breakfast and Meghan would suggest grits.  As one who had never really had grits before I found myself thinking they would be hard to make and not very good.  I was wrong about that.  The grits big sis made were swoon worthy in every way – creamy, rich and topped with an over easy egg.  They were luxurious.

Since my sister moved out I still buy grits by the carton and stock up on cheese and garlic powder. Making grits is so remarkably simple and it hits the spot; especially after a night spent a bit too late at the bar.  I am still having trouble with poached eggs, so I won’t try to explain that to you – instead, if you can poach an egg do it because the grits are fantastic with a poached egg, if not then just fry an egg gently until the white sets and use that.  Either way it will be a breakfast fit for whoever you want to serve it to.

Cheesy Grits
Adapted from the back of the Quaker Grits box.
Note: I almost always make this with whatever cheese I have on hand but my favorite, by far, is the Cabot Coop Garlic and Herb Cheddar.  It made the best grits I have ever eaten and it is what I will recommend here.

2 1/4 cups water
1/2 cup grits
6 oz (about 3/4 cup) grated Cabot Coop Garlic and Herb Cheddar cheese
1 tsp garlic powder (use less if you aren’t a garlic fan)
1/2 tsp onion powder
dash of salt

In a medium saucepan combine the water and salt and bring to a rolling boil.  Once the water is boiling add the grits slowly – I recommend having them in a one cup measure and pouring them in over the course of 30 seconds or so while stirring with the other hand to keep the water moving, otherwise everything gets clumpy and that’s just sad.  Reduce the heat to medium-low, cover the pan and leave the grits alone for 12 minutes.  Look at them.  If they are thickened nicely after ten minutes they are done.  If they still look a bit runny leave them on the heat checking them every minute or so.  Remove the grits from the heat and add the garlic powder, onion powder, and cheese.  Stir completely.  Cover the grits and set them aside for the cheese to melt while you cook your eggs.  Split the grits between two bowls (this makes two as a breakfast entree four as a side) and top them with a twist of fresh ground pepper and a pat of butter.  Put your over-easy eggs on top and dig-in.  Delicious.  I find it’s best when the egg yolk is stirred into the cheesy grits. The best.  Ever.