Apple-Pear Snacking Cake

I pretty much always have apples or pears in my kitchen, they come in my Boston Organics box almost weekly so there tend to be three or four kicking around at all times. But here’s the slightly annoying thing – I don’t eat much fruit, I’ll grab a piece occasionally, I even went through a fit of eating oranges for days this summer, but in general if I want a snack I will reach for a slice of cheese or a yogurt before i grab fresh fruit. I think part of it is that I just don’t like that first bite. I find it terribly unpleasant to bite into an apple or pear if it is the least bit chilled – I know this makes me an anomaly in the world of fresh fruit eating, but I’m an odd duck that way. So eating fresh apples or pears means a cutting board or at least a bowl and a paring knife. Because, in case you didn’t know, fruit is MESSY guys, juicy and sticky it gets everywhere unless you have a bowl to catch the juice in. But I digress.

So really, you must be wondering why I spend my hard earned money on fresh fruit if I’m not even eating it – I love to bake with it. I love the way really ripe fruit will soften and pool in a jammy bite in a cake or muffin. I am entranced by any apple-spice cake combination. And a baked good with apples or pears in it is ALWAYS a crowd pleaser, for whatever reason. SO I finally figured I would share this recipe with you all. This is a recipe I’ve been using since I first picked up Flour over a year ago – I make it once a month or so (seriously, I’m obsessed with this cake) sometimes I add berries or whatever fruit I have lying around. I tweak it, I mostly follow the recipe, I coddle it. It makes my apartment smell like heaven. And, mostly, it makes a great accompaniment to coffee at breakfast or for that mid-afternoon pick-me-up.

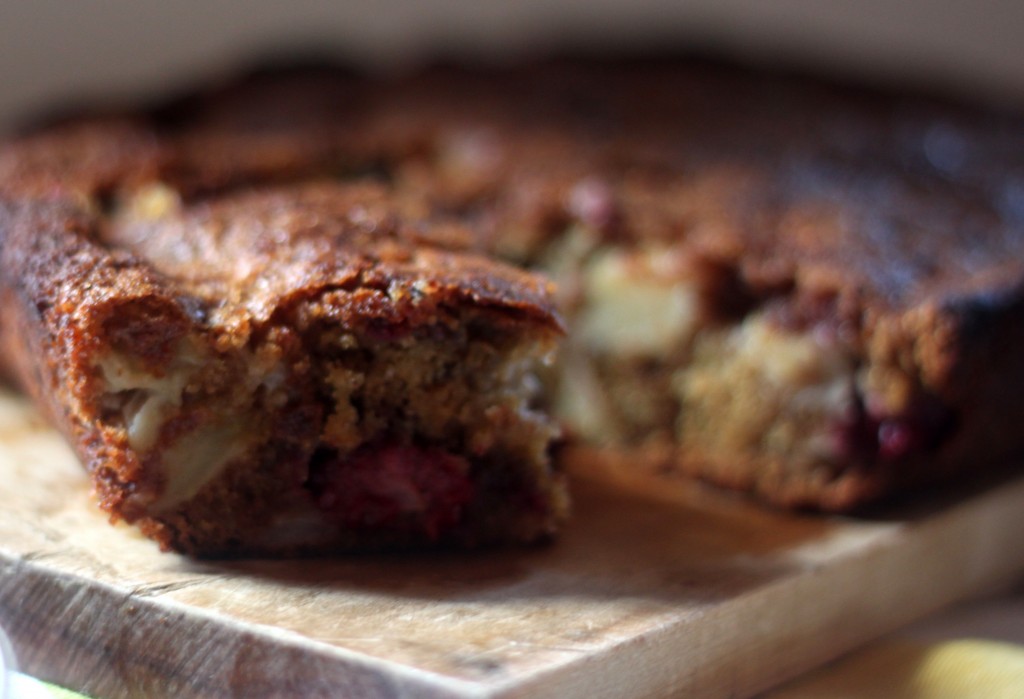
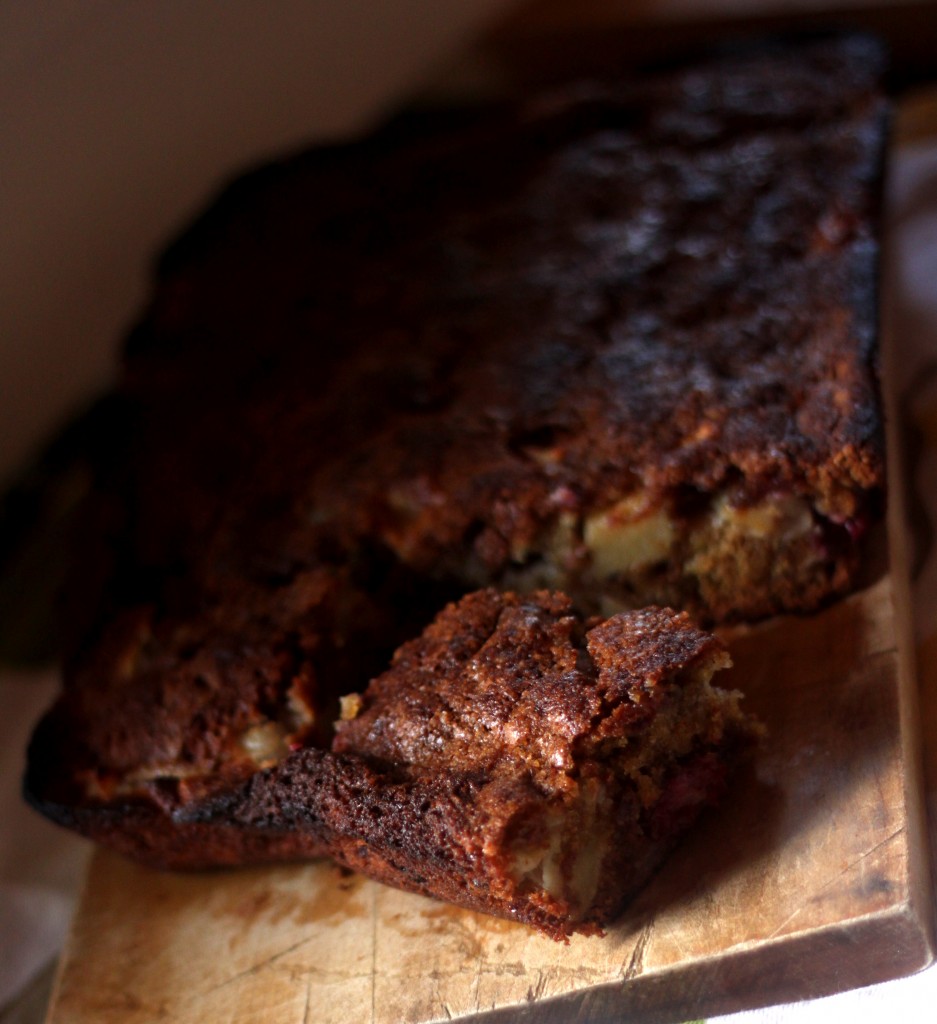
If you like my facebook page you will see this cake as my header there. That picture has been there for a while and I’ve had at least three readers ask for that recipe, this is it. The difference between this cake and that one – I overcooked this one a smidge, but it’s still delicious. I also think this cake would be improved by a little drizzle of your favorite caramel sauce, because, decadent. I really do love the pear here though, it’s sweeter and cooks down a little softer than the apples so you get a little internal texture variation, which I love. If I were making this for only myself I would kick up the ginger a bit more as well, give it a little more zip, but BF isn’t the biggest ginger fan so I try not to overpower all my baking with it.

Apple-Pear Snacking Cake

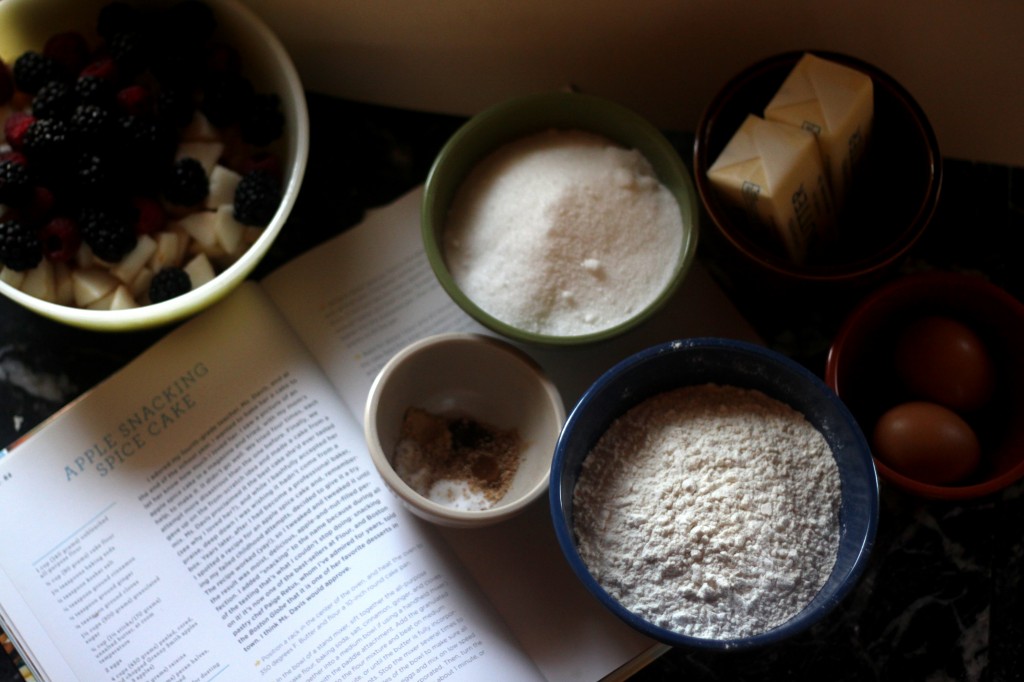
This recipe is adapted from Joanne Chang’s Flour Cookbook. I’ve had this cake in the bakery and homemade – and it’s perfect in both places. I am looking forward to Flour, Too so much I may offer to beta test a few recipes for Ms. Chang, that way I don’t have to wait! Ha!

  • 1 3/4 cup flour
  • 1 1/2 tsp baking soda
  • 1/2 tsp kosher salt
  • 1/4 tsp cinnamon
  • 1/4 tsp ground ginger (I think some finely minced crystallized ginger would be good here too)
  • 1/8 tsp ground cloves
  • 1/8 tsp fresh ground nutmeg
  • 1 1/2 cup sugar
  • 3/4 cup unsalted butter, softened
  • 2 large eggs
  • 4 cups of fruit (at least 3 cups should be apples/pears the other cup can be berries or whatever you’ve got on hand)- peeled, seeded and chopped
  • Butter and flour a 10″ round or square cake pan, I use an 8″x11″ rectangle and it works perfectly. Preheat the oven to 350.
  • Sift the flour, soda, salt, and spices into the bowl of stand mixer fitted with a paddle attachment. Add the sugar and butter. Combine at low-medium speed until the mixture resembles coarse crumbs.
  • Add the eggs one at a time and mix until fully incorporated. Turn the mixer on high and beat the batter until it is light and fluffy, about a minute. I find the batter a bit thick here, but don’t worry too much about it.
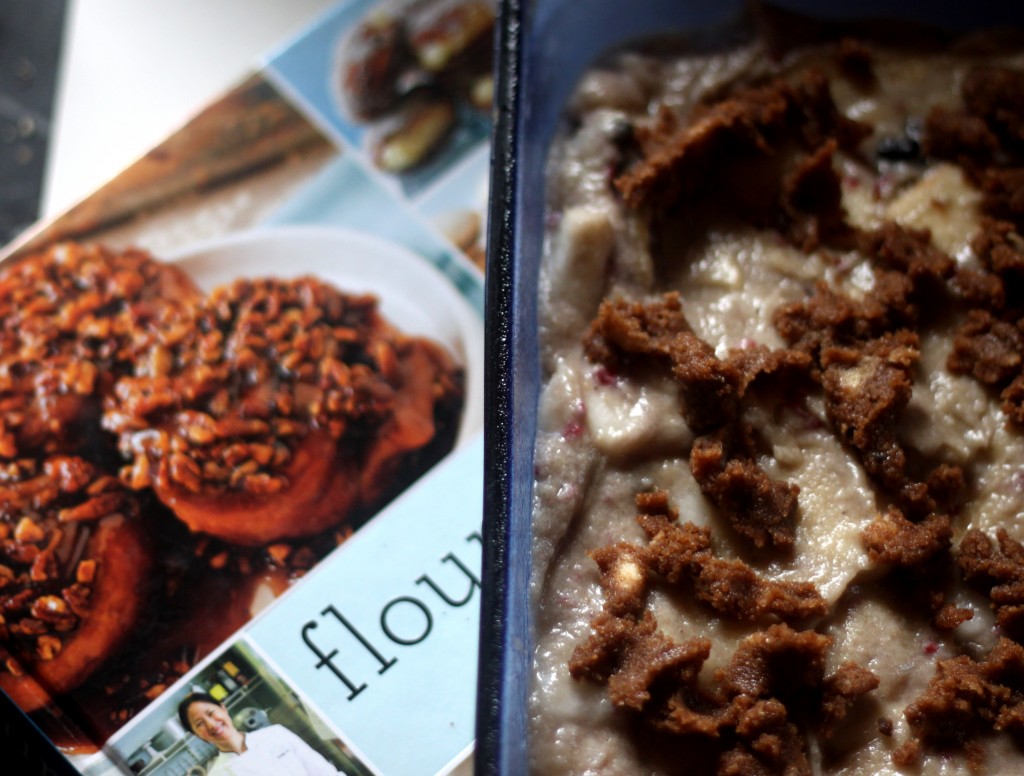
  • Using a rubber spatula, fold the fruit into the batter gently, making sure there is a bit of batter on all the fruit. The batter will be quite stiff and look like it’s mostly fruit – it should, that’s a good thing. Add the batter to the prepared pan and even it out gently.
  • Bake for about 1 hour in the 10″ pan and check it at 45 mins in the 8″x11″ one. When it is done the cake with be a nice golden brown and will fell firm when pressed.
  • Cool the cake completely in the pan on a wire rack (or somewhere that air can get around the WHOLE thing).
  • Serve the cake with a dusting of powdered sugar or a drizzle of caramel sauce.
  • I find this is a cake best eaten slightly warmed, the fruit gets all jammy and fragrant and it’s much more like a warm hug.
  • Serve with coffee. As breakfast, to your favorite people.

Dairy Free Pumpkin-Pecan Scones


Hello! I’m back and this time WITH SCONES. I’m sorry I know I’ve been absentee for two months (Ah!). I’ve been busy – I got a new job (two actually) that I think about a lot and my summer has been, well, a bit lazy. I haven’t been cooking so much. But, today marks the beginning of fall. So a new season means a fresh slate, and pumpkin, and apples, and nutmeg, and all the lovely flavors of fall. I can’t WAIT to get into the kitchen and start cooking, so here’s hoping I can come back here rejuvenated and full of new recipes for everyone. So, here you go, starting NOW: Pumpkin scones – WITHOUT DAIRY.
I am as accepting of a challenge as the next person (unless it’s squishy, or slimy, or in general unpleasant – then no, just no). So when BF’s family was visiting recently and his father requested scones made without dairy my mind started whirring, in that way it does.  I started thinking about butter alternatives (which seems like some sort of blasphemy coming from me) for BF’s dad, of course.  I pulled down books I loved, I searched blogs, and I checked my shelves for a semi-solid fat alternative, preferably with a good flavor. And then, I found it.  A can of coconut milk that had been sitting unshaken in my pantry.

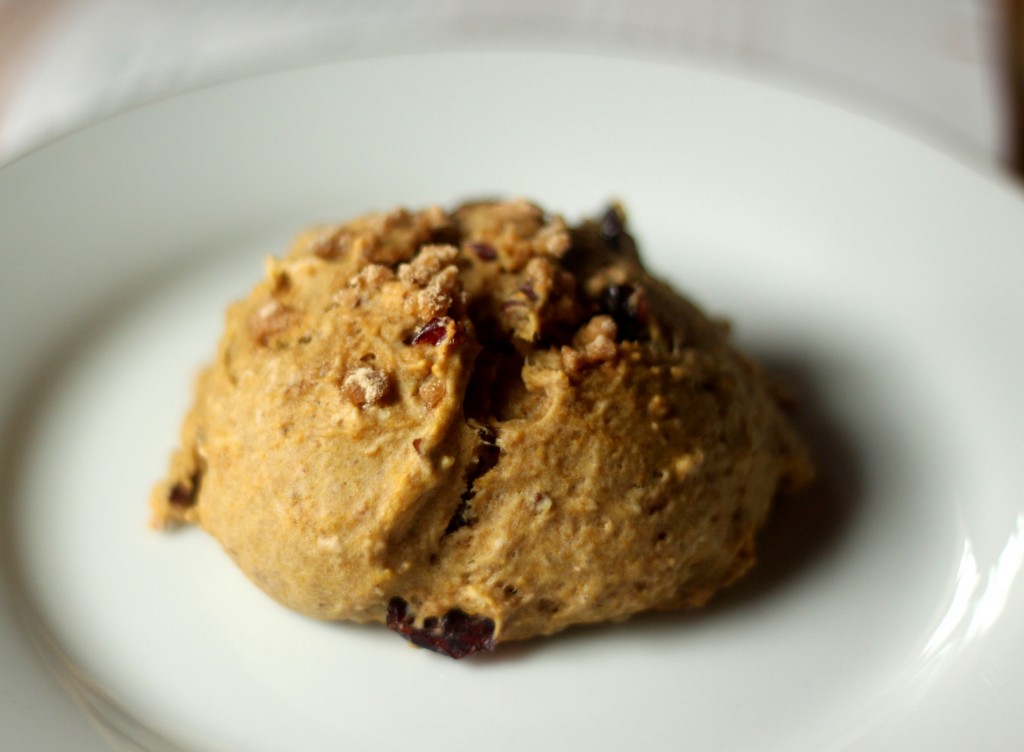
I grabbed it almost immediately and started modifying the recipe I was thinking on.  Pumpkin (ok, I used Squash), cinnamon, coconut cream, flour, leavener, sugar – I was good to go.  I’ve been making these scones for about two months now.  They’re a little sweet and with a nice tartness from the berries. I love them.  BF loves them.  BF’s dad loves them.  They are universally loved.  These are best enjoyed with a debaucherous amount of butter, or jam, if butter’s not your thing.

Dairy-Free Pumpkin Raspberry Scones
Note: I love these scones and I will continue to make more of them without butter in the future. This recipe is adapted from one in The Best Quick Breads by Beth Hensberger, which is a book I can’t recommend highly enough. Especially if you like sweet breads. It’s perfect.

  • 2 cups flour
  • 3 Tbs dark brown sugar
  • 2 tsp baking powder
  • 1/2 tsp baking soda
  • 1/2 tsp salt
  • 1 1/2 tsp pie spice (or make your own with what you’ve got on hand)
  • 6 Tbs Coconut cream the fatty heavy stuff on the top on a can of unshaken coconut milk)
  • 1/3-1/2 cup fresh or frozen berries, I use raspberries or dried cranberries
  • 1/2 cup chopped pecans
  • 1 egg
  • 1/4 cup coconut milk (use the water from th can after you’ve gotten the cream from on top)
  • 1 tsp apple-cider vinegar
  • 1/2 cup pumpkin puree (I use One-Pie Squash, because it’s my favorite and canned in Maine from Maine pumpkins)
  • Cinnamon-Sugar
  • 1 egg gently beaten (for brushing the scones with)
  • Preheat the oven to 400 degrees Fahrenheit and line a cookie sheet with parchment.
  • In a medium bowl combine the flour, brown sugar, baking powder, baking soda, salt, and spice. Mix until evenly combined.
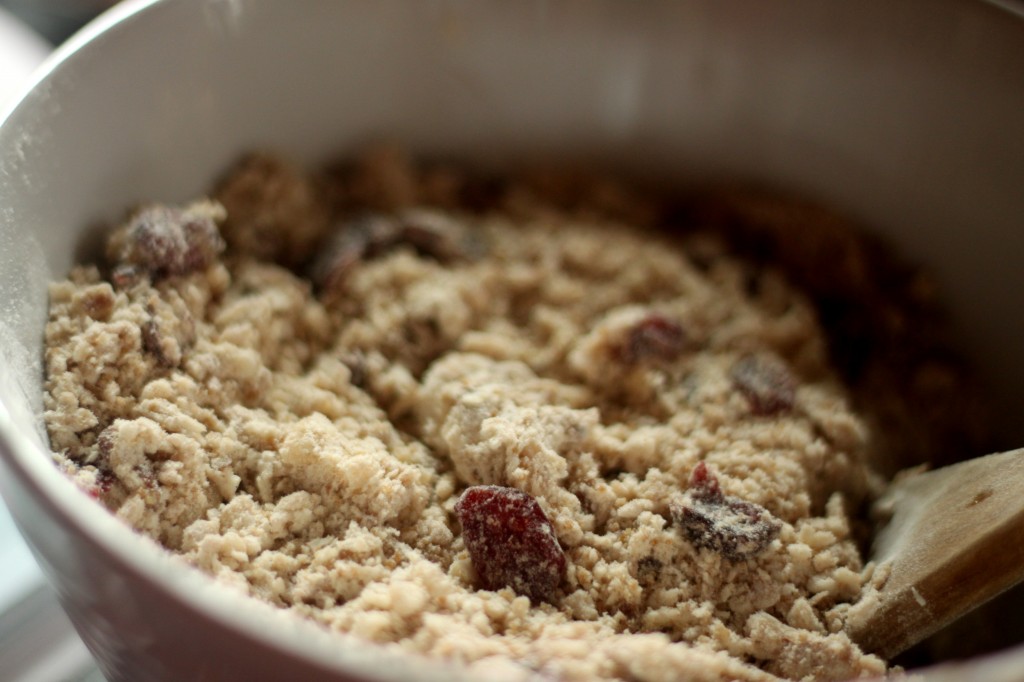
  • Cut in the coconut cream – the mixture will look a little loose, it’s ok go with it. The nice thing about using coconut cream here instead of butter is that it doesnt require the labor that butter will to cut in. you should just be able to stir it with a fork and get nice little bits of fat.
  • Mix in the pecans.
  • In a small bowl (I usually just use a two cup measure) combine the pumpkin, coconut water, cider vinegar, and 1 egg. beat this with a fork until it comes together.
  • Add the wet ingredients to the dry and stir to combine. Mix until everything just comes together.
  • Fold the raspberries in, gently.
  • Using a large cookie scoop, spoons work too, measure out the scones (I use a 2 oz cookie scoop, it makes my life easier). Place the scones on a cookie sheet 1 to 1 1/2 inches apart.
  • Brush the tops of the scones with the beaten egg and sprinkle with cinnamon-sugar.
  • Bake the scones for 20-25 minutes, until the tops are slightly golden and a toothpick comes out clean.
  • Serve these warm. With a smear of butter and coffee. They make a great afternoon snack later, too!
  • Enjoy!

Maine Sourced Granola

This is a celebratory post. It is it my hundredth post here – I feel like it should have shown up sooner and there should be a greater fanfare, but I’ve been busy. I worked really hard and threw an epic beer fest with some absolutely fantastic people, I started a new job (more on that later), and I’ve just been sort of lazy. I know I’m not supposed to admit that here – where I show you pretty pictures of food and make you think I eat like that all the time – but I don’t. Most nights I eat pasta with butter and Parmesan on it or instant mac and cheese. I have plenty of knowledge but a low threshold for motivation. Occasionally that comes out here. This post is about the awesome though, this is a celebration of this little blog – this corner of the internet I have claimed as mine and proudly declared to be KATHY CAN COOK. I’ve covered it in 8-bit sprites, I’ve met some amazing people, and I’ve eaten SO.MUCH.GOOD.FOOD.
This is not me signing off – please don’t think that as I wax nostalgic about how great keeping this blog has been. I’m not giving up on it, at least not yet, I’m not even taking a break. I’m just sharing how loved this makes me feel – and how great it is to have made friends, actual friends, through blogging. That’s what this recipe is – new to me comfort food that is a little bit of home and a whole bunch of love. I made it with my big sister on a Monday afternoon that she’d taken off to hang out with my kid brother and I. It was a perfect leisure activity.
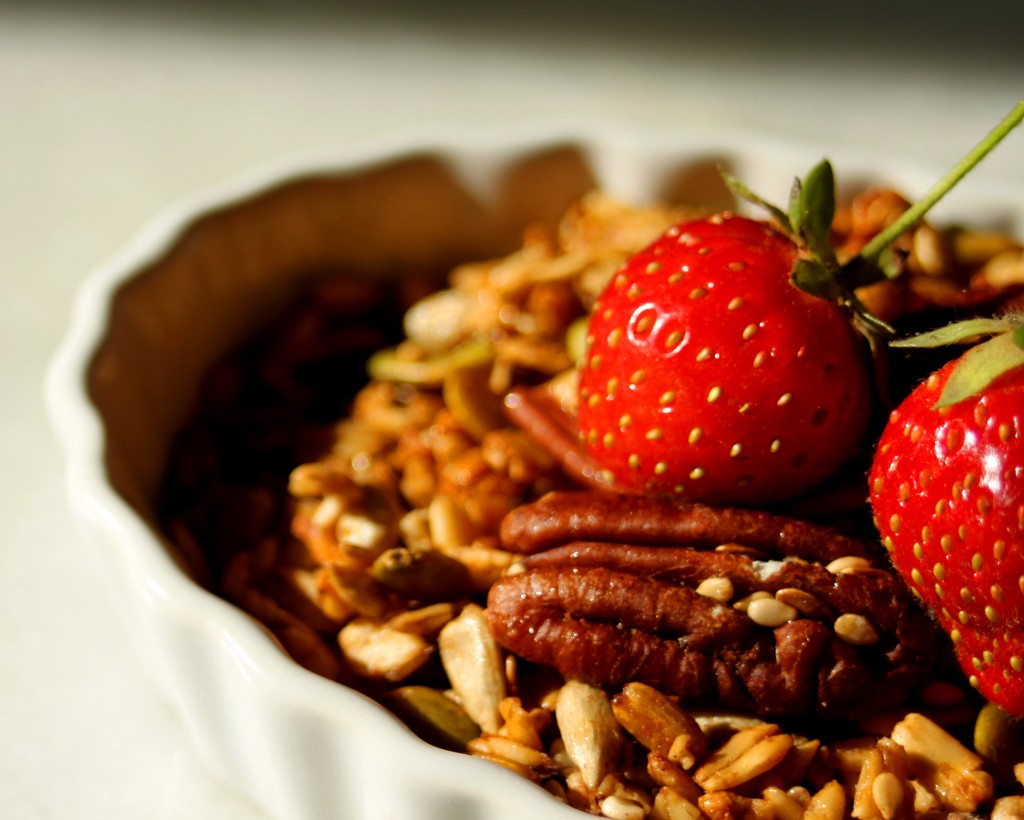
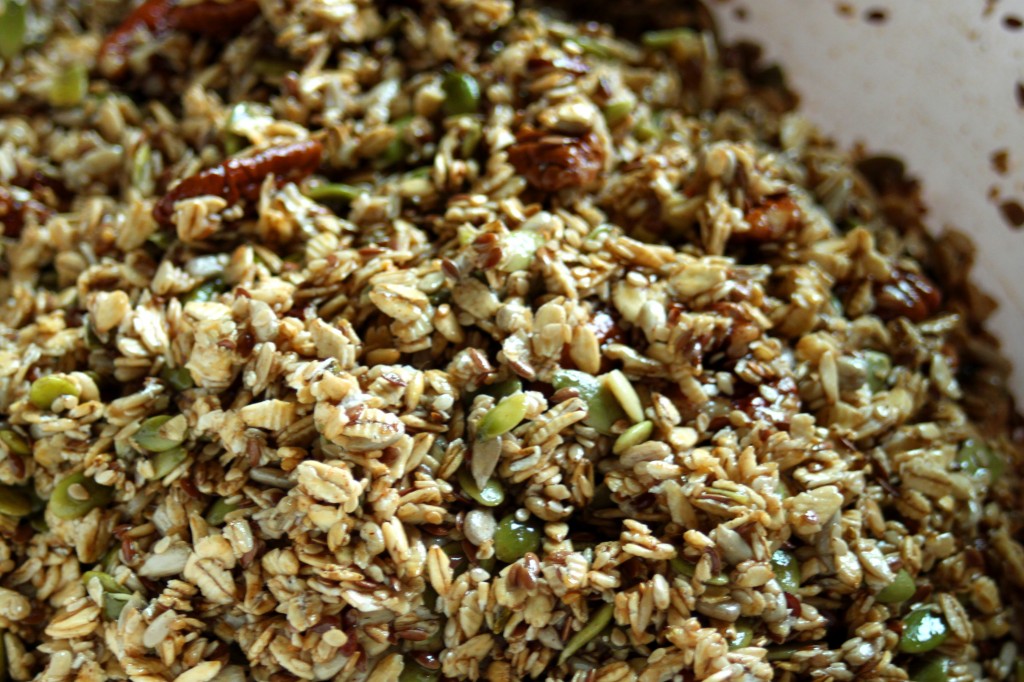
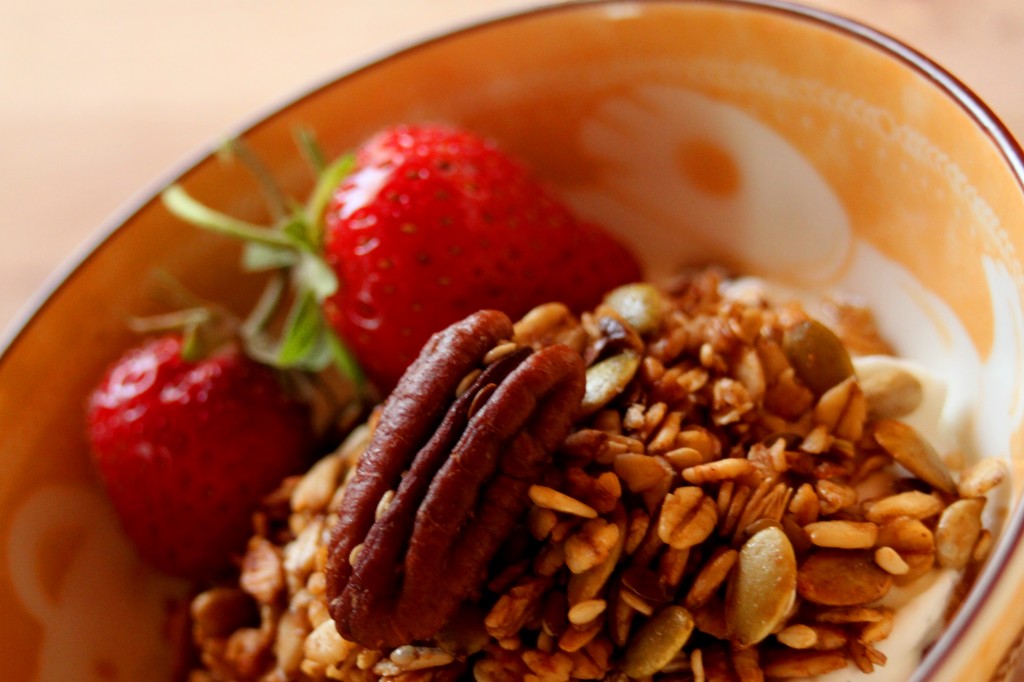
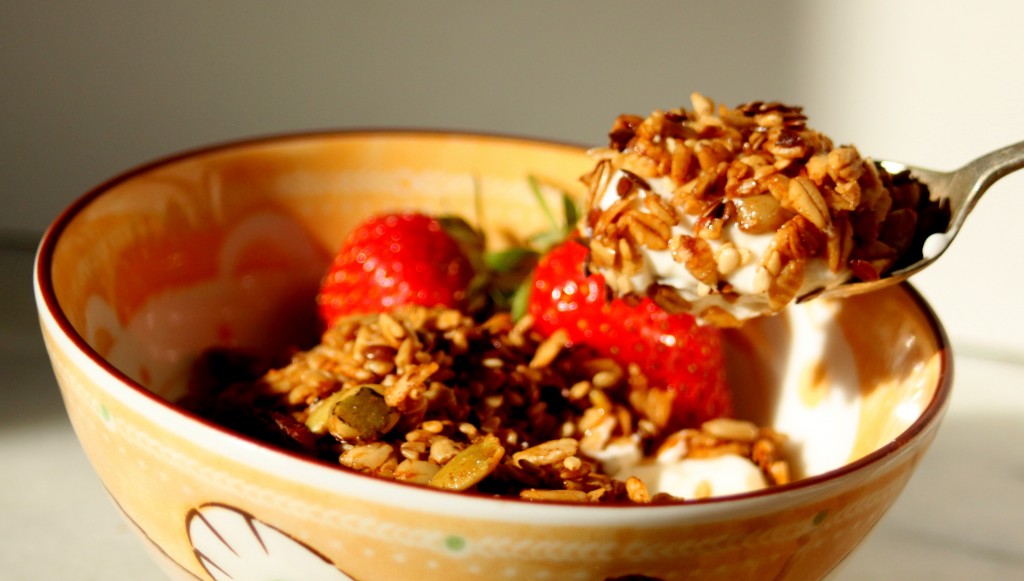
This granola is made with rolled oats sourced from Aurora Mills in Maine, and alone they are great and nutty oats – in granola they have just the right flavor and give while still being chewy and filling. This is not-too sweet granola either, it’s maple-y without being in your face and it holds its own against the tang of Greek yogurt.
I say this granola is home because it is. I feel a special connection to pretty much anything sourced from Maine and even now, when I don’t live in Maine anymore I still refer to myself as a “Maine kid” it gives me a sense of identity and place. I love it – so this granola is a perfect example of blogging for me – it’s new, my first homemade granola (win) paired with some old (a few Maine oats to make me feel like I’m home).

Home-Made Granola

Note: This recipe is loosely based on one from the Cooks Illustrated Cookbook in that I looked at that cookbook for ideas of what ratios to use and what temperature to cook my granola at. Please consider this a broad guideline to create your own granola recipe though, it’s totally adjustable I used the flavors and textures I really liked when I made this, as such you should adjust in your own way. It does make a lot of granola though, so be prepared to share!

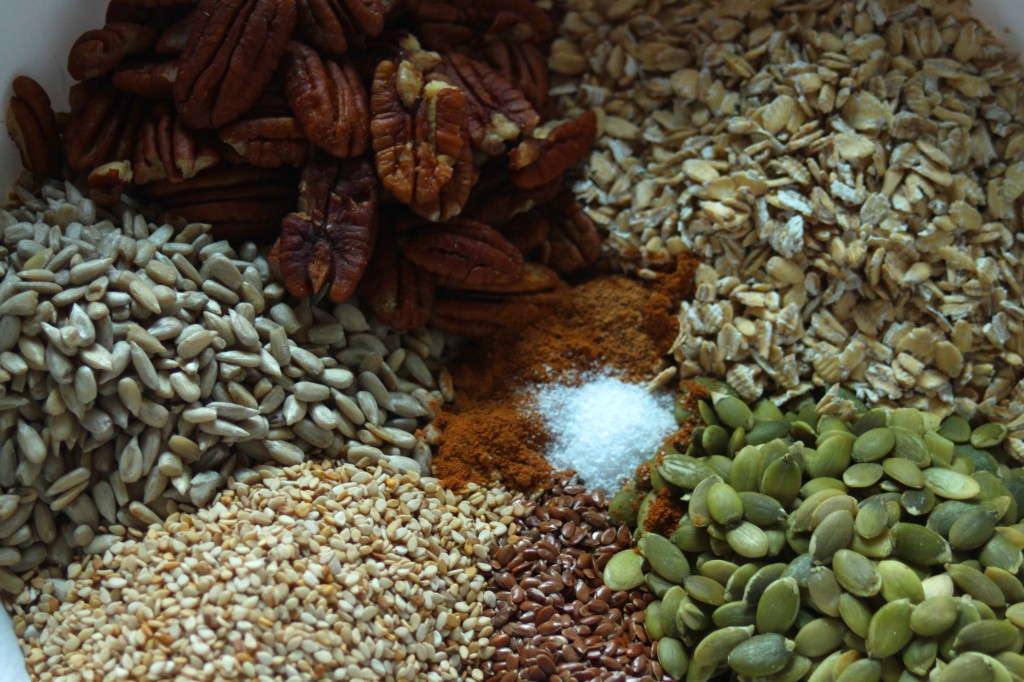
  • 3 1/2 Cups Old Fashioned Rolled Oats – small batch rolled oats will be nuttier and more flavorful
  • 2/3 cup Pepitas, hulled pumpkin seeds
  • 1/3 cup sesame seeds. raw
  • 1/3 cup flax seeds
  • 2/3 cup nuts (I used pecans and they were AWESOME)
  • 2 tsp cinnamon
  • 1/2 tsp nutmeg
  • 1 tsp salt (I use coarse kosher, but go with your preference)
  • 1/3 cup high heat oil (I used peanut, but you can use safflower, sunflower or whatever else too)
  • 2/3 cup Real Maple Syrup (The corn syrup stuff will not work here)
  • 1 tsp vanilla extract
  • 1/4 cup Honey (the honey/maple syrup ratio is really forgiving and can be modified to what you have)
  • 1/2 cup toasted coconut
  • 1 1/2 cup dried fruit (I used cranberries, tart cherries, and candied ginger)
  • Preheat your oven to 300 degrees farenheit.
  • In a large bowl combine the dry ingredients (oats, nuts, and seeds) and mix until evenly distributed.
  • In a small pan combine the oil, honey, vanilla, and syrup. Heat them over low heat until the liquids are fluid and easily mixed.
  • Pour the liquid over the dry ingredients and mix until everything is evenly coated
  • Put the granola in a large pan (I use my turkey roaster) and spread it out evenly so it is an even layer (mine was about 3/4 inch thick).
  • Toast the granola in the oven for about an hour – stirring every 10 to 15 mins to prevent large clumping. THe granola will be golden brown and fragrant when it is done.
  • Allow the granola to cool completely, for at least an hour.
  • Mix the toasted coconut and dried fruit into the toasted granola.
  • Eat over your favorite yogurt or by the handful!

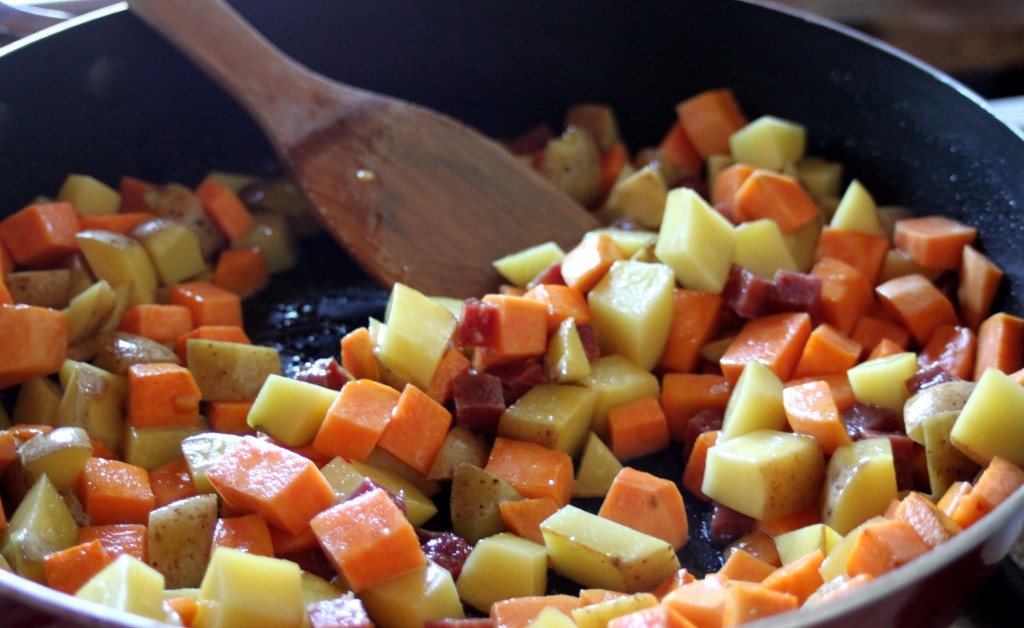
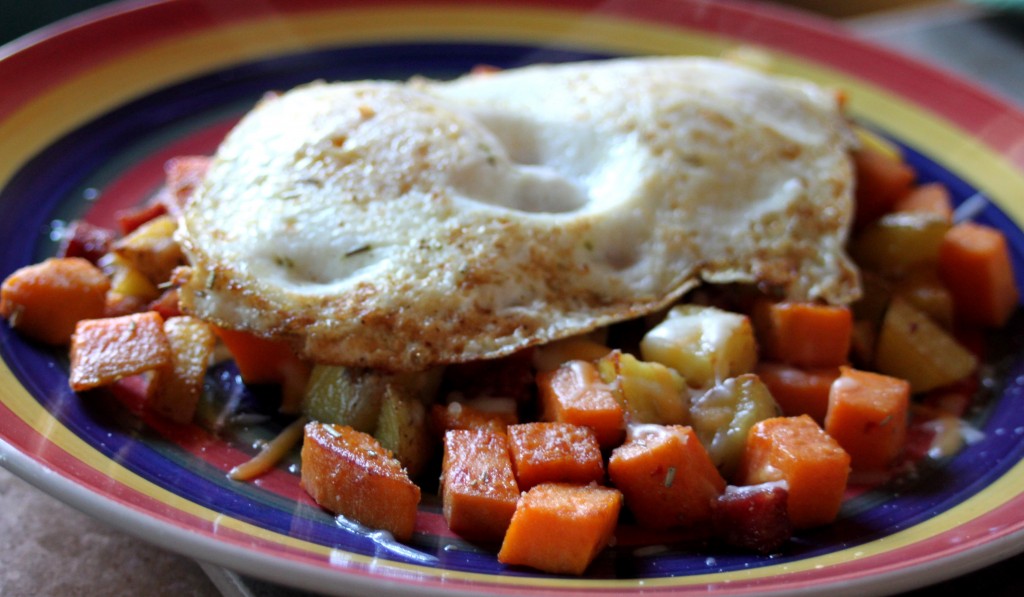
Sweet Potato and Salami Breakfast Hash

At the end of April I met up with Megan and Amanda for drinks and dinner downtown at JM Curley Bar. We all hadn’t seen each other in while so we grabbed a tbel ordered cocktails and talked for a long time. About everything we hadn’t gotten a chance to talk about in a while. It was awesome. Between a marathon, a wedding, and a frantic hunt for work the three of us have been going straight out just trying to keep up with our lives, so taking the time to stop, breathe and appreciate each other was wonderful. But, I digress. I am bringing up this meal because we all ordered the same thing – a Square Meal. Jm Curley’s offers a big board of specials every day and the day we were there the square meal was comfort food – and since it was Friday and we were all tired and had had stressful weeks we went for the same thing.

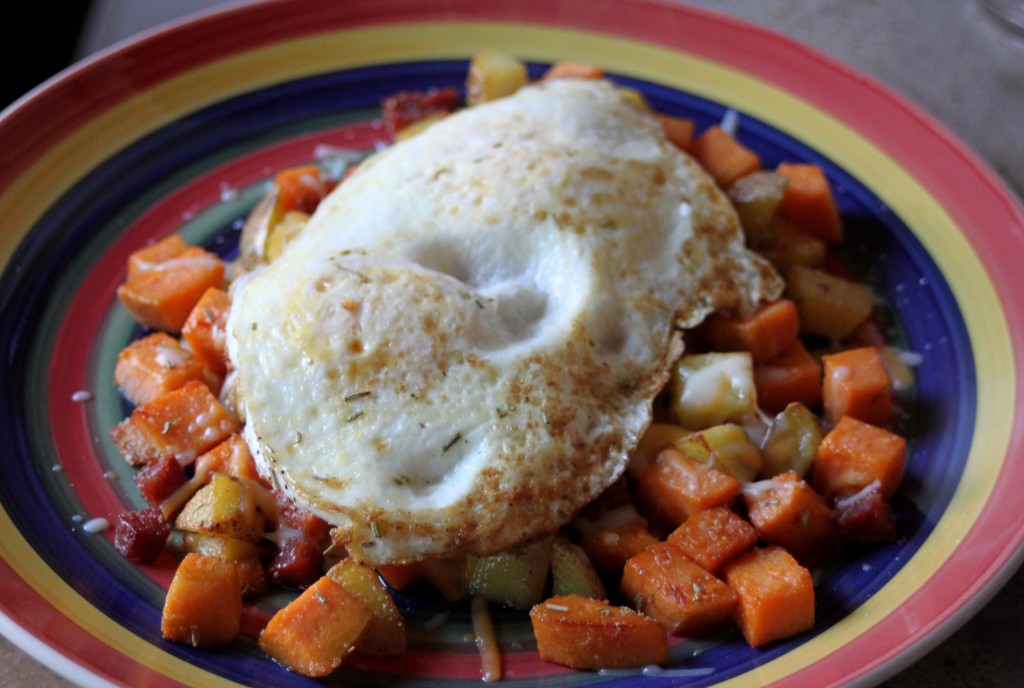
Our meal that night was rye toast, potato wedges, cheese, ham, and a fried egg. It was delicious. I went home thinking about it. I woke up the next Saturday morning thinking about it, and when I remembered the potatoes sitting comfortably in my storage I made it. My hash only held a slight comparison to the JM Curley one – I used sweet potatoes and made homefries instead of fries, I used a spicy sausage, similar to pepperoni, instead of ham, I used grated cheddar cheese instead of gruyere, but, overall, it was crack – also GREAT hangover food. Truth. And occassionally we all need to cure a hangover, yeah?

I have now made this hash a handful of times, and every time I eat it I fall in love with it all over again. I know, it’s indulgent but it’s so good and it just makes a Saturday or Sunday morning absolutely fantastic

Sweet Potato and Salami Breakfast Hash

Note: This makes a lot of hash – it will comfortably serve two as large main courses or four as smaller courses.

  • 1 sweet potato, cut into 1/2″ cubes
  • 1-2 small potatoes, cut into 1/2″ cube (skin optional, I usually leave it on)
  • 1/2 cup hard salami, cut into 1/4″cube
  • 1 Tbs butter
  • 1 tsp garlic powder
  • 1/2 tsp rosemary, more if you are using fresh
  • salt and pepper – to taste
  • 1/2 cup grated cheddar cheese (or your favorite)
  • eggs cooked over easy
  • Melt the butter in a large skillet over medium heat. Add the sweet potatoes and the regular potatoes.
  • Stir the potatoes around in the butter to evenly coat them and then saute them, stirring every two minutes or so until they are softened – about 7 minutes.
  • Add the salami and spices, stir gently to evenly distribute the spices. Increase the heat to high
  • Cook the salami and potatoes until both are crispy – about four minutes over high heat.
  • Portion the hash out over as many heat-proof plates as you are using. Spread the cheese evenly over each portion of hash and stick them in a warm (200 degree) oven while you fry your eggs.
  • Top the cheesy hash with the fried eggs and enjoy. Makes a great breakfast for dinner too!

Brunching and Lunching at Common Ground in Allston

I am typically easy to please so if a brunch doesn’t wow me I feel like it probably won’t satisfy other people either. Now, I’m not saying I’m the super judge – I’m not at all but I do tend to like things that are really good and become sorely disappointed by those things that are not. I went to Common Ground with no expectations and no real idea of what I was getting – they were a blank slate that could swing one way or another. So I risked it.

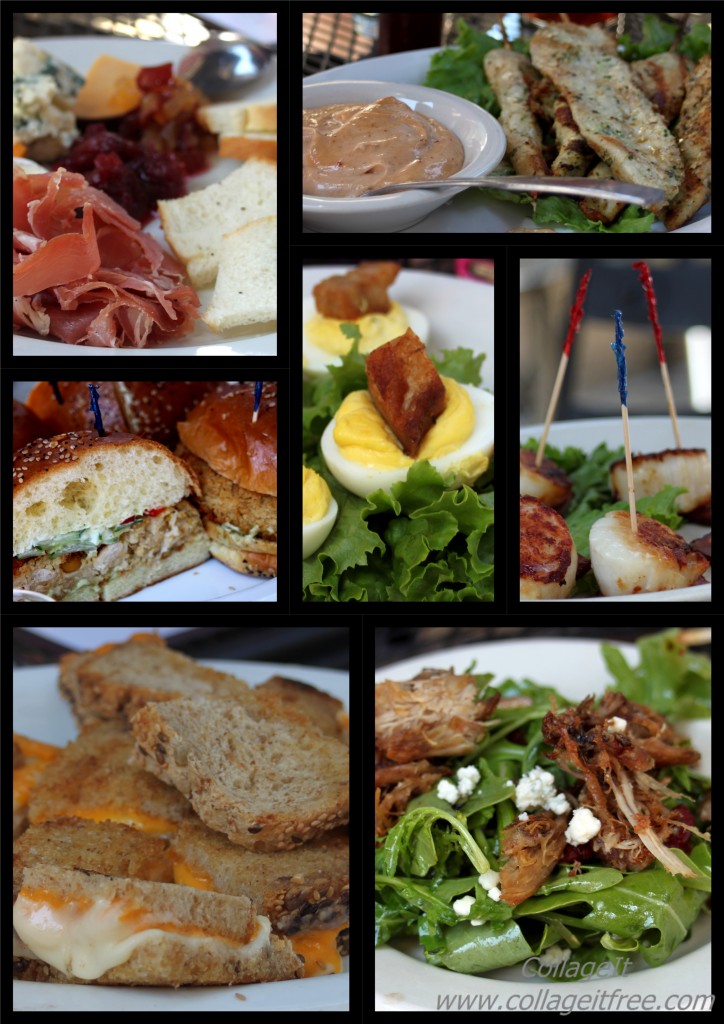
I was disappointed, they offered a lot of standard fare set up in a brunch buffet style at a totally reasonable price point (6.99 on Saturday and 9.99 on Sunday) but I felt just sort of meh about the food they offered us there. The eggs I found dry, the home fries were lackluster, and the bloody mary woefully unoriginal (one of my biggest pet peeves is a bloody mary that isn’t distinct in some way). Please don’t think Common Ground did everything badly – their homemade meats were stellar there was perfect breakfast sausage which I could have eaten pounds of and corned beef hash that would have made BF weak in the knees. Also, ordering the bananas foster french toast off menu is a brilliant plan. You will want to put that sauce on EVERYTHING, maybe even in your coffee.

Now then, so I went to brunch and found it lackluster but decided to fortify and try again since Common Ground was kind enough to invite me back for a lunch later in the week. I went to lunch with low-ish expectations, I’d been disappointed by brunch so lunch wasn’t going to blow my mind – was it? How wrong I was. Common Ground’s savory menu is superb. I would have given them a glowing recommendation based on just the margarita chicken skewers that I ate, but overall they nailed it with lunch. There were perfectly cooked chickpea and lentil veggie burgers – I usually skip the veggie burger but this one I will be eating again. They doted on my dining companion, Jess’s Bug, bringing him cups of fruit when he wasn’t a fan of anything on the menu (which made them heroes in my eyes).

So it was that Common Ground was able to redeem themselves in my eyes. I will definitely be back soon, probably with BF, and probably for a Geeks Who Drink night for Geek Trivia (total score in my book). I will stick to the savories and skip brunch, but regardless they had fantastic service and a great atmosphere (even when full of rowdy college kids on a graduation bar crawl).

Disclaimer: I was given both of these meals free of charge but all opinions based here are my own.