Candied Ginger

candiedginger_1There have been a few very fortuitous things happening for me recently – not in actual life, but here on Kathy Can Cook. First, my sister offered to write me a guest post on ginger, which I jumped at of course! Second, Jess asked me to help her make a cocktail with candied ginger in it. Third, I was invited to A Spoonful of Ginger at the MFA to help benefit the Joslin Center for Diabetes Research. So, obviously, there was a need for a BLOG SERIES.

candiedginger_2 So, candied ginger. Candied ginger is a perfect snack or palate cleanser, it’s a moment of sharp heat and sweetness when you need it most. It’s great in cookies, cocktails, and on it’s own. It’s basically magic (the ginger syrup that you get as a byproduct is pretty awesome as well). My sister had a couple of good comments on candied ginger on her post about ginger too – go read up on it!

candiedginger_3 
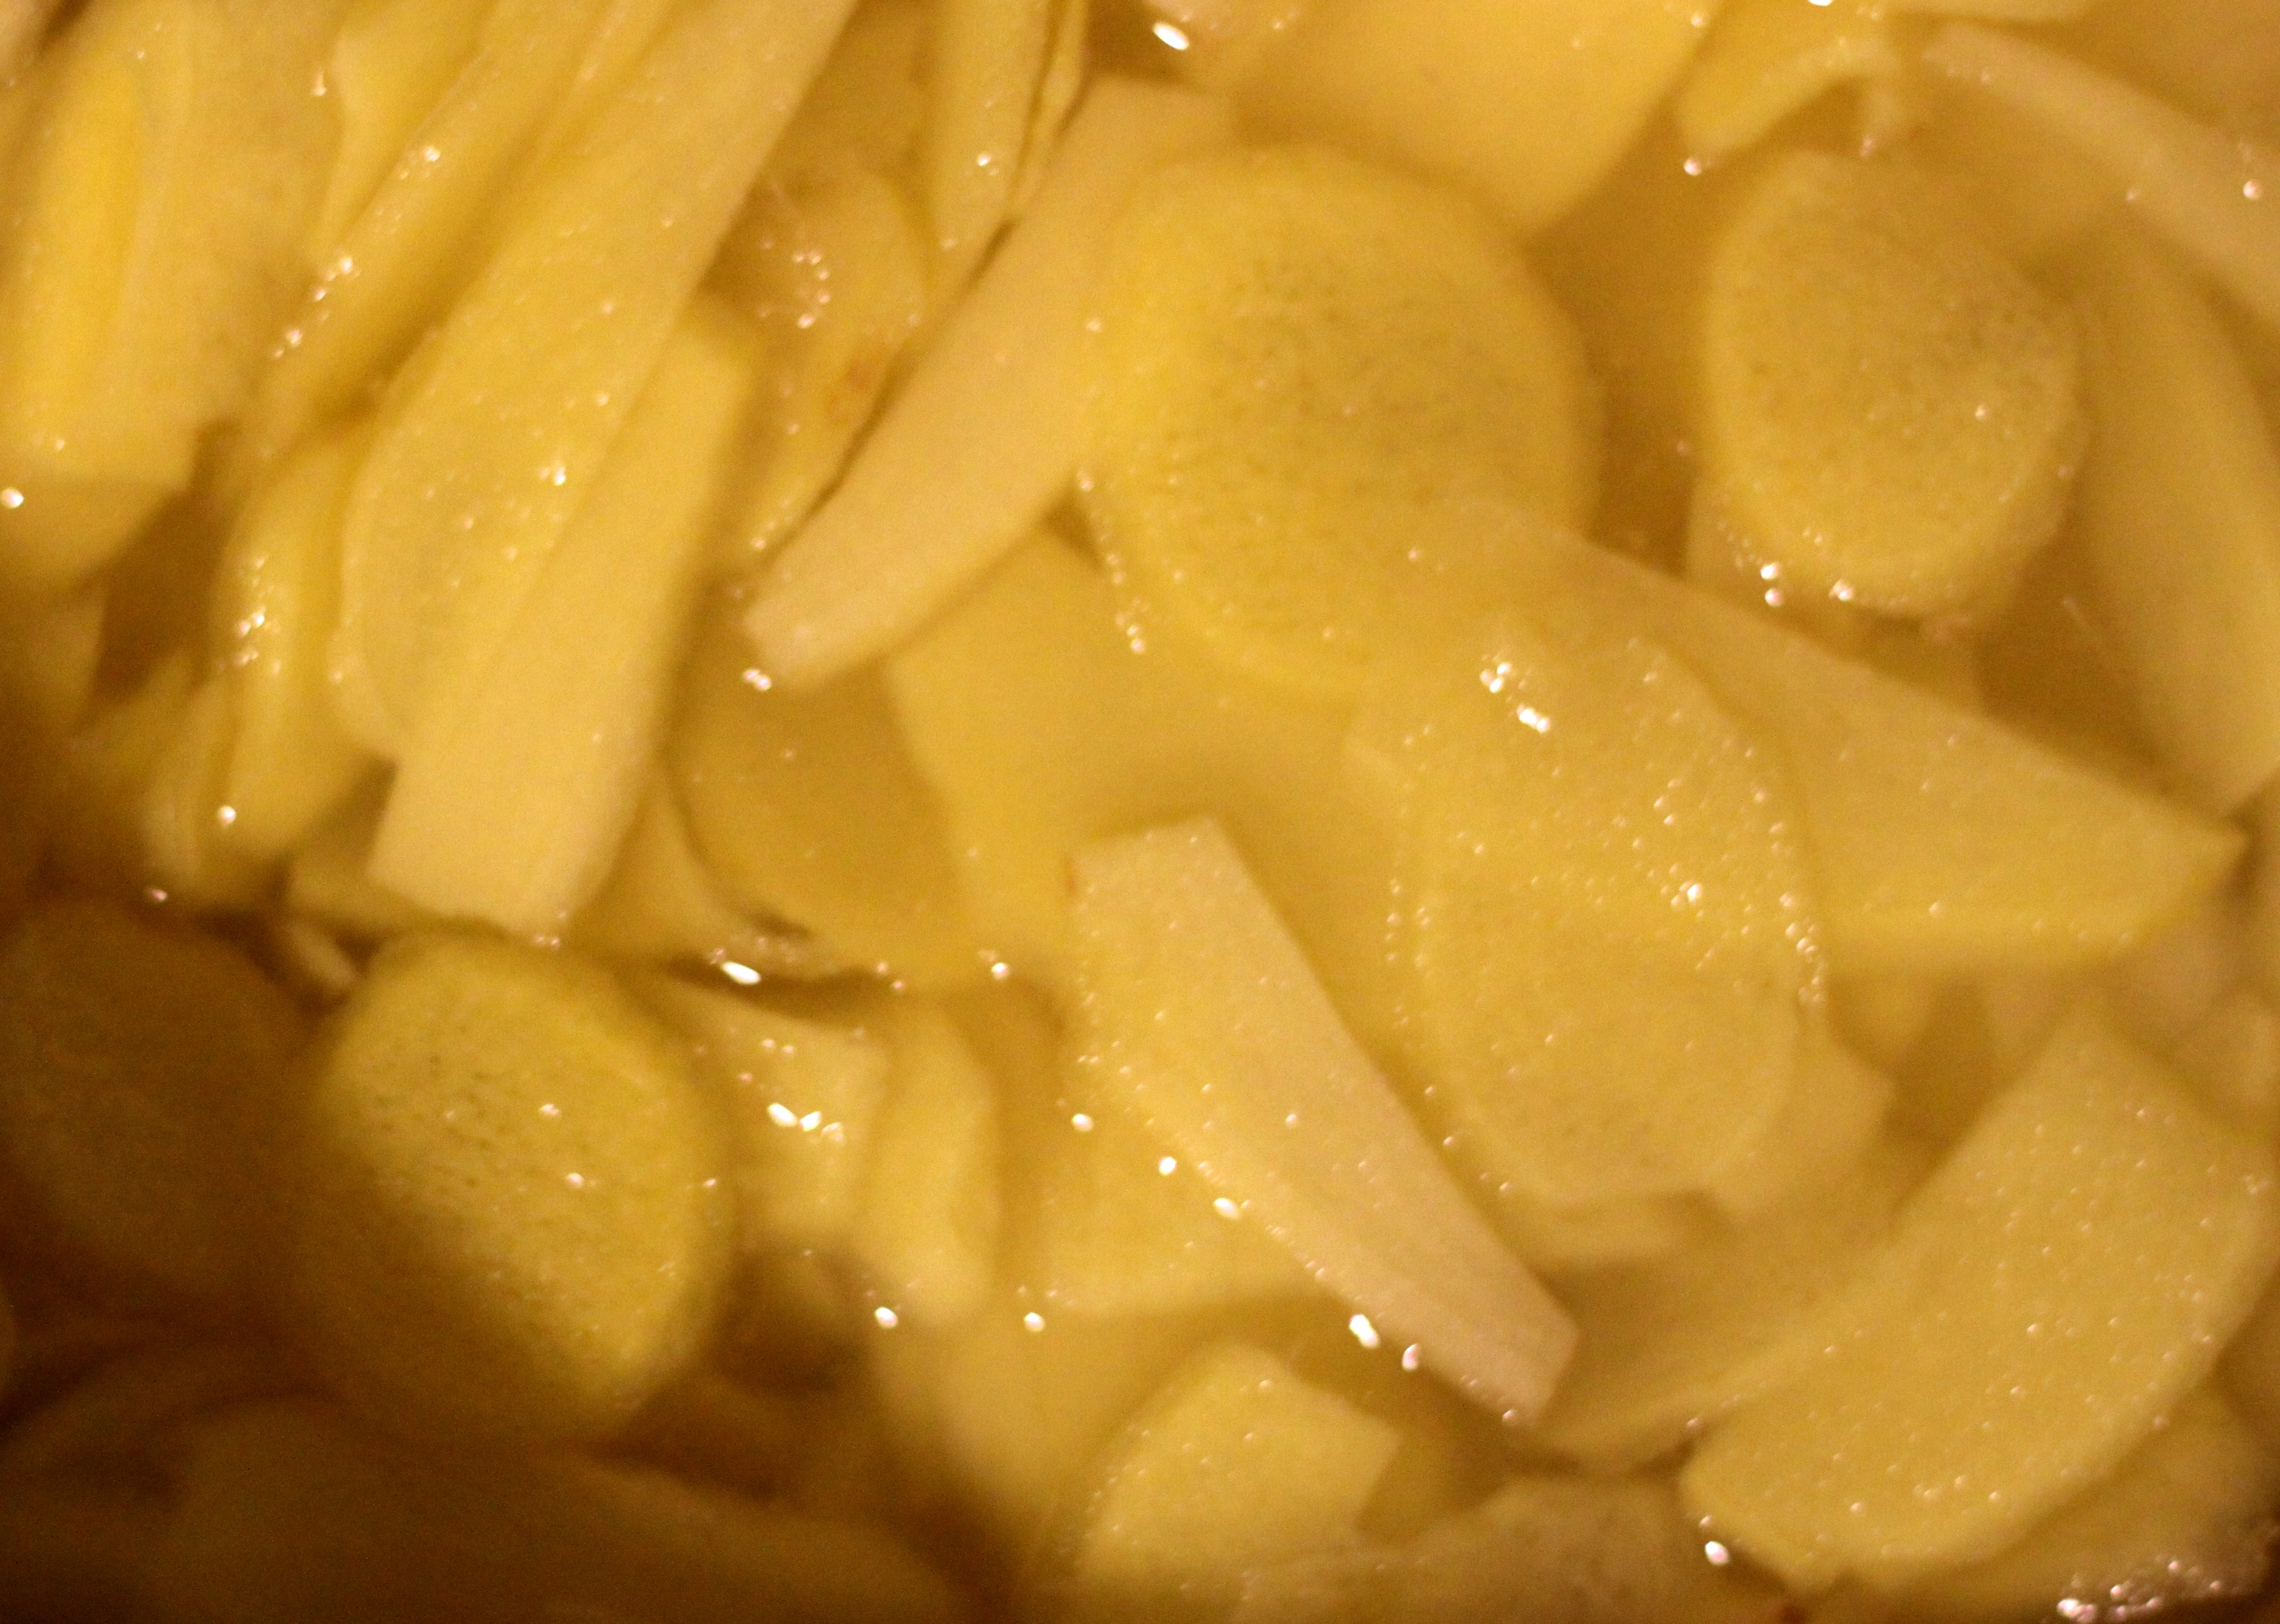
I ended up making this because I just needed to. I read the recipe that Jess had chosen (she posted the full cocktail on her blog) to highlight, essentially a dark and stormy – but infinitely better. So I read the recipe and noted that there was A LOT of fresh ginger being used – two large hands is nothing to sneeze at. But I did it, peeled and chopped two hands of ginger, and got roughly a quart of peeled ginger that was BEAUTIFUL, bright yellow, and lovely.

candiedginger_4 
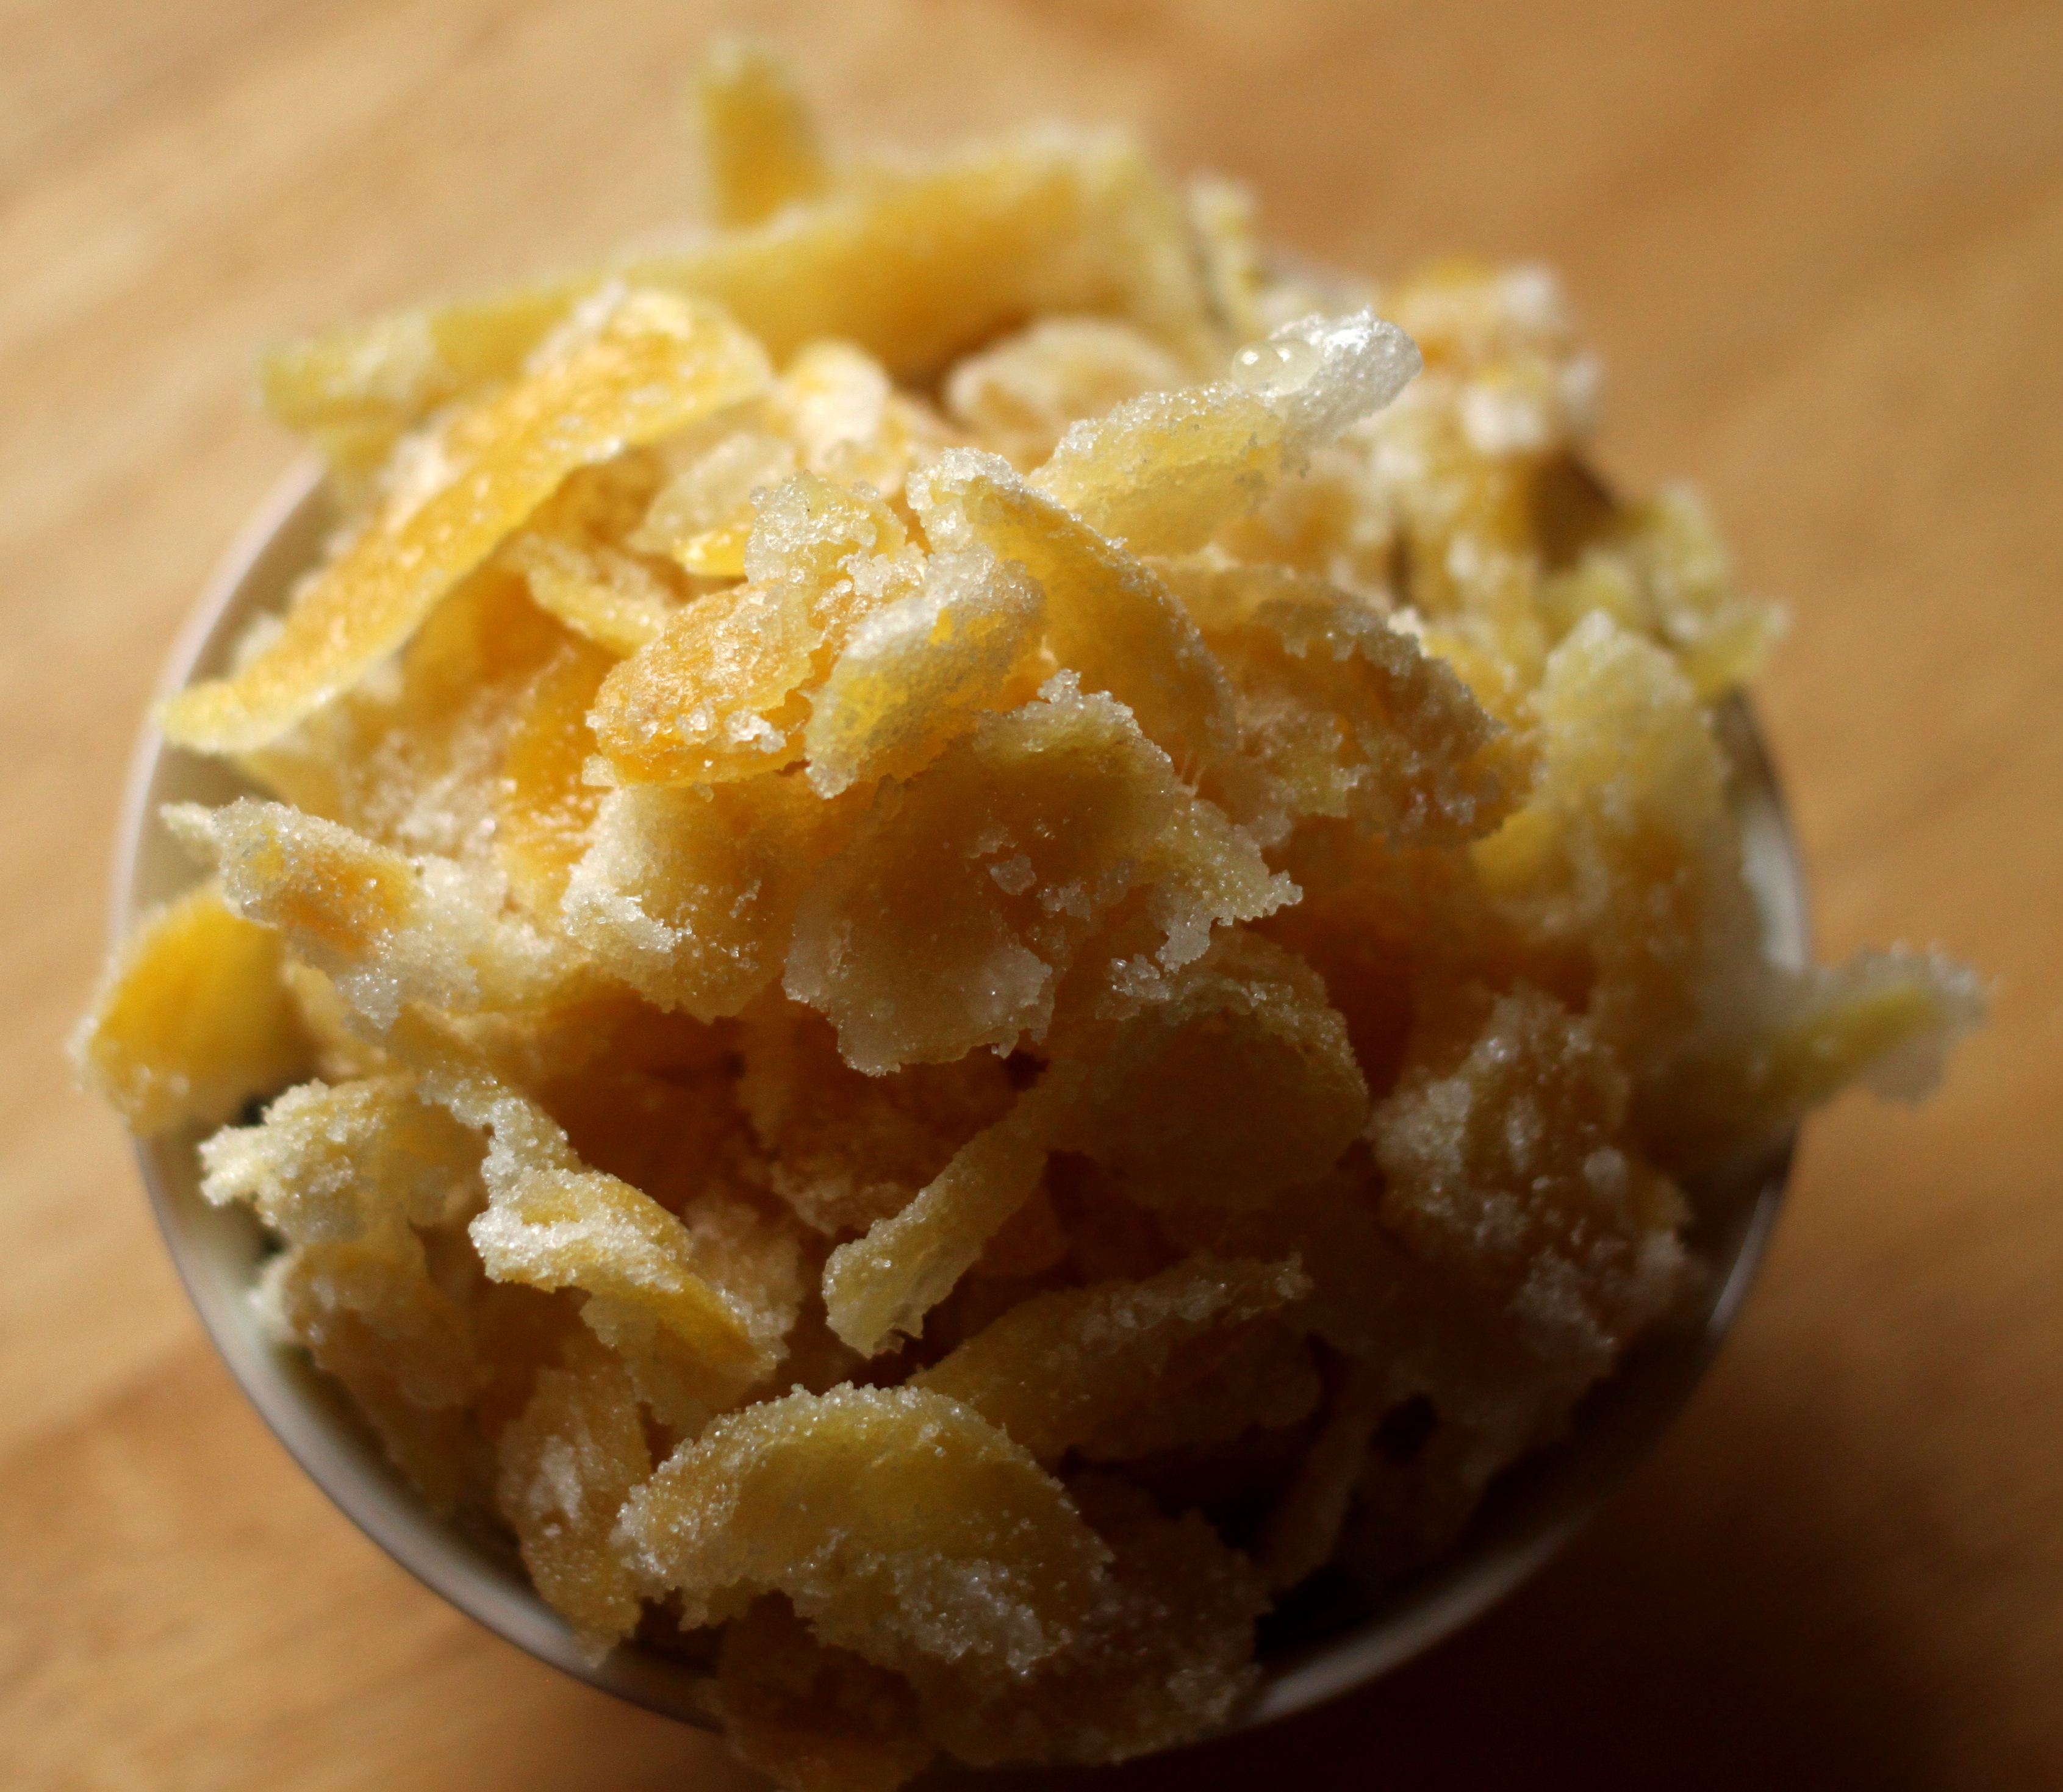
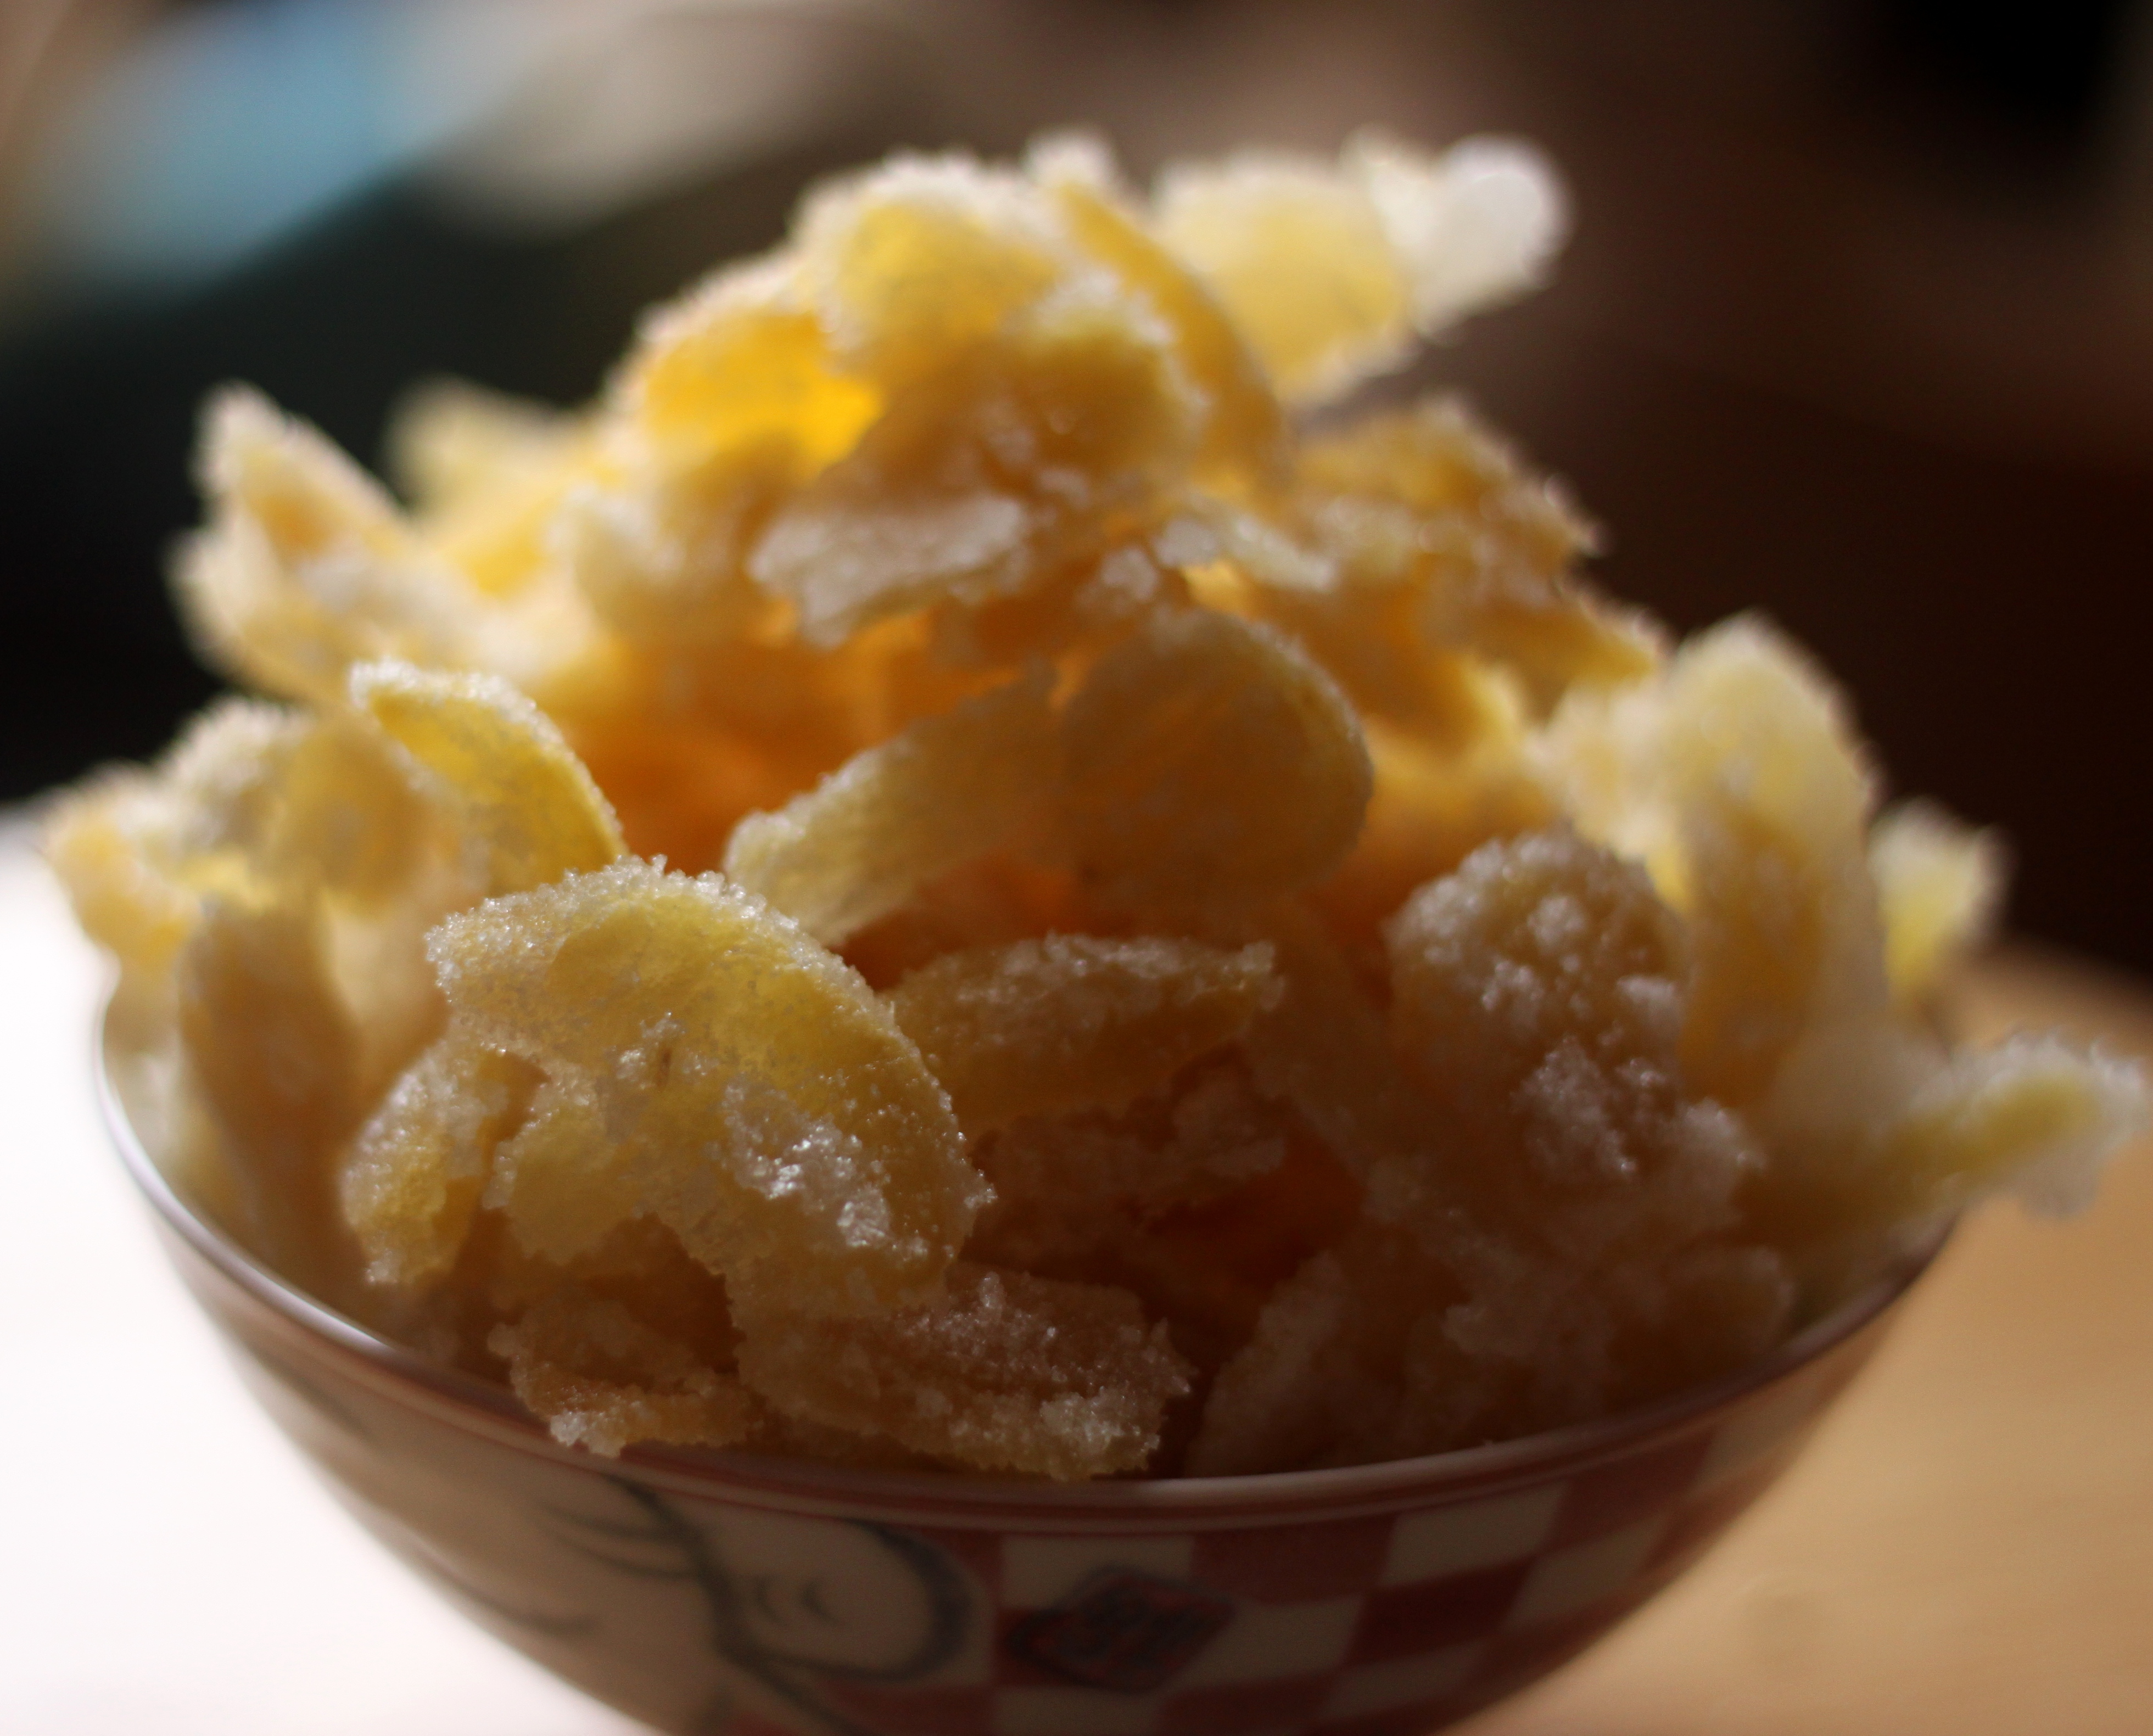
I don’t know that I will buy premade candied ginger again – because here’s the thing, this was perfect. It tasted fresh and gingery, it had that sharp ginger flavor without a weird old ginger aftertaste and I totally could have made a small amount. I also loved that I didn’t have to coat it in sugar, and make it candy sweet, if I didn’t want to.

Candied Ginger
Note: This recipe is adapted from a recipe that Jess got for a Goslings Rum and Ginger Cocktail, created by Ming Tsai. I am sharing only the recipe for candied ginger, because it was AWESOME, you can see the cocktail over on Jess’s blog.

  • 2 cups ginger, roughly two medium hands or one large one
  • 4 cups sugar, plus 1 1/2-2 cups for sugaring
  • 2 cups water
  • Peel and cut your ginger. I find ginger is easiest to peel with a spoon, you can run the tip of a spoon right over the skin and it’ll fall off, this also works for those little nubbins and nooks where a peeler or knife wouldn’t fit.
  • To cut the ginger cut it unto 1/8 inch thick rounds or strips, either will work one way you’ll see the fibrous ends of the ginger and it’ll be a little bit rougher and with the grain you’ll get smoother pieces but they’ll be tougher.
  • Combine the chopped ginger, 4 cups of sugar, and water in a large saucepan over medium heat. Bring this to a simmer.
  • Reduce the heat to low and allow the ginger syrup to simmer for 10-15 mins, until it is about 1/3 reduced
  • Preheat the oven to 200 and line a large baking sheet with parchment paper
  • Using a fine mesh sieve, strain the syrup into a heatproof bowl. Reserve this syrup, it’s great in club soda as homemade ginger ale.
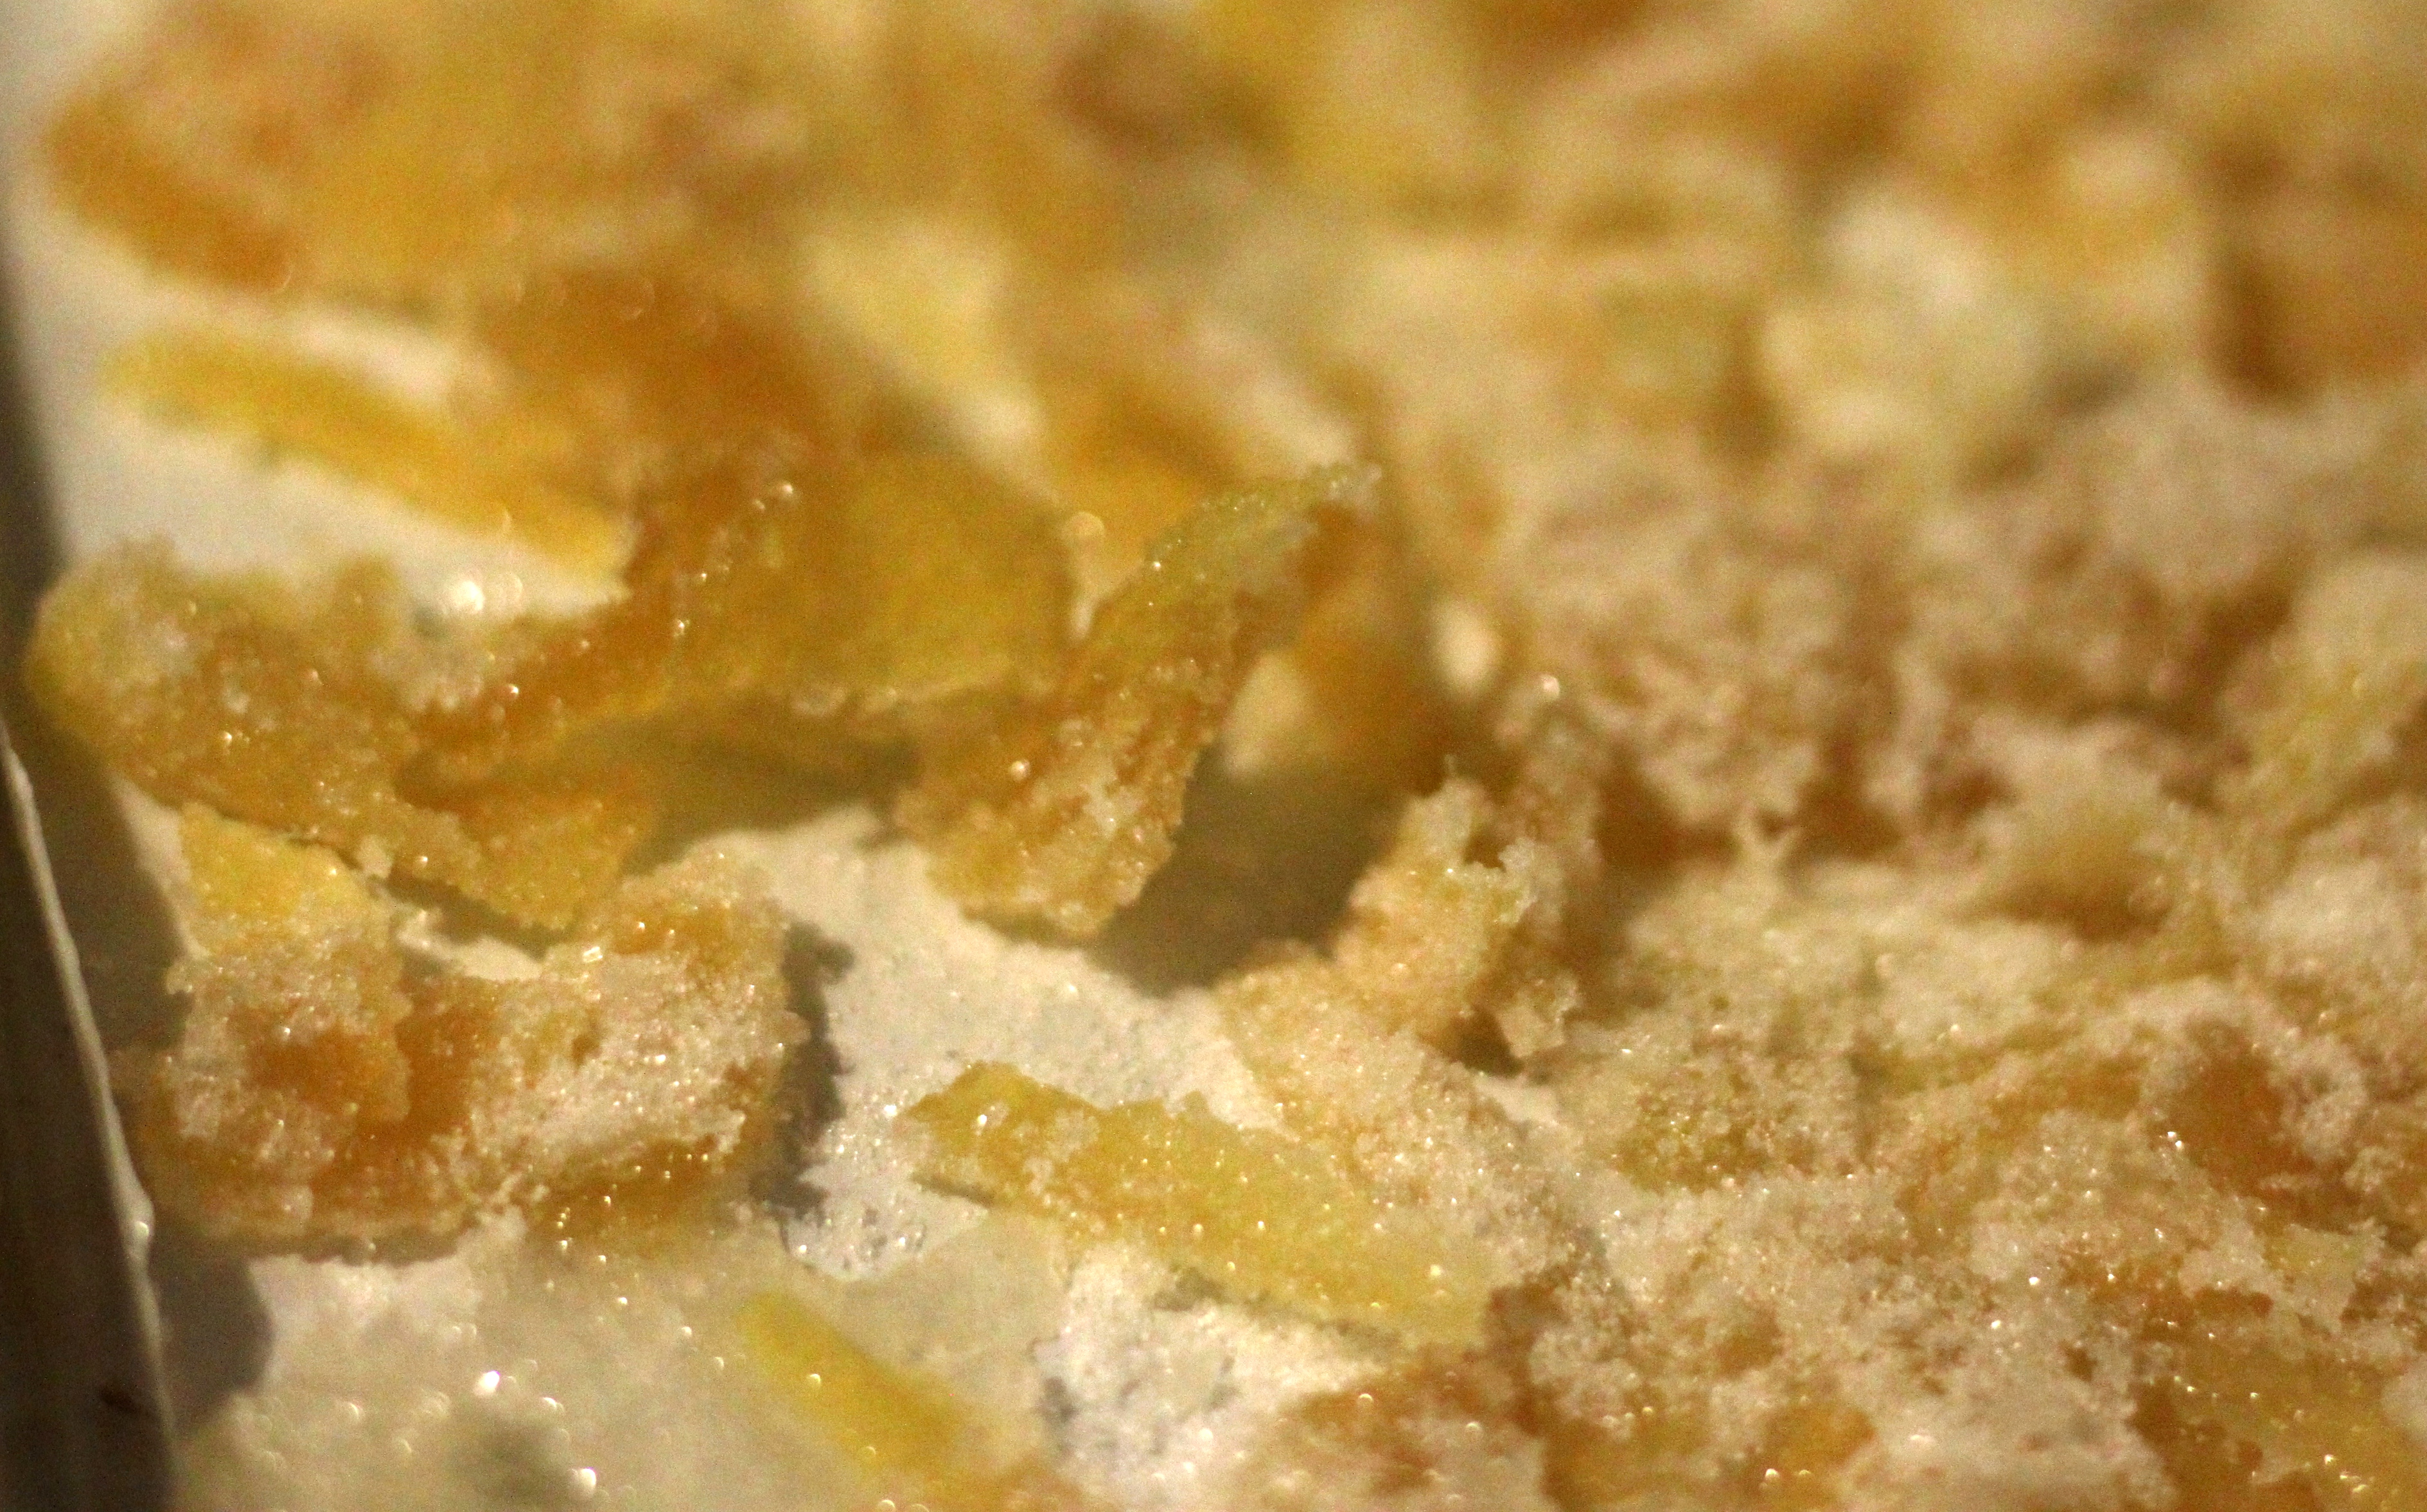
  • Combine the strained ginger and the rest of your sugar in a large bowl – gently toss the ginger with the sugar until it’s sparkly with sugar and mostly separate pieces. I found that a pair of gloves would be ideal here.
  • Spread the ginger in a single layer on your prepared baking sheet and put it on a middle rack in the oven.
  • Bake the ginger for 3 1/2-4 hours, rotating it occasionally. The ginger will be mostly dried out after this.
  • Allow the ginger to cool completely before touching it. MOLTEN SUGAR IS HOT. I left mine in the cooling oven overnight, and it was perfect the next day.
  • Break the ginger apart gently, this is easily done using a gentle pressure and pinching the piece of ginger between your fingertips – they should fall right apart.
  • Enjoy! I love to add a touch of the syrup and a couple slices of the candied ginger to lemon tea, or club soda (with a splash of rum).

Dining Out: Treat Cupcake Bar

Treat1

Last week I was invited to try out a Treat Cupcake Bar cupcake party with the Boston Brunchers.  I was pleasantly surprised.  I am not the biggest fan of the “Cupcake trend” that’s been pseudo-taking over recently. And Treat is not the most convenient of places to get to, but the party – was FUN. I loved being able to go and play with frostings and candies and fondant (note: I LOATHE fondant) with out having to make all of those ingredients myself.  The party was very streamlined from decorating cupcake boxes, to decorating aprons, to decorating cupcakes everything lead into itself in a very smooth way. I thought Treat’s cupcakes were fine in flavor and texture but the experience was SO MUCH FUN. I would totally set this up as a kid’s party, with mini cupcakes though – the ones we left with were HUGE (and there were six of them!). You can learn more about Treat parties here.

This Baby.

This Baby

This cupcake party was provided free of charge by Treat Cupcake Bar in exchange for this post.  All opinions here are my own.  I did receive six cupcakes but gave one to my cabbie on the way home, as a thanks.

Browned Butter Rice Krispy Treats

RiceKrispytreat1
I have a confession: I love rice krispy treats. I love them in an unabashed I will gorge myself silly on them if they are in the house kind of way.  I love them in a “these are made with breakfast cereal so they totally count for breakfast” kind of way.
RiceKrispytreat2
I’ve been making these little snacks for at least three years, every six months or so I get a hankering and cook up a batch.  It takes ten minutes at the most and you get to have a super classy and delicious dessert/snack/breakfast at the end.  I made these ones with my sister and she took all the pictures for me, I also made her some salted caramel sauce that same night so we got creative with the drizzling.
RiceKrispytreat3
Now go grab the ingredients and make these.  They’ll cost you less than $3 and they disappear within twenty four hours. I promise.

Browned Butter Rice Krispy Treats
This recipe is adapted from Flour:Spectacular Recipes from Boston’s Flour Bakery and Cafe by Joanne Chang – I love this book, you should too.

  • 9 cups of rice cereal (generic Rice Krispies are totally fine)
  • 1 bag of marshmallows (I use Jet-Puffed Mini Marchmallows becasue they melt better)
  • 1 cup unsalted butter
  • 1/2 a vanilla bean (optional but it really does make it better)
  • 1/2 tsp coarse kosher salt
  • Lightly grease a 9×13 pan with butter, just to coat. Measure out the rice krispies into a large bowl.
  • Add the butter and the caviar from the vanilla bean (all those seeds inside when you split it) to a medium pot. Melt the butter over medium heat and keep a close eye on it. The butter will go from browned to burnt in about two seconds. Wanna Be a Country Cleaver has a great How To for browned butter over on her blog if you want some pictures and a step-by-step tutorial.
  • Add the marshmallows to the browned butter and stir to combine and melt. This will be a bit sticky and not all of the butter will blend with the marshmallows, that’s ok.
  • Pour the butter/marshmallow/vanilla bean mix over the cereal and stir quickly. The sugars in the marshmallows cool fairly quickly so being well prepared and stirring fast is key here.
  • Press the rice krispy treat mixture into your greased pan. I frequently use a piece of parchment to smooth out the top of my treats without getting my hands messy.
  • Sprinkle your coarse salt on top of the treats. The salt can be added to the cereal if you prefer but I always find that it falls to the bottom of the mixture when that happens.
  • Enjoy with a drizzle of caramel you made for your big sister, because she asked for it and you just couldn’t say no.

Tropical Thumbprint Cookies

thumbprint2Right before Christmas my dear friend Jess celebrated her birthday and I refused to let it pass unacknowledged. So I took the day off, brought her out to a nice seafood dinner and never called her again, brought her out to brunch at the Deluxe Town Diner, shopping for treats, and finally home where I gave her my favorite cookbooks and told her to pick a treat. She chose an adult thumbprint cookie from Baking by Dorie Greenspan.  It looked easy enough but then I realized I didn’t quite have the ingredients it called for but had a few other things that would work as substitutes and made it work.
thumbprint_flourWhat came out were perfectly bite sized cookies with a lovely yielding texture and bright non-winter tropical flavors of coconut, mango, and passionfruit. Dorie Greenspan’s recipe called for hazelnuts, but I didn’t have any so I swapped in  a combination of finely ground pepitas, pecans, and coconut – hers were also raspberry jam filled but Jess wanted something tropical and as all I had that could be considered tropical was coconut milk we went to the store and ended up getting this in Medley of Fruits. It made perfect curd (thanks Ina Garten!) and was just right in our thumbprints. There’s something truly indulgent about making cookies on a whim because it’s a friends birthday and it just feels right.
thumprint_doughThese were a perfect birthday treat for Jess and I sent her home with most of the leftovers, knowing full well that I wasn’t going to finish them and she would be MUCH better served by having them at her home.
thumbprints_curdMy point? Go make these cookies for yourself, right now. It’s cold and snowy outside and, honestly, all you want is a little bite of the tropics to make you at least fantasize about warmer weather and longer days, AMIRITE?
thumbprint1Tropical Thumbprint Cookies
The cookies are adapted from Baking: From My Home to Yours by Dorie Greenspan. The curd is straight from this recipe by Ina Garten but I substituted finely shredded unsweetened coconut (about 3 Tbs) for the lemon zest and fruit juice for the lemon juice (1/2 cup).

For the Cookies

  • 1 3/4 cup Finely Ground Nuts (I used 1 cup of ground pepitas and pecans and 3/4 cup of finely shredded unsweetened coconut)
  • 1 3/4 cup AP Flour
  • 1/2 cup Sugar
  • 1 cup Unsalted Butter, softened
  • 1 tsp Pure Vanilla Extract
  • 1/2 tsp Almond Extract
  • Preheat the oven to 350 degrees Fahrenheit.
  • Whisk the nuts, coconut, and flour together
  • In a stand mixer fitted with the paddle attachment beat the butter and sugar together for 3-4 minutes on medium, until light and fluffy. Add the extracts and beat to blend them in, another minute.
  • Reduce the mixer speed to low and add the flour/nut combination. Mix the dough just until the flour is incorporated, about 2 minutes.
  • working in scant tablespoons create dough balls in your hands. Once the dough is shaped using your thumb (or the rounded handle of a utensil) press dimples into the cookies.
  • Bake the cookies for 15-18 mins, they will be a little bit browned and crispy, don’t worry about under baking these though as the lack of eggs makes the dough fine to eat on it’s own. Also, I enjoyed the tenderness the cookies had when they were a hair underdone.
  • Allow the cookies to cool completely after removing them from the oven.
  • Fill the dimples in the cookies with your homemade curd, or jam, or whatever thick, treacly thing you want to put there – but the curd went a LONG way.
  • Enjoy, with a cup of tea and a friend on her birthday.

Matcha Chip Cookies

I love green tea. I have loved green tea since I went to Japan in college and learned about it – history, origins, culture, it was enchanting to me. I tend to not cook with it often – it has a nice subtle flavor and alone it’s perfect but it can be overpowering in baked goods or as part of a meal (unless it’s the green tea braised short ribs at Myers and Chang, then eat one… or five, they’re divine). But, I digress, I finally got up the courage recently to commit to trying green tea as a flavor than as a lovely drink that keeps me going at my new job, I made cookies with it. I’d seen the cookies presented in many a blog post on Guchi’s Midnight Ramen, a very lovely and cool phenomenon that ran through Boston last winter/spring. They managed to end almost all of their pop-ups on a light sweet note with a green tea chocolate chip cookie. I thought these sounded lovely. I dreamt about them, I wondered how best to create something delicious and green tea flavored without thinnning it out. Then I remembered Matcha powder, bright green, flour fine, and perfect for adding to anything that requires flour.


See the things with these cookies was that they were not offensively green tea-y they were just nice with a slightly floral and light undertone. I used a chocolate bar with candied ginger in it, but you could use the Trader Joe’s Chocolate covered ginger pieces or just use regular dark chocolate chips and these would be just as good. I shared these cookies around, with my Chinese coworker, who was shocked I made green tea cookies, with my sister who took these gorgeous shots while I was baking, with BF (of course) and our house guest. Everyone fell for them. This is also my favorite regular chocolate chip cookie recipe, it comes from my time in baking class in high school when I was still learning what cooking and food meant to me. Also, it’s just the best.

Now go, get a decent quality matcha powder or you will be sad. Sidebar: The More You Know. It will be about $10 for a small can of the matcha powder (less than 4 oz) but it’s worth it. In Boston and it’s suburbs I tend to get mine at a Korean specialty store in Union Square called Reliable Market. You will also see lots of other cool things while you’re there.

Matcha-Chip Cookies

Note: For a regular Chocolate-Chip Cookie just omit the matcha powder here and add your favorite chocolate chips. This recipe is from my Baking class cookbook that I got back in high school, it’s tattered and I love it to pieces.

  • 1 cup butter, softened to room temp
  • 1 cup sugar
  • 1 cup brown sugar, light or dark is up to you, I only use dark but the light might be more delicate here
  • 2 eggs
  • 1 teaspoon vanilla
  • 3 cups flour
  • 1 tsp baking soda
  • 1/2 tsp salt
  • 1 Tbs matcha powder
  • i cup chocolate chips
  • Line a baking sheet with parchment paper. Preheat your oven to 350.
  • In the bowl of your stand mixer fitted with a paddle attachment, or by hand with a wooden spoon, cream the butter and sugars together until they are light and fluffy.
  • Add the eggs and vanilla to the butter/sugar mixture. Mix until fully combined.
  • In a medium sized bowl combine the flour, soda, salt, and matcha and whisk them together, it should smell of just a hint of matcha and be a lovely pale green color.
  • Add the dry ingredients to the wet ingredients. Stir to combine.
  • Add the chocolate chips and gently fold them in until they are just distributed in the dough.
  • Scoop the dough in 2 Tbs dallops on to parchment lined sheets. Bake for 12 mins, until they are lightly browned on the edges and the centers aren’t shiny and wet anymore.
  • Allow the cookies to cool slightly on the pan (about 3 minutes) before transferring them to a cooling rack.
  • Enjoy with a cup of tea, it will only enhance the flavor of the cookie in the right ways. Share.