Tropical Thumbprint Cookies

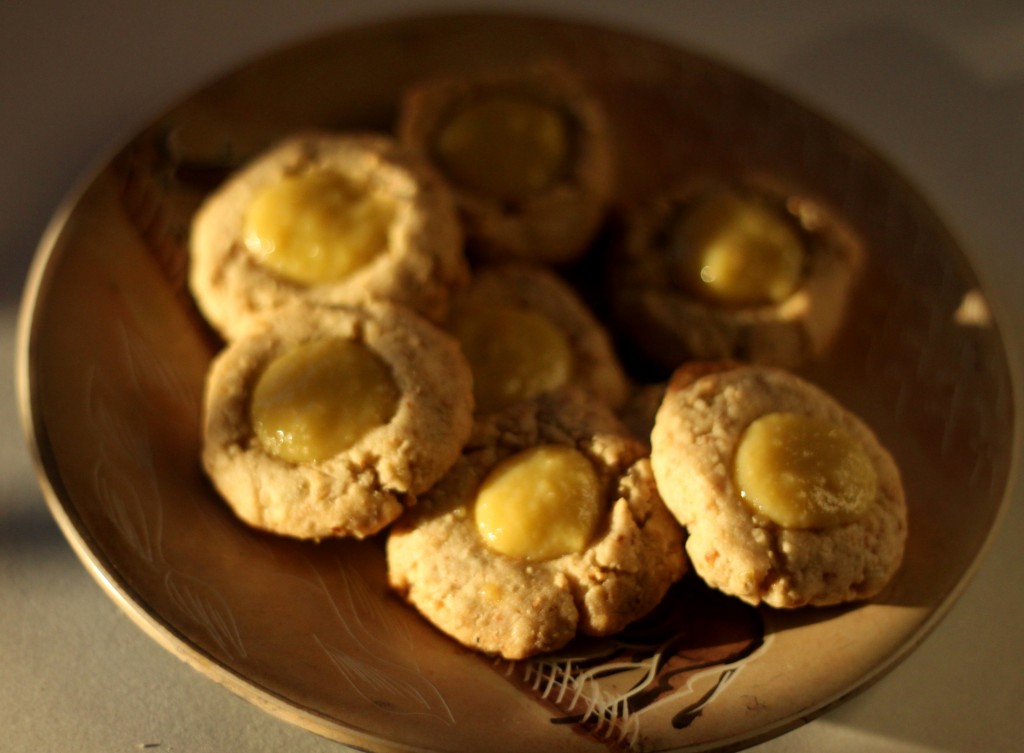
thumbprint2Right before Christmas my dear friend Jess celebrated her birthday and I refused to let it pass unacknowledged. So I took the day off, brought her out to a nice seafood dinner and never called her again, brought her out to brunch at the Deluxe Town Diner, shopping for treats, and finally home where I gave her my favorite cookbooks and told her to pick a treat. She chose an adult thumbprint cookie from Baking by Dorie Greenspan.  It looked easy enough but then I realized I didn’t quite have the ingredients it called for but had a few other things that would work as substitutes and made it work.
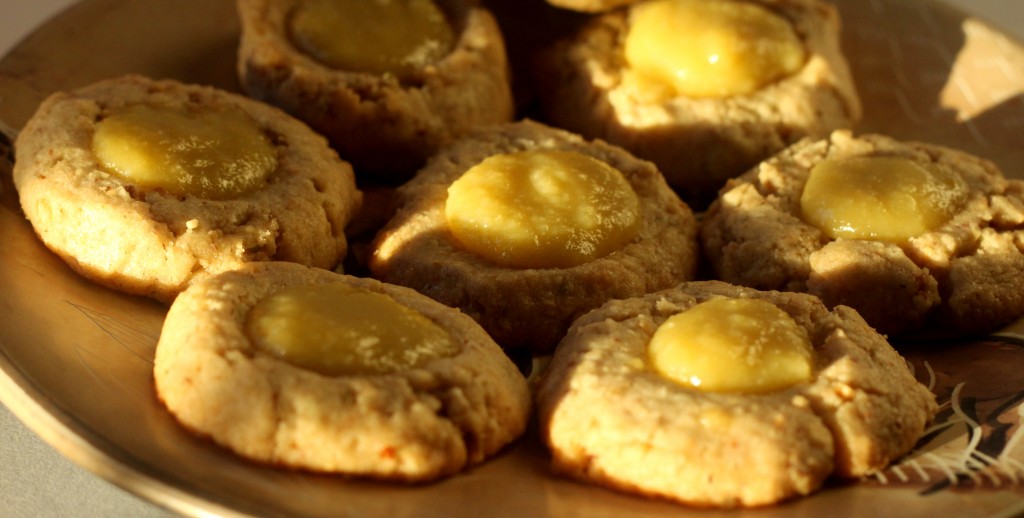
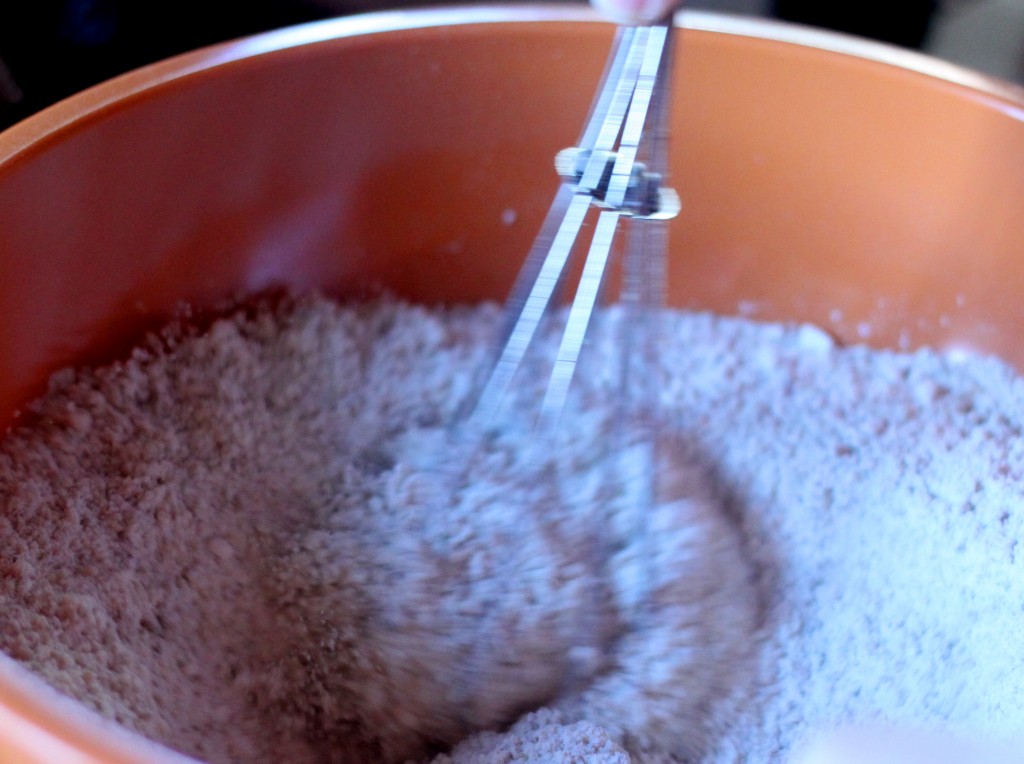
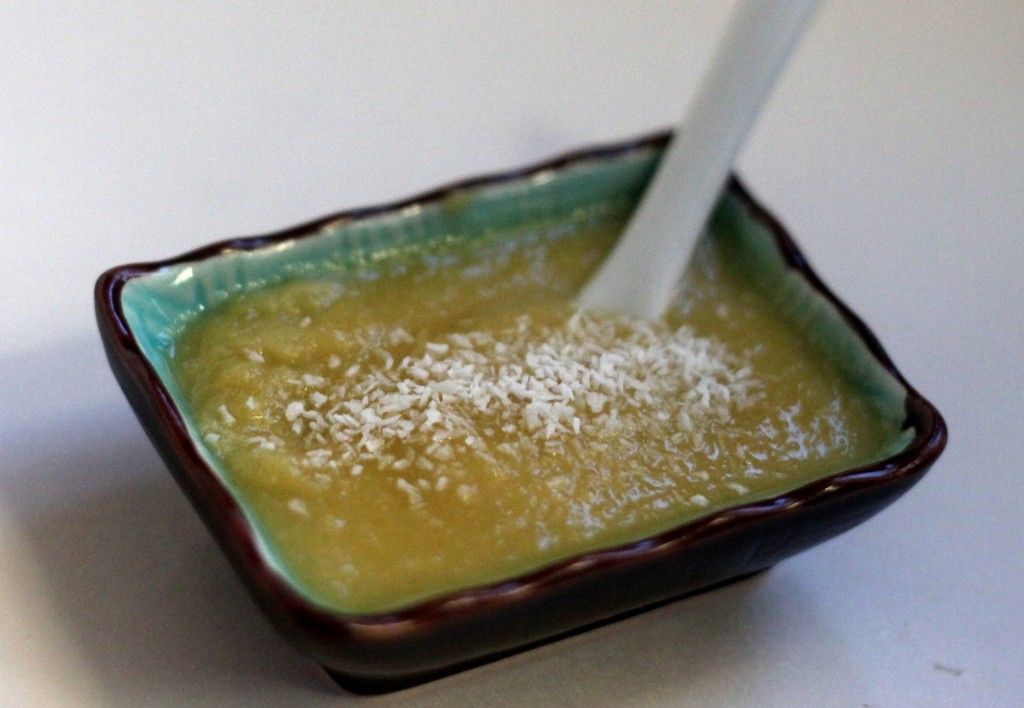
thumbprint_flourWhat came out were perfectly bite sized cookies with a lovely yielding texture and bright non-winter tropical flavors of coconut, mango, and passionfruit. Dorie Greenspan’s recipe called for hazelnuts, but I didn’t have any so I swapped in  a combination of finely ground pepitas, pecans, and coconut – hers were also raspberry jam filled but Jess wanted something tropical and as all I had that could be considered tropical was coconut milk we went to the store and ended up getting this in Medley of Fruits. It made perfect curd (thanks Ina Garten!) and was just right in our thumbprints. There’s something truly indulgent about making cookies on a whim because it’s a friends birthday and it just feels right.
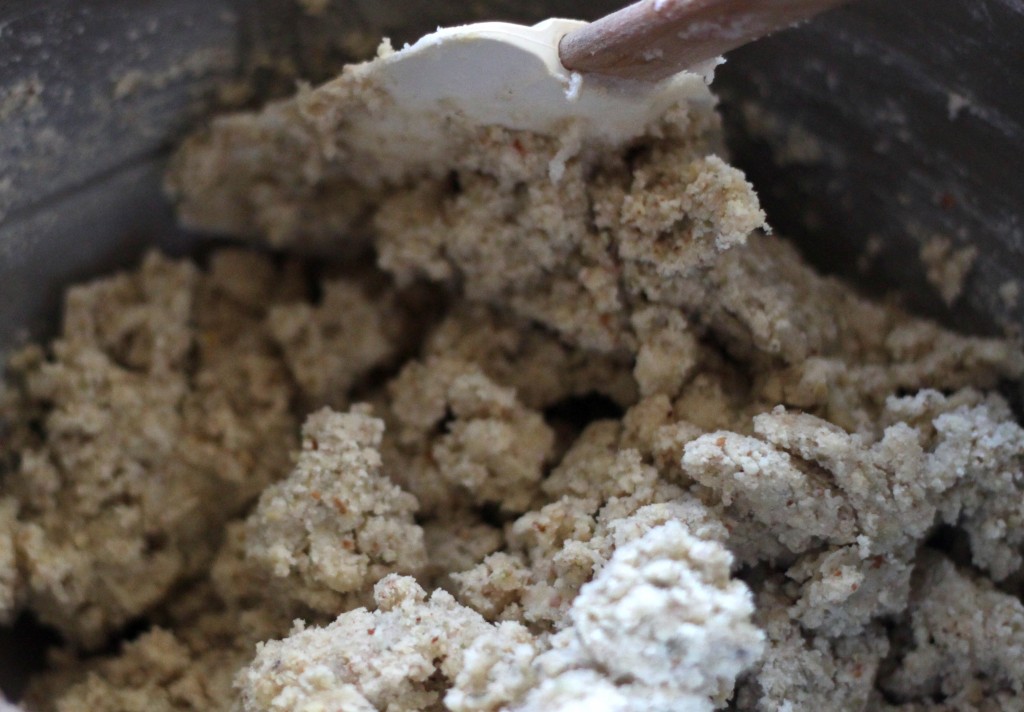
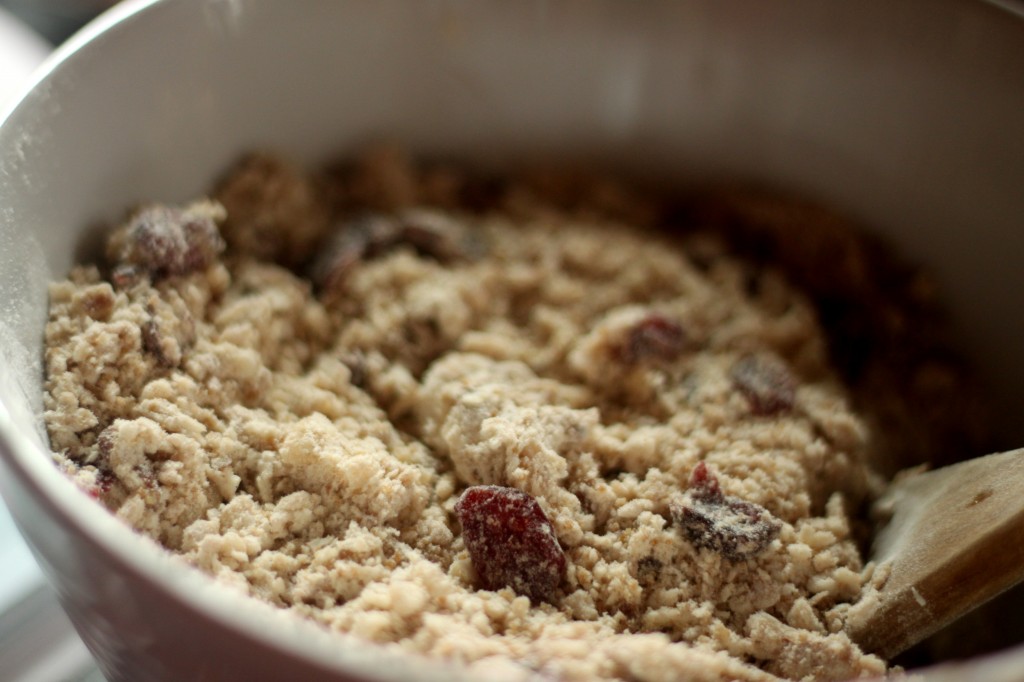
thumprint_doughThese were a perfect birthday treat for Jess and I sent her home with most of the leftovers, knowing full well that I wasn’t going to finish them and she would be MUCH better served by having them at her home.
thumbprints_curdMy point? Go make these cookies for yourself, right now. It’s cold and snowy outside and, honestly, all you want is a little bite of the tropics to make you at least fantasize about warmer weather and longer days, AMIRITE?
thumbprint1Tropical Thumbprint Cookies
The cookies are adapted from Baking: From My Home to Yours by Dorie Greenspan. The curd is straight from this recipe by Ina Garten but I substituted finely shredded unsweetened coconut (about 3 Tbs) for the lemon zest and fruit juice for the lemon juice (1/2 cup).

For the Cookies

  • 1 3/4 cup Finely Ground Nuts (I used 1 cup of ground pepitas and pecans and 3/4 cup of finely shredded unsweetened coconut)
  • 1 3/4 cup AP Flour
  • 1/2 cup Sugar
  • 1 cup Unsalted Butter, softened
  • 1 tsp Pure Vanilla Extract
  • 1/2 tsp Almond Extract
  • Preheat the oven to 350 degrees Fahrenheit.
  • Whisk the nuts, coconut, and flour together
  • In a stand mixer fitted with the paddle attachment beat the butter and sugar together for 3-4 minutes on medium, until light and fluffy. Add the extracts and beat to blend them in, another minute.
  • Reduce the mixer speed to low and add the flour/nut combination. Mix the dough just until the flour is incorporated, about 2 minutes.
  • working in scant tablespoons create dough balls in your hands. Once the dough is shaped using your thumb (or the rounded handle of a utensil) press dimples into the cookies.
  • Bake the cookies for 15-18 mins, they will be a little bit browned and crispy, don’t worry about under baking these though as the lack of eggs makes the dough fine to eat on it’s own. Also, I enjoyed the tenderness the cookies had when they were a hair underdone.
  • Allow the cookies to cool completely after removing them from the oven.
  • Fill the dimples in the cookies with your homemade curd, or jam, or whatever thick, treacly thing you want to put there – but the curd went a LONG way.
  • Enjoy, with a cup of tea and a friend on her birthday.

Apple-Pear Snacking Cake

I pretty much always have apples or pears in my kitchen, they come in my Boston Organics box almost weekly so there tend to be three or four kicking around at all times. But here’s the slightly annoying thing – I don’t eat much fruit, I’ll grab a piece occasionally, I even went through a fit of eating oranges for days this summer, but in general if I want a snack I will reach for a slice of cheese or a yogurt before i grab fresh fruit. I think part of it is that I just don’t like that first bite. I find it terribly unpleasant to bite into an apple or pear if it is the least bit chilled – I know this makes me an anomaly in the world of fresh fruit eating, but I’m an odd duck that way. So eating fresh apples or pears means a cutting board or at least a bowl and a paring knife. Because, in case you didn’t know, fruit is MESSY guys, juicy and sticky it gets everywhere unless you have a bowl to catch the juice in. But I digress.
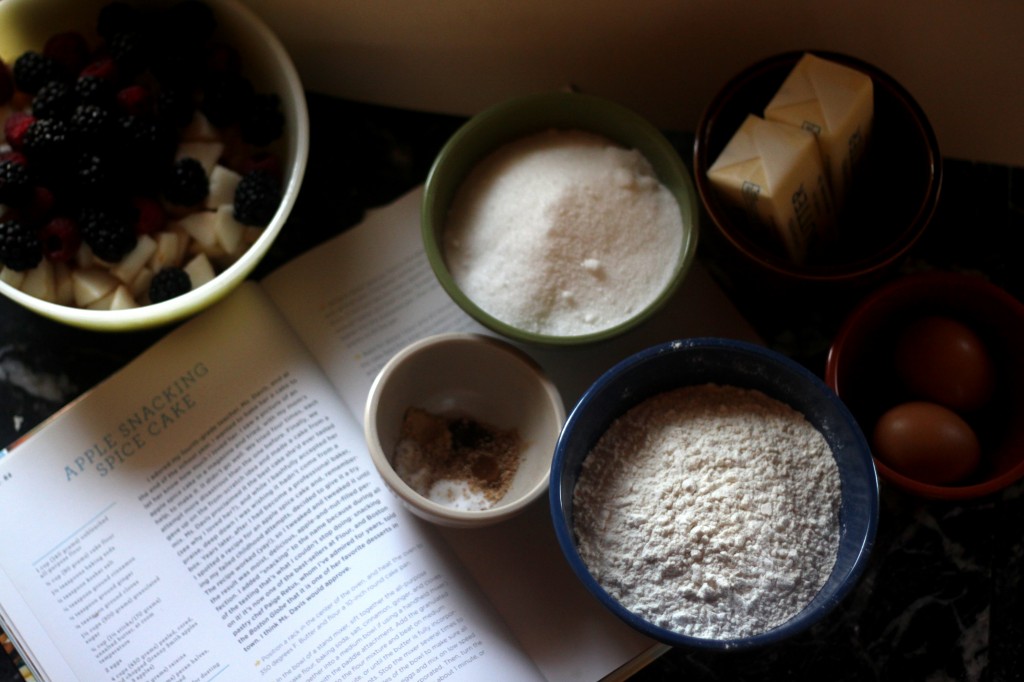
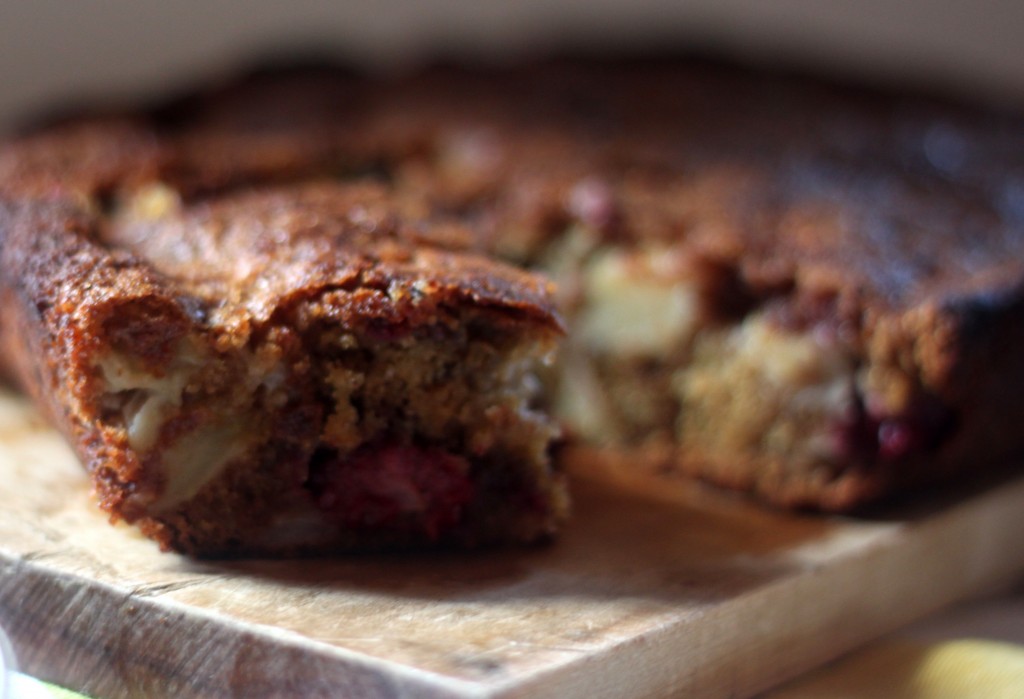
So really, you must be wondering why I spend my hard earned money on fresh fruit if I’m not even eating it – I love to bake with it. I love the way really ripe fruit will soften and pool in a jammy bite in a cake or muffin. I am entranced by any apple-spice cake combination. And a baked good with apples or pears in it is ALWAYS a crowd pleaser, for whatever reason. SO I finally figured I would share this recipe with you all. This is a recipe I’ve been using since I first picked up Flour over a year ago – I make it once a month or so (seriously, I’m obsessed with this cake) sometimes I add berries or whatever fruit I have lying around. I tweak it, I mostly follow the recipe, I coddle it. It makes my apartment smell like heaven. And, mostly, it makes a great accompaniment to coffee at breakfast or for that mid-afternoon pick-me-up.
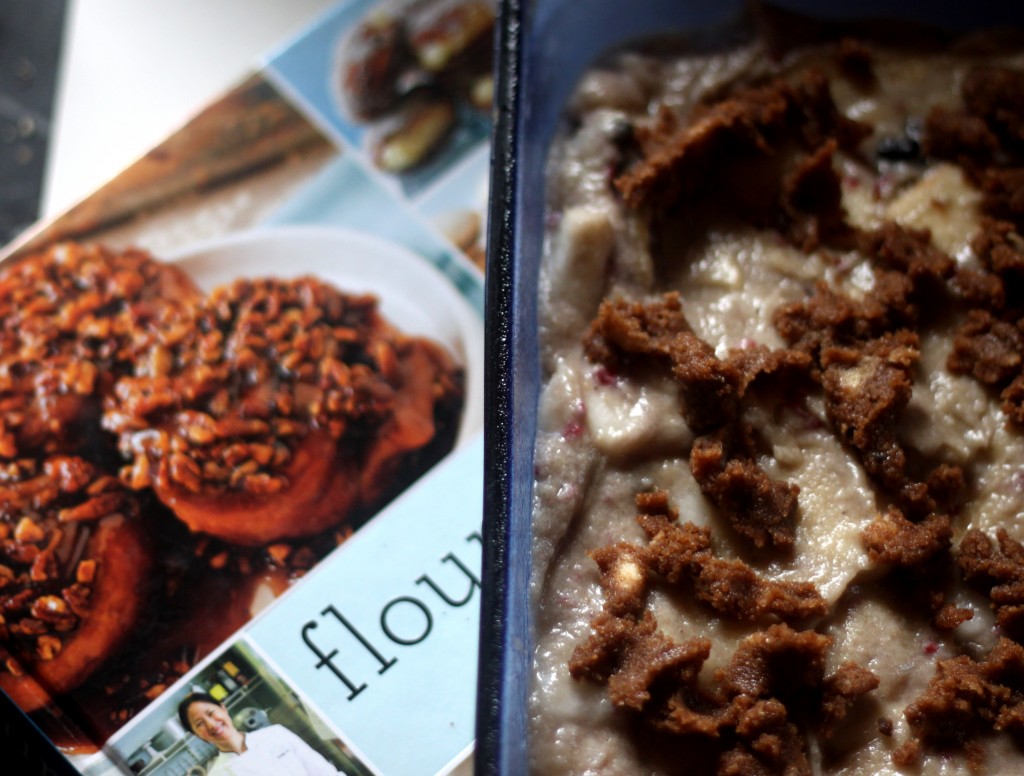
If you like my facebook page you will see this cake as my header there. That picture has been there for a while and I’ve had at least three readers ask for that recipe, this is it. The difference between this cake and that one – I overcooked this one a smidge, but it’s still delicious. I also think this cake would be improved by a little drizzle of your favorite caramel sauce, because, decadent. I really do love the pear here though, it’s sweeter and cooks down a little softer than the apples so you get a little internal texture variation, which I love. If I were making this for only myself I would kick up the ginger a bit more as well, give it a little more zip, but BF isn’t the biggest ginger fan so I try not to overpower all my baking with it.
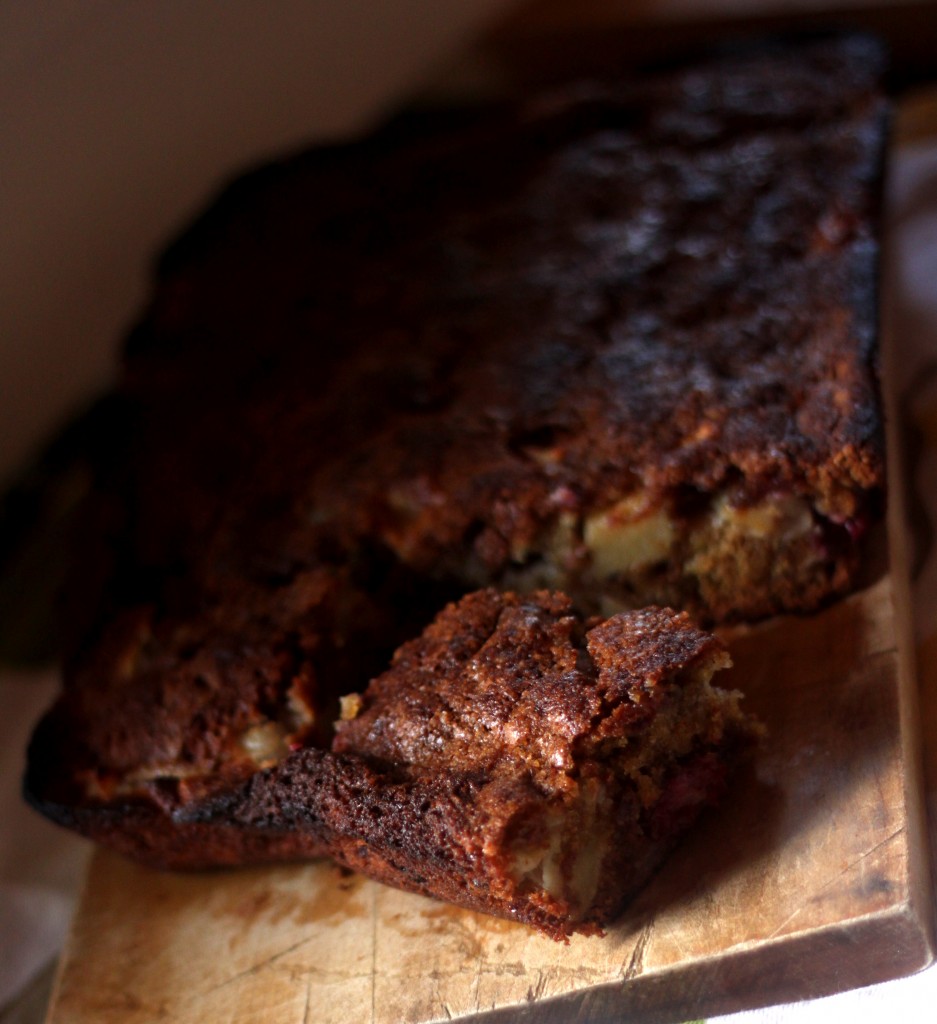
Apple-Pear Snacking Cake

This recipe is adapted from Joanne Chang’s Flour Cookbook. I’ve had this cake in the bakery and homemade – and it’s perfect in both places. I am looking forward to Flour, Too so much I may offer to beta test a few recipes for Ms. Chang, that way I don’t have to wait! Ha!

  • 1 3/4 cup flour
  • 1 1/2 tsp baking soda
  • 1/2 tsp kosher salt
  • 1/4 tsp cinnamon
  • 1/4 tsp ground ginger (I think some finely minced crystallized ginger would be good here too)
  • 1/8 tsp ground cloves
  • 1/8 tsp fresh ground nutmeg
  • 1 1/2 cup sugar
  • 3/4 cup unsalted butter, softened
  • 2 large eggs
  • 4 cups of fruit (at least 3 cups should be apples/pears the other cup can be berries or whatever you’ve got on hand)- peeled, seeded and chopped
  • Butter and flour a 10″ round or square cake pan, I use an 8″x11″ rectangle and it works perfectly. Preheat the oven to 350.
  • Sift the flour, soda, salt, and spices into the bowl of stand mixer fitted with a paddle attachment. Add the sugar and butter. Combine at low-medium speed until the mixture resembles coarse crumbs.
  • Add the eggs one at a time and mix until fully incorporated. Turn the mixer on high and beat the batter until it is light and fluffy, about a minute. I find the batter a bit thick here, but don’t worry too much about it.
  • Using a rubber spatula, fold the fruit into the batter gently, making sure there is a bit of batter on all the fruit. The batter will be quite stiff and look like it’s mostly fruit – it should, that’s a good thing. Add the batter to the prepared pan and even it out gently.
  • Bake for about 1 hour in the 10″ pan and check it at 45 mins in the 8″x11″ one. When it is done the cake with be a nice golden brown and will fell firm when pressed.
  • Cool the cake completely in the pan on a wire rack (or somewhere that air can get around the WHOLE thing).
  • Serve the cake with a dusting of powdered sugar or a drizzle of caramel sauce.
  • I find this is a cake best eaten slightly warmed, the fruit gets all jammy and fragrant and it’s much more like a warm hug.
  • Serve with coffee. As breakfast, to your favorite people.
Dairy Free Pumpkin-Pecan Scones


Hello! I’m back and this time WITH SCONES. I’m sorry I know I’ve been absentee for two months (Ah!). I’ve been busy – I got a new job (two actually) that I think about a lot and my summer has been, well, a bit lazy. I haven’t been cooking so much. But, today marks the beginning of fall. So a new season means a fresh slate, and pumpkin, and apples, and nutmeg, and all the lovely flavors of fall. I can’t WAIT to get into the kitchen and start cooking, so here’s hoping I can come back here rejuvenated and full of new recipes for everyone. So, here you go, starting NOW: Pumpkin scones – WITHOUT DAIRY.
I am as accepting of a challenge as the next person (unless it’s squishy, or slimy, or in general unpleasant – then no, just no). So when BF’s family was visiting recently and his father requested scones made without dairy my mind started whirring, in that way it does.  I started thinking about butter alternatives (which seems like some sort of blasphemy coming from me) for BF’s dad, of course.  I pulled down books I loved, I searched blogs, and I checked my shelves for a semi-solid fat alternative, preferably with a good flavor. And then, I found it.  A can of coconut milk that had been sitting unshaken in my pantry.

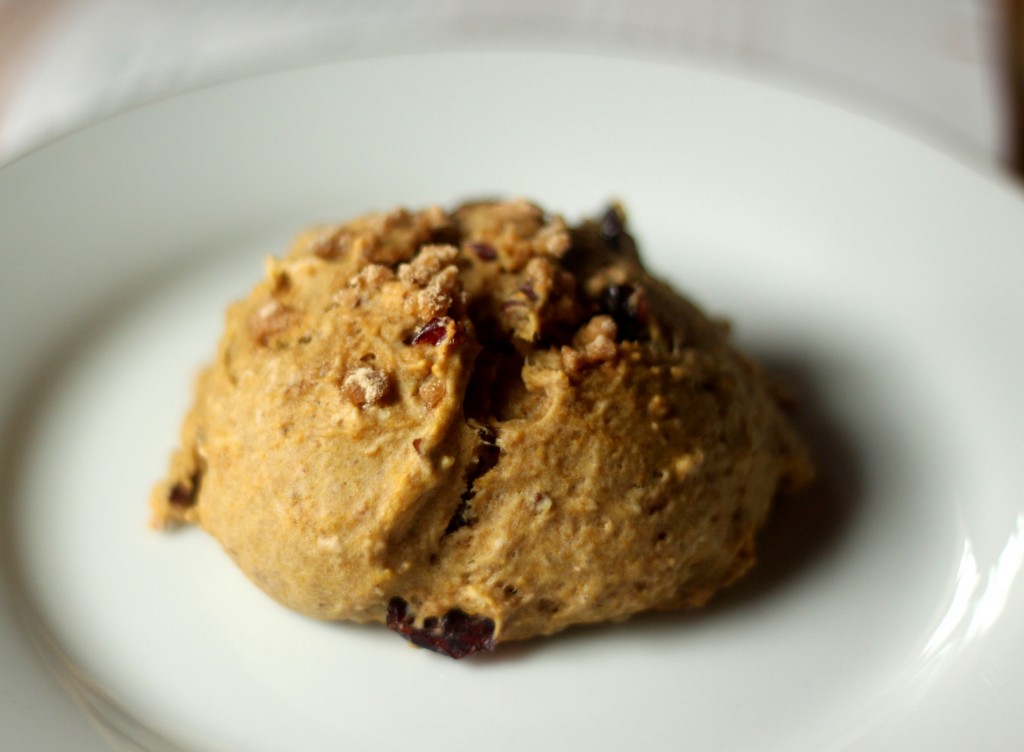
I grabbed it almost immediately and started modifying the recipe I was thinking on.  Pumpkin (ok, I used Squash), cinnamon, coconut cream, flour, leavener, sugar – I was good to go.  I’ve been making these scones for about two months now.  They’re a little sweet and with a nice tartness from the berries. I love them.  BF loves them.  BF’s dad loves them.  They are universally loved.  These are best enjoyed with a debaucherous amount of butter, or jam, if butter’s not your thing.

Dairy-Free Pumpkin Raspberry Scones
Note: I love these scones and I will continue to make more of them without butter in the future. This recipe is adapted from one in The Best Quick Breads by Beth Hensberger, which is a book I can’t recommend highly enough. Especially if you like sweet breads. It’s perfect.

  • 2 cups flour
  • 3 Tbs dark brown sugar
  • 2 tsp baking powder
  • 1/2 tsp baking soda
  • 1/2 tsp salt
  • 1 1/2 tsp pie spice (or make your own with what you’ve got on hand)
  • 6 Tbs Coconut cream the fatty heavy stuff on the top on a can of unshaken coconut milk)
  • 1/3-1/2 cup fresh or frozen berries, I use raspberries or dried cranberries
  • 1/2 cup chopped pecans
  • 1 egg
  • 1/4 cup coconut milk (use the water from th can after you’ve gotten the cream from on top)
  • 1 tsp apple-cider vinegar
  • 1/2 cup pumpkin puree (I use One-Pie Squash, because it’s my favorite and canned in Maine from Maine pumpkins)
  • Cinnamon-Sugar
  • 1 egg gently beaten (for brushing the scones with)
  • Preheat the oven to 400 degrees Fahrenheit and line a cookie sheet with parchment.
  • In a medium bowl combine the flour, brown sugar, baking powder, baking soda, salt, and spice. Mix until evenly combined.
  • Cut in the coconut cream – the mixture will look a little loose, it’s ok go with it. The nice thing about using coconut cream here instead of butter is that it doesnt require the labor that butter will to cut in. you should just be able to stir it with a fork and get nice little bits of fat.
  • Mix in the pecans.
  • In a small bowl (I usually just use a two cup measure) combine the pumpkin, coconut water, cider vinegar, and 1 egg. beat this with a fork until it comes together.
  • Add the wet ingredients to the dry and stir to combine. Mix until everything just comes together.
  • Fold the raspberries in, gently.
  • Using a large cookie scoop, spoons work too, measure out the scones (I use a 2 oz cookie scoop, it makes my life easier). Place the scones on a cookie sheet 1 to 1 1/2 inches apart.
  • Brush the tops of the scones with the beaten egg and sprinkle with cinnamon-sugar.
  • Bake the scones for 20-25 minutes, until the tops are slightly golden and a toothpick comes out clean.
  • Serve these warm. With a smear of butter and coffee. They make a great afternoon snack later, too!
  • Enjoy!

Chicken Marsala Ravioli and Mushroom Bake

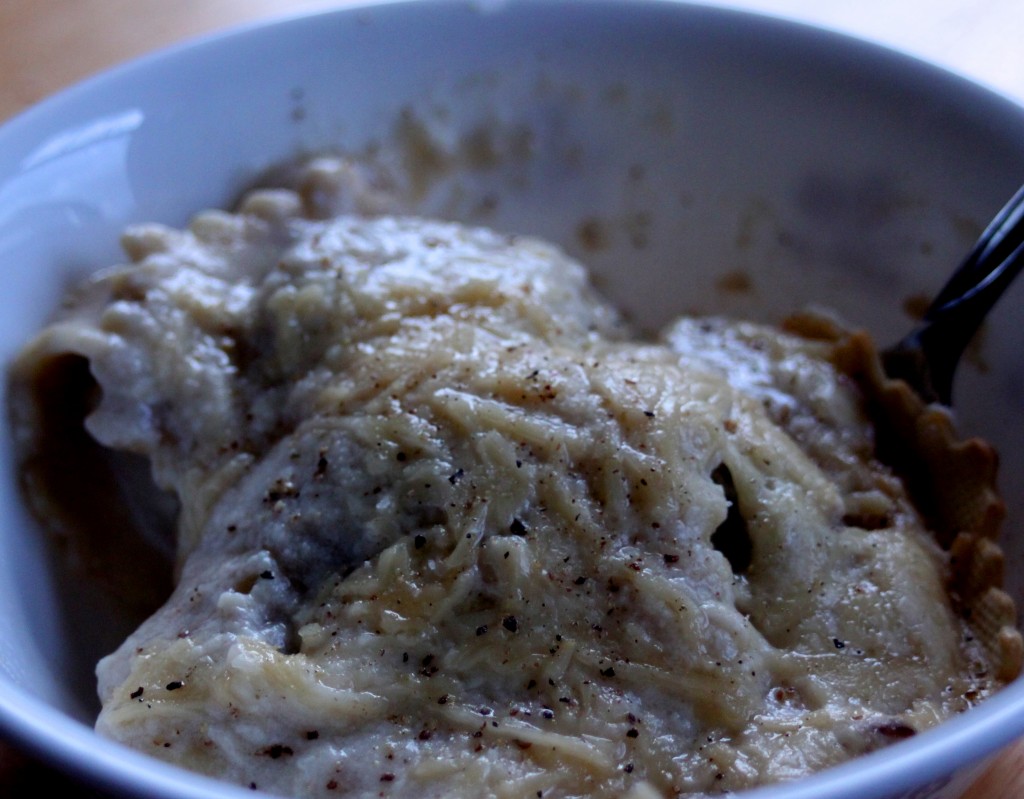
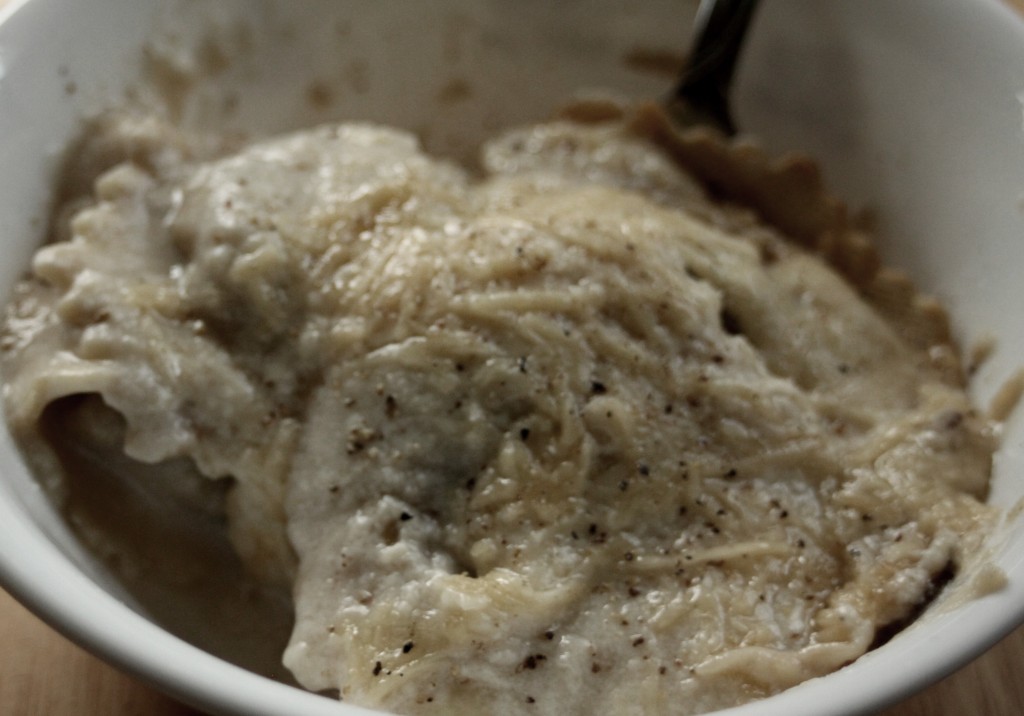
Note: These pics are not my best.  This dish is just NOT photogenic.

Some days I am lazy and want nothing more than some al dente pasta with butter and salt and pepper for dinner.  This is a regular (if moderately unhealthy) meal in my house.  I am always please by it, BF can make it if i’m not motivated, and it’s more or less fail proof.  When Buitoni contacted me about creating recipes for their delicious new refrigerated pastas I just couldn’t say no.  If I’m buying pasta in the refrigerated section of the grocery store I reach for theirs anyway – having fresh pasta is a great an simple way to fancy up a meal that can be a bit boring (pasta, butter, salt and pepper) or bring something that is awesome anyway to the level of extraordinary.
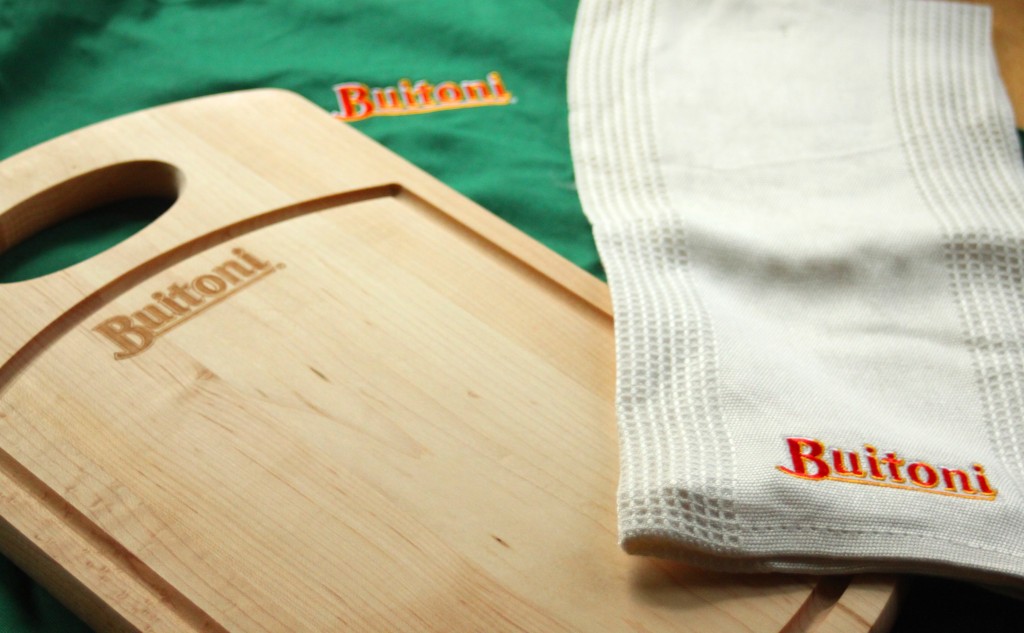
What I was not expecting was a thoughtful package that contained an ultra-soft bamboo fiber hand towel, an apron, and a cutting board from Vermont all artfully branded with the buitoni logo.  Not to mention the pasta – both bf and I fell in love with the pastas we were sent; a chicken marsala one that tasted of earthy mushrooms and sherry and a lovely butternut squash one that tasted like thanksgiving.
After indulging in each pasta doused in butter (I had to sample them to look for pairing flavors…) I started to plot recipes.  Initially I thought I would end up working with the butternut, it was definitely my preferred flavor, but then I had an idea sort of based on an old episode of The French Chef where Julia Child makes a mushroom lasagna with cream sauce.  I wanted to bake with the Chicken Marsala Ravioli, I wanted those complex flavor layers good mushrooms would give me.  I wanted rich heavy cream and butter.  I wanted cheese.  I wanted to make something for colder months because that’s when I most like stuffed pastas – when it’s cold and I want something hearty, filling, and rich. And that is exactly what this is. It is also great with a salad 🙂  Also, make sure to read down to the bottom for a fun giveaway!

Chicken Marsala Ravioli and Mushroom Bake

Note: I don’t care for mushrooms and as I ate my second bowl of this I was exclaiming that I couldn’t believe how much I liked it. Just saying.

  • 2 Packages Buitoni Chicken Marsala Ravioli
  • 1 lb Cremini mushrooms gently cleaned and sliced
  • 4 Tbs butter, separated
  • 2 Tbs flour
  • 2 cups whole milk
  • 2 tbs brandy
  • 1/4 cup swiss cheese
  • 1/4 cup parmesan cheese (or any other hard cheese)
  • salt and pepper, to taste
  • Preheat the oven to 350. Spray the inside of a medium sized casserole dish with cooking spray
  • In a medium saute pan melt two tbs of butter over med-high heat. Once the butter is fully melted and the pan is hot add the mushrooms. Saute the mushrooms gently until they are a nice golden brown all over, 5-7 mins.
  • Add the ravioli straight from the package to the mushrooms and gently toss everything together so it seems evenly mixed. Put the ravioli and mushrooms in your casserole dish and set it aside.
  • In a medium sized saucepan combine the two tbs of butter and the flour. Stir them until they form a paste then let them simmer for one minute without browning.
  • In a second saucepan (I know a lot of dishes, I’m sorry!) warm your milk to hot but not boiling or simmering. Gently stir the hot milk into the butter/flour roux, in pan 1. This will help prevent clumping. If you add the milk cold (like I usually do) you will have lumps; be okay with the lumps or have the patience to sit by while the whole thing cooks over low heat and you whisk it.
  • Add the brandy and mix well. Once the brandy has incorporated into the base white sauce add the Swiss cheese. Stir to combine and allow the cheese to melt into the sauce, it should take a minute or so.
  • Pour the cheese sauce over the ravioli/mushroom mixture. Top this with the Parmesan.
  • Bake at 350 for 25-30 minutes, until bubbly and light brown.
  • Remove it from the oven and let it rest for 5-10 mins. This is a perfect meal to make when your partner is dawdly about coming to the table.
  • Enjoy. Eat this with gusto. It’s pasta, that’s how you eat pasta.


Now the fun part! Did you see that pretty picture up there? That one with the snazzy apron, sexy cutting board and pretty kitchen towel? You could totally own ALL.THOSE.THINGS. and I will send you four coupons so you can hunt down and try some of this delicious pasta yourself! Just leave me a comment telling me what your favorite way to eat ravioli is. I will give you until July 13th to get your comment in. I like mine with a rugged red sauce if it’s ricotta filled or with a browned butter-sage sauce if it’s butternut squash. 🙂

Disclaimer: I was provided this pasta and the kitchen goods free of charge in return for this recipe/review. All opinions here are my own, I would (and do) buy this pasta on my own dime in the future.