Maine Sourced Granola

This is a celebratory post. It is it my hundredth post here – I feel like it should have shown up sooner and there should be a greater fanfare, but I’ve been busy. I worked really hard and threw an epic beer fest with some absolutely fantastic people, I started a new job (more on that later), and I’ve just been sort of lazy. I know I’m not supposed to admit that here – where I show you pretty pictures of food and make you think I eat like that all the time – but I don’t. Most nights I eat pasta with butter and Parmesan on it or instant mac and cheese. I have plenty of knowledge but a low threshold for motivation. Occasionally that comes out here. This post is about the awesome though, this is a celebration of this little blog – this corner of the internet I have claimed as mine and proudly declared to be KATHY CAN COOK. I’ve covered it in 8-bit sprites, I’ve met some amazing people, and I’ve eaten SO.MUCH.GOOD.FOOD.
This is not me signing off – please don’t think that as I wax nostalgic about how great keeping this blog has been. I’m not giving up on it, at least not yet, I’m not even taking a break. I’m just sharing how loved this makes me feel – and how great it is to have made friends, actual friends, through blogging. That’s what this recipe is – new to me comfort food that is a little bit of home and a whole bunch of love. I made it with my big sister on a Monday afternoon that she’d taken off to hang out with my kid brother and I. It was a perfect leisure activity.
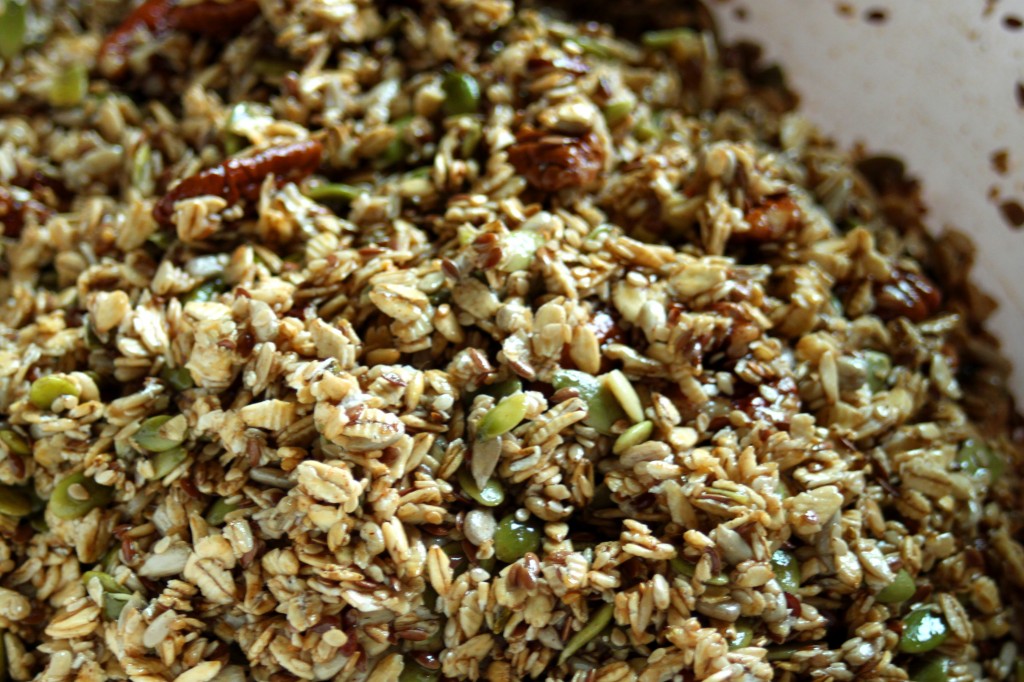
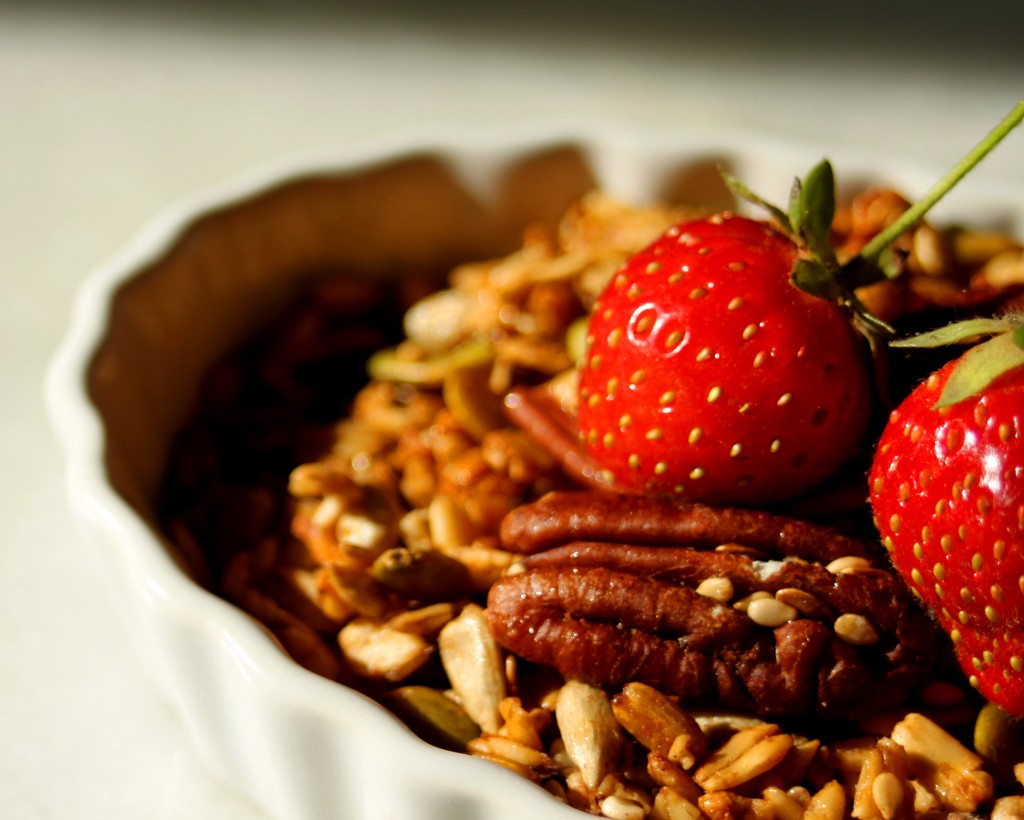
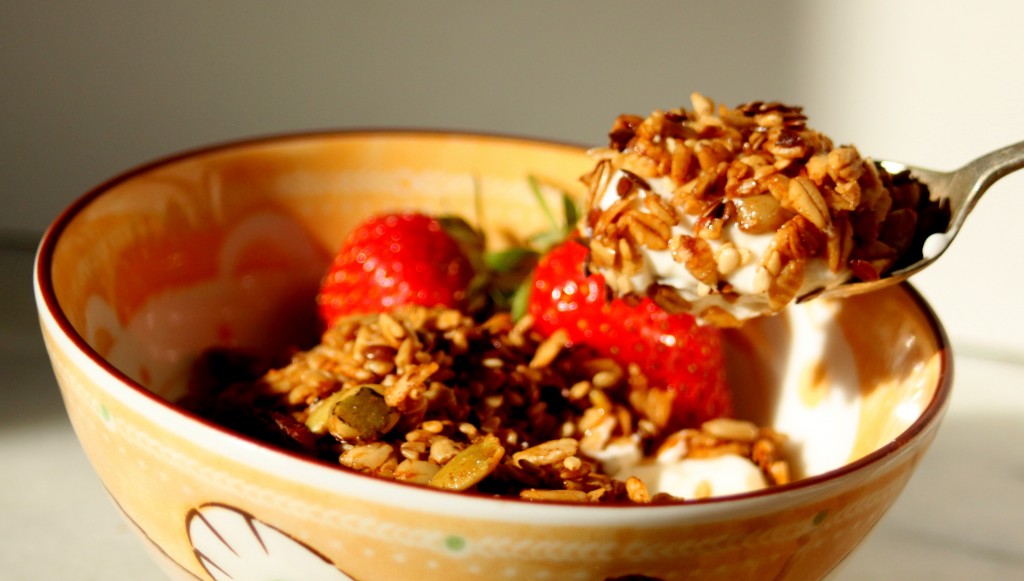
This granola is made with rolled oats sourced from Aurora Mills in Maine, and alone they are great and nutty oats – in granola they have just the right flavor and give while still being chewy and filling. This is not-too sweet granola either, it’s maple-y without being in your face and it holds its own against the tang of Greek yogurt.
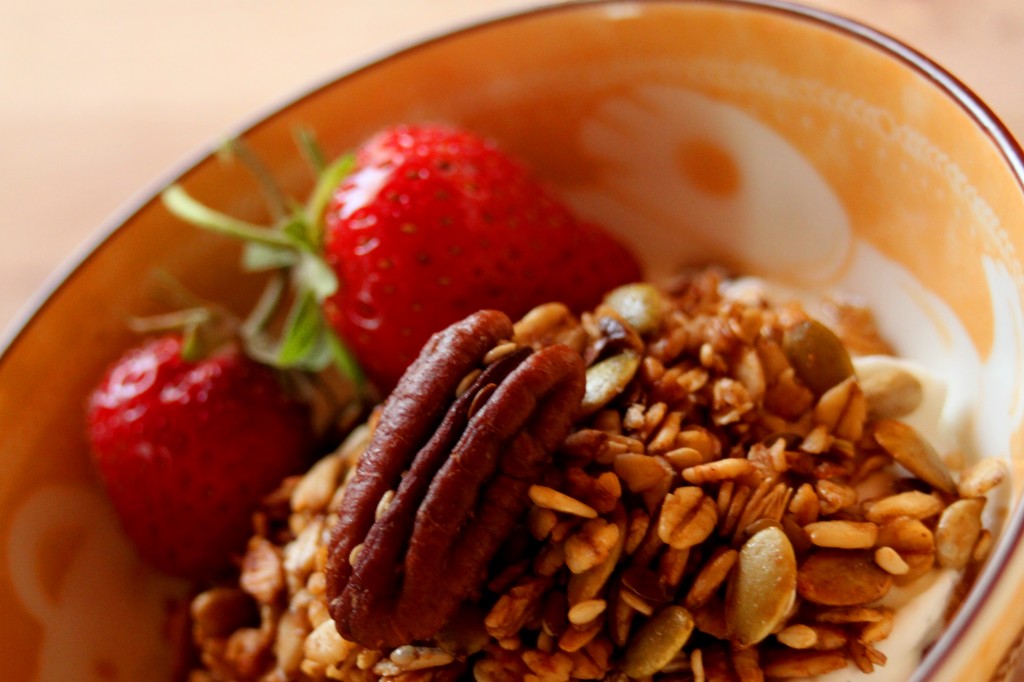
I say this granola is home because it is. I feel a special connection to pretty much anything sourced from Maine and even now, when I don’t live in Maine anymore I still refer to myself as a “Maine kid” it gives me a sense of identity and place. I love it – so this granola is a perfect example of blogging for me – it’s new, my first homemade granola (win) paired with some old (a few Maine oats to make me feel like I’m home).
Home-Made Granola

Note: This recipe is loosely based on one from the Cooks Illustrated Cookbook in that I looked at that cookbook for ideas of what ratios to use and what temperature to cook my granola at. Please consider this a broad guideline to create your own granola recipe though, it’s totally adjustable I used the flavors and textures I really liked when I made this, as such you should adjust in your own way. It does make a lot of granola though, so be prepared to share!

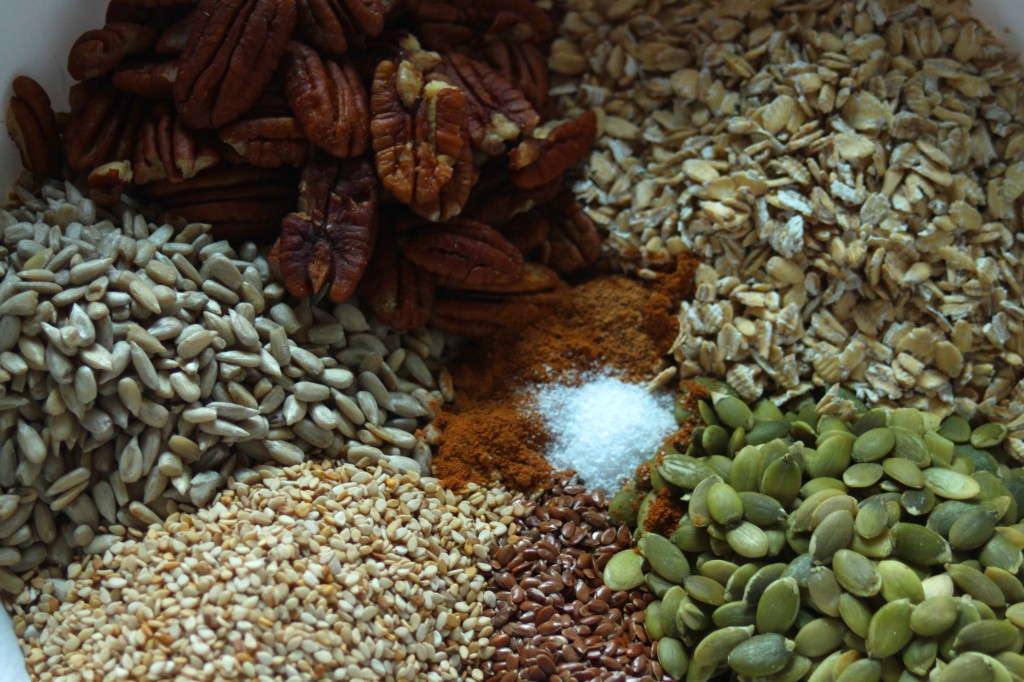
  • 3 1/2 Cups Old Fashioned Rolled Oats – small batch rolled oats will be nuttier and more flavorful
  • 2/3 cup Pepitas, hulled pumpkin seeds
  • 1/3 cup sesame seeds. raw
  • 1/3 cup flax seeds
  • 2/3 cup nuts (I used pecans and they were AWESOME)
  • 2 tsp cinnamon
  • 1/2 tsp nutmeg
  • 1 tsp salt (I use coarse kosher, but go with your preference)
  • 1/3 cup high heat oil (I used peanut, but you can use safflower, sunflower or whatever else too)
  • 2/3 cup Real Maple Syrup (The corn syrup stuff will not work here)
  • 1 tsp vanilla extract
  • 1/4 cup Honey (the honey/maple syrup ratio is really forgiving and can be modified to what you have)
  • 1/2 cup toasted coconut
  • 1 1/2 cup dried fruit (I used cranberries, tart cherries, and candied ginger)
  • Preheat your oven to 300 degrees farenheit.
  • In a large bowl combine the dry ingredients (oats, nuts, and seeds) and mix until evenly distributed.
  • In a small pan combine the oil, honey, vanilla, and syrup. Heat them over low heat until the liquids are fluid and easily mixed.
  • Pour the liquid over the dry ingredients and mix until everything is evenly coated
  • Put the granola in a large pan (I use my turkey roaster) and spread it out evenly so it is an even layer (mine was about 3/4 inch thick).
  • Toast the granola in the oven for about an hour – stirring every 10 to 15 mins to prevent large clumping. THe granola will be golden brown and fragrant when it is done.
  • Allow the granola to cool completely, for at least an hour.
  • Mix the toasted coconut and dried fruit into the toasted granola.
  • Eat over your favorite yogurt or by the handful!

Rosemary-Asiago Shortbread

Rosemary Asiago Shortbread

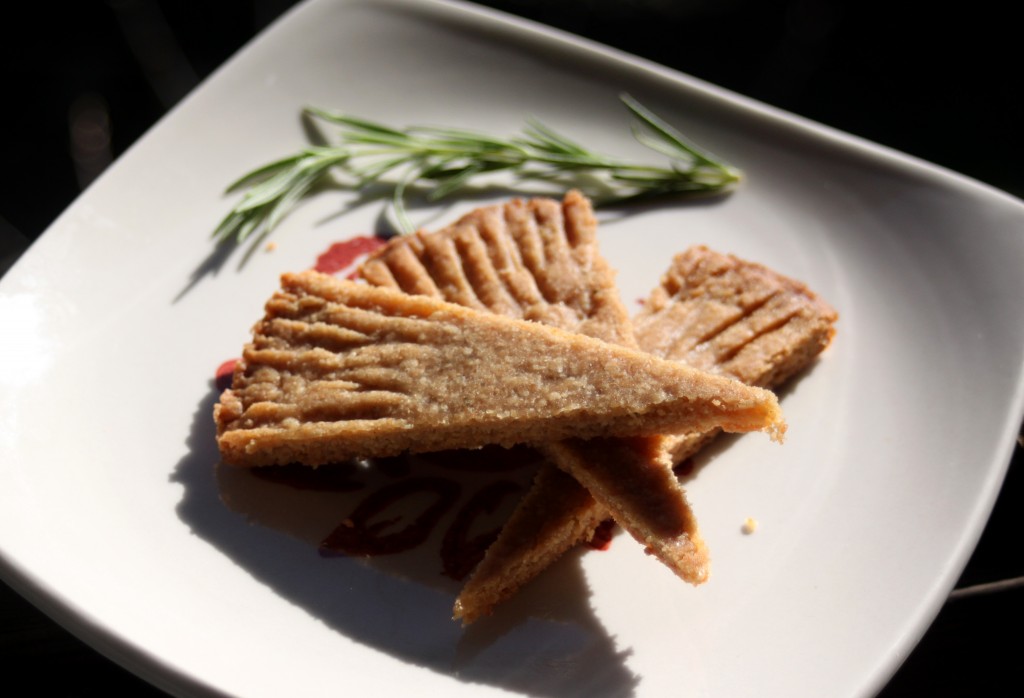
I’m a sucker for savory-sweet combinations – so when my Boston Organics box arrived last Thursday and had a clamshell container of rosemary inside I did a little jump of joy. See, I’d been thinking about a savory shortbread for quite awhile after an accidental tweet to the fantastic Shelby saying I owed her some parmesan shortbread. I meant to say parmesan crackers but that accidental tweet started my cooking brain going. There was a salty-sweet cookie that sounded swoon-worthy and it lingered. I started to fantasize about this cookie and spent a lot of baking time playing with it.

Ingredients

Then I tried the Lark’s fine foods Rosemary Shortbread – I ate an entire package of these cookies in a sitting. I would say oops to that lapse in common sense, but I don’t regret it – they were luxurious and decadent with a perfect crumb. Here’s the thing – I am not typically a fan of shortbread in any form. I find it bland and lackluster most of the time. But, this shortbread – the Lark’s and my own are perfect. They are a little sandy and offer just the right amount of sweetness to keep you eating them.

Dough

I am hopelessly in love with these cookies, and everyone I’ve shared them with (aside from BF, because he’s not the biggest rosemary fan) has felt similarly. These are rich without being overly so, they are sweet without being cloying, and the rosemary is such an unexpected burst of flavor you really just want to keep eating them until they are all gone.

Wedges

Rosemary-Asiago Shortbread

Note: This recipe is an odd Frankenstein’s Monster of at least three that I’ve had kicking around my apartment for a while. I’m now fiercely attached to it though and will probably continue to use the base for all of my shortbread needs.
  • 1/2 cup grated asiago or parmesan cheese
  • 3-4 Tbs rosemary leaves removed from the stem, more rosemary is a stronger flavor – I prefer more, BF prefers none
  • 1- 1 1/2 Tbs maple syrup
  • 1/2 cup dark brown sugar
  • 1 cup butter
  • 2 cups flour
  • 1/2 tsp baking powder
  • In a small saucepan over medium-low heat, melt the butter and gently swirl it around until it becomes a light brown and smells nutty. DO NOT WALK AWAY FROM THIS BUTTER AT ANY TIME. The butter will burn if you do that, because it’s an evil thing that wants you to waste more butter.
  • Set the browned butter aside to cool slightly.
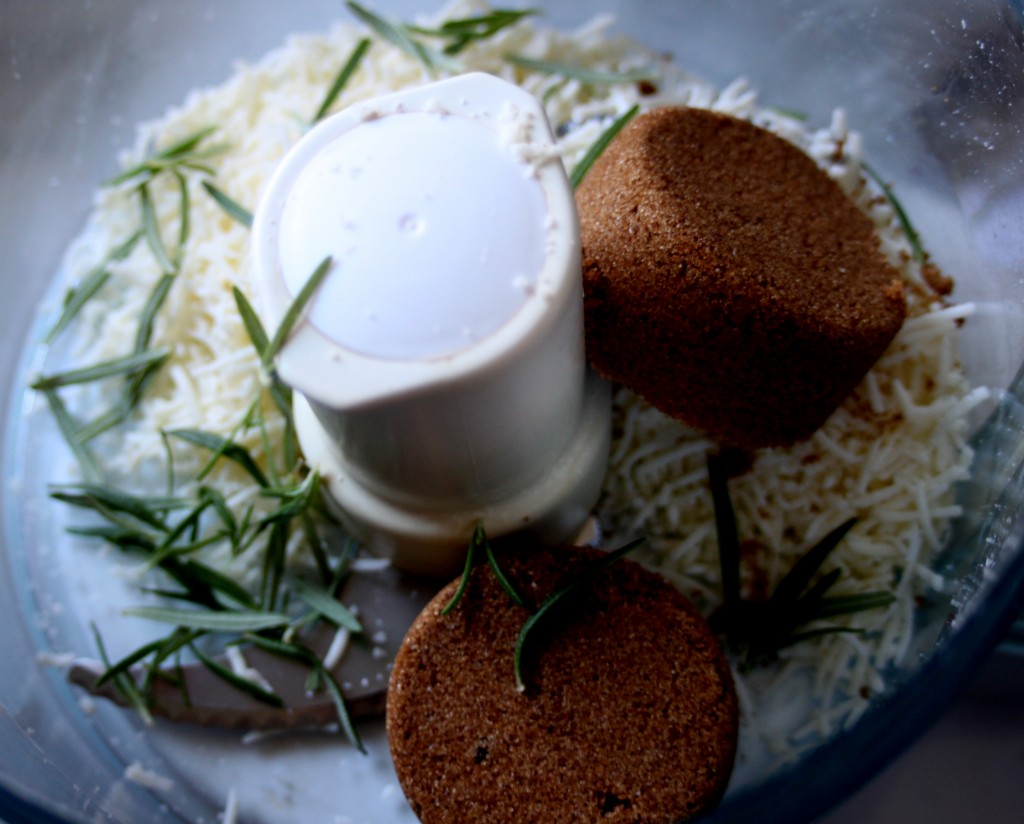
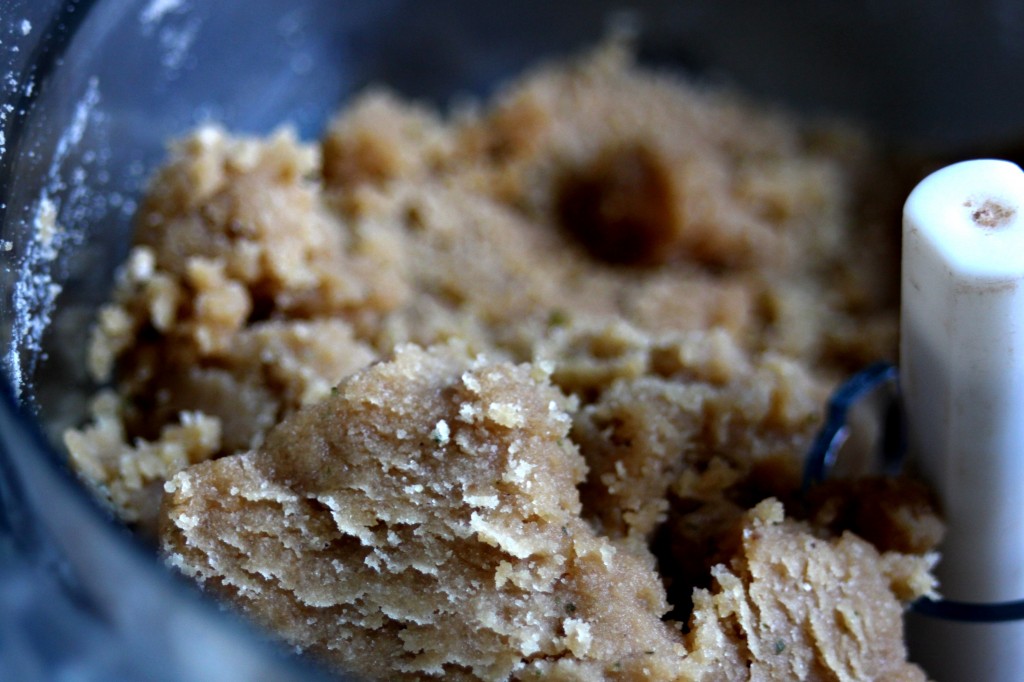
  • Add the cheese, rosemary, brown sugar, and maple syrup to the bowl of a food processor, pulse or run this until it resembles wet sand – about fifteen pulses or 45 seconds of steady speed.
  • Add the butter to the food processor and allow it to fully absorb into the sugar mixture (this should only take a couple of seconds).
  • Add the flour and baking soda and pulse until just combined. The mixture will look like loose pie dough.
  • Wrap the dough in plastic wrap (a couple layers are better, I find) and chill it in the fridge for half an hour to an hour.
  • Separate the chilled dough in half.
  • Press each half of dough into a 9-inch round cake pan. You may need to crumble the dough up then press it back in tightly. Don’t worry, you won’t hurt it. I usually use a piece of parchment and a ball jar to smooth mine out so it’s even.
  • Press the edges of the dough down with a fork, so there are little lines all around (this is my favorite part).
  • Bake the shortbread at 325 for 20-25 minutes; the edges will be a light golden brown and they will smell amazing.
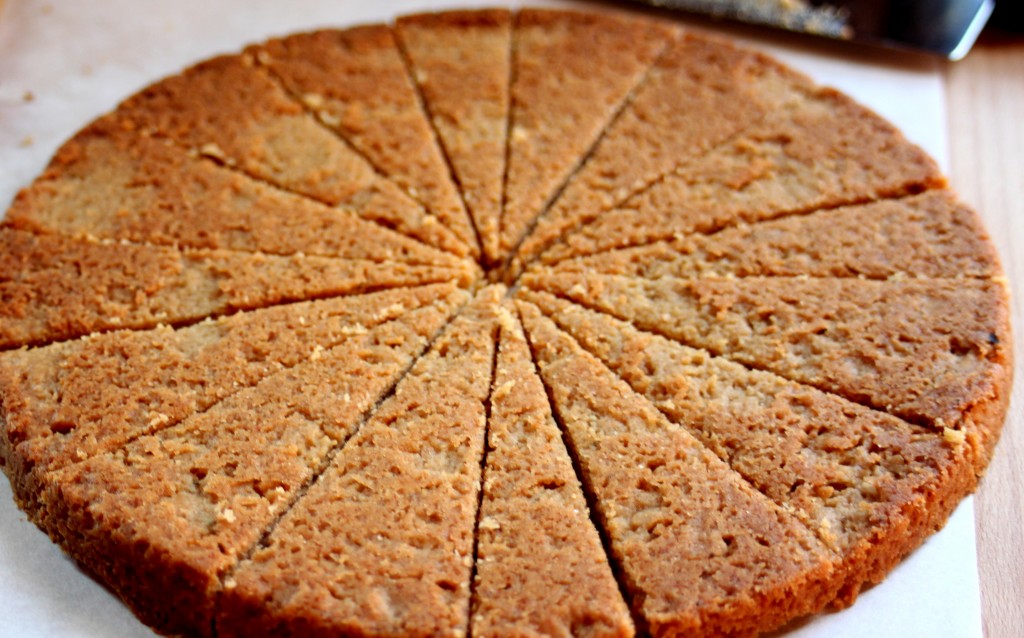
  • When the shortbread is done, remove it from the oven and immediately flip it out onto a cutting board. Cut this into wedges while it is still warm. If you don’t cut the cookie while it is still warm it will turn to crumbs when you try to cut it later. THIS IS YOUR WARNING.
  • Eat this with tea on a sunny porch. You will love it. I promise.

Cheddar-Beer Mac and Cheese

Dinner

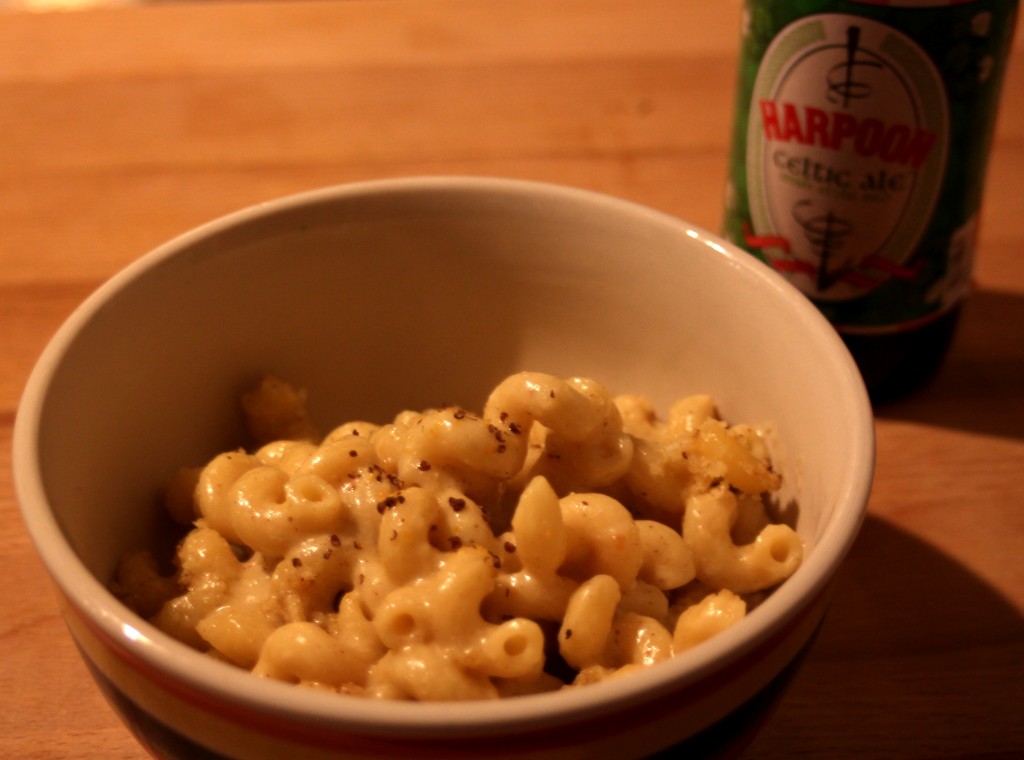
I love comfort foods – mac and cheese, beef stew, chicken soup, anything slightly salty and full of butter. I tend to reach for them when I’m having a bad day or just because. I turn to comfort foods in times of celebration or when I’m in need of comfort. This mac and cheese is no different. It’s something I have been perfecting for about two years. Tweaks and modifications have led to a perfect mac and cheese – one with body that isn’t too rich. This particular flavor combination comes from my love of Saus’s cheddar duvel sauce. Though, it’s evolved from there. Something that started with cheddar and beer became more – I added mustard, I experimented with different beers – stout, reds, i.p.a.s, lagers, you name it I probably tried it in this mac and cheese. I made this particular mac shortly before St Patrick’s day so I had a nice Harpoon Celtic Red around, and it was (and is) my favorite.

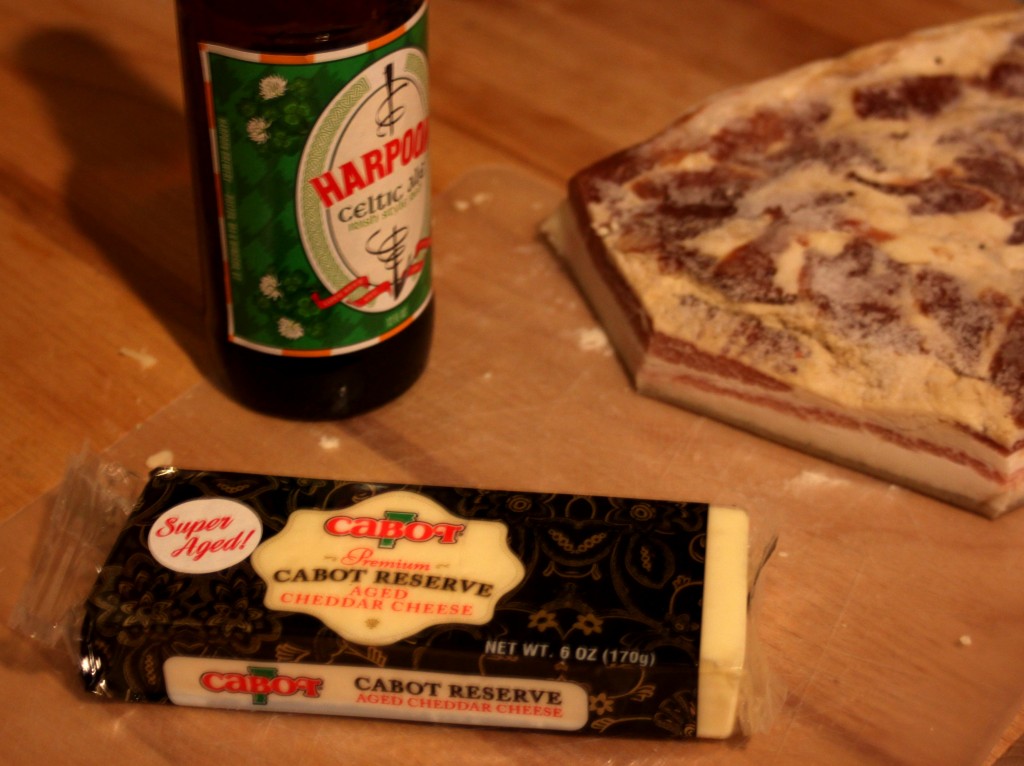
Beer + Bacon + Cheddar Cheese= LOVE

I make macaroni and cheese pretty regularly – pasta, milk, and cheese are ingredients I always have on hand so it makes a quick meal pretty much any night of the week. I think that’s one of my favorite things about mac and cheese. It will work with most any cheese and will accept any additions. It’s always familiar and different, which I love. But this mac and cheese is a special one; BF and I use it to celebrate – jobs, raises, pretty much anything positive in our lives means I make this mac and cheese. The beer makes it rich and the mustard adds a great sharp flavor. Also – the benefit of being able to drink a beer while you’re cooking is AWESOME.

There’s something so comforting about that beer at the end of the day, and pairing it with cheese and mustard basically makes it a much more filling pretzel. And we all know how I feel about those.

Cheddar-Beer Mac and Cheese

Adapted from the Betty Crocker Cookbook, though at this point it’s really all my own. I also crisped a handful of homemade bacon lardons to add to mine, but that’s totally optional.
  • 2 Tbs butter
  • 2 Tbs flour
  • 2 cups whole milk
  • 1 1/2 cups grated cheddar cheese (sharper=richer)
  • 2-3 Tbs spicy mustard (I use Gulden’s, because it’s what I typically have on hand but your favorite will work just as well)
  • 1 cup beer (lighter is better, this isn’t great with stout)
  • 1 lb pasta, cooked to a bit less than al dente (I like a curly tube pasta, like cellantani or campanelle because they hold a lot of sauce and their shape)
  • 1/2 cup panko bread crumbs
  • 2-3 Tbs melted butter
  • 1 tsp crushed mustard seed (optional)
  • salt and pepper, to taste
  • Preheat your oven to 350 and oil a large ovenproof bowl.
  • In a medium, heavy bottomed pot over medium heat melt the butter and mix in the flour until it becomes a paste. This is a basic roux and can be used for thickening in lots of ways.
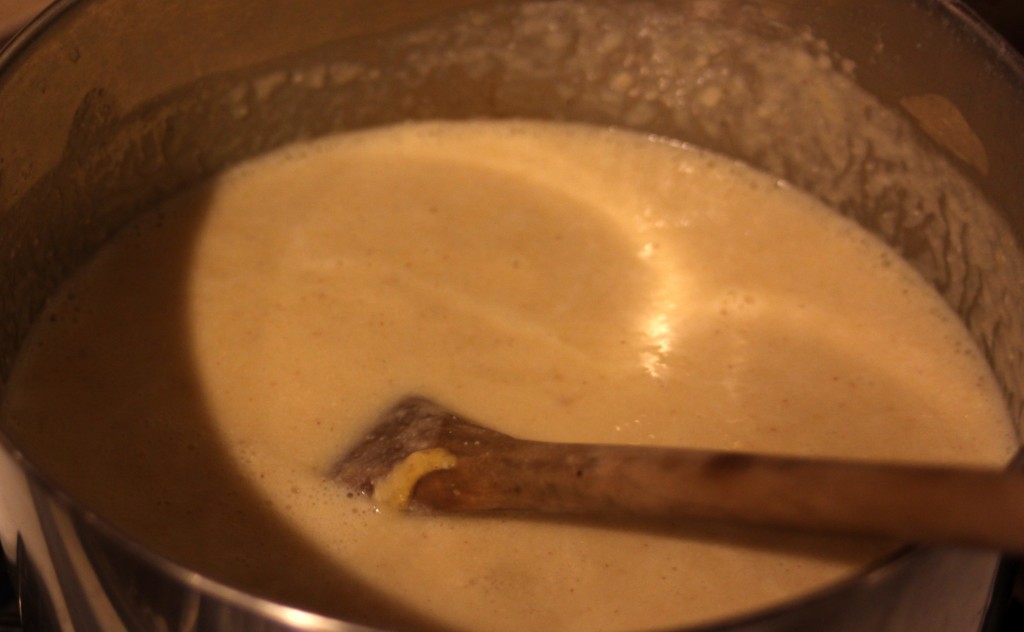
  • Add the milk to the roux and let it come to a simmer. Remove the pan from the heat. Add the cheese and stir to melt. The sauce will be quite thick.
  • Stir the mustard into the cheese sauce. Gently add the beer, if the bottle is fresh it will be quite foamy. The sauce may slightly curdle at this point – don’t worry. Keep stirring and it’ll come back together.
  • Add the cheese sauce to the cooked pasta and stir well. Pour the cheesy pasta into the oiled bowl
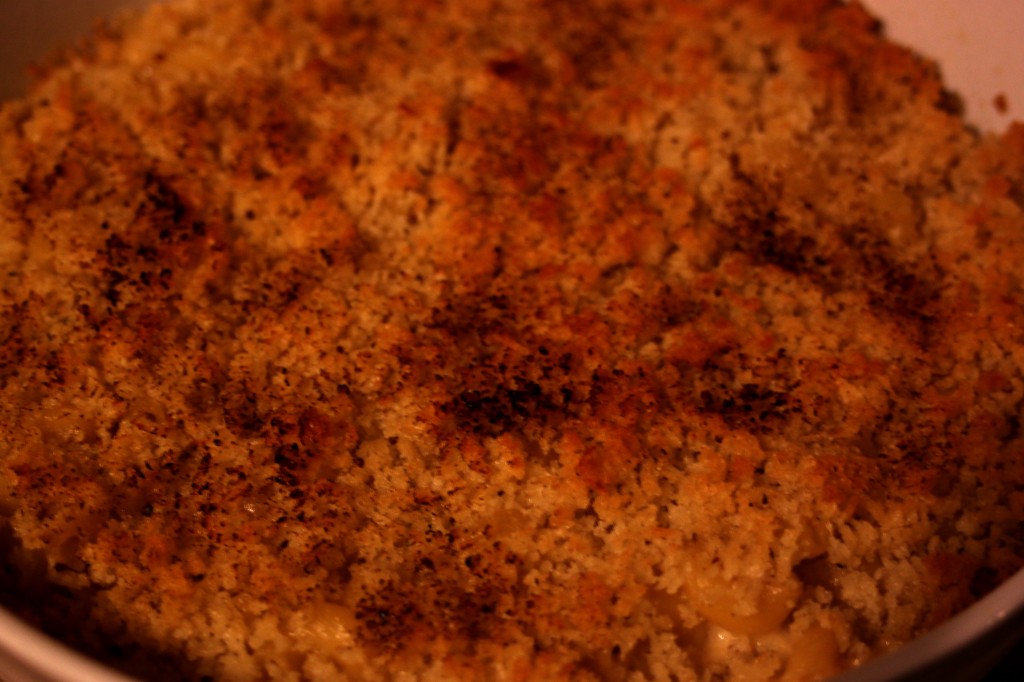
  • Mix the panko crumbs, melted butter, and crushed mustard seed together. Spread the crumbs evenly over the cheesy pasta.
  • Bake the mac and cheese for 30-40 mins, until the panko is crispy and lightly browned.
  • Remove the mac and cheese from the oven and allow it to cool for 5-10 mins before eating.
  • Enjoy with a beer!

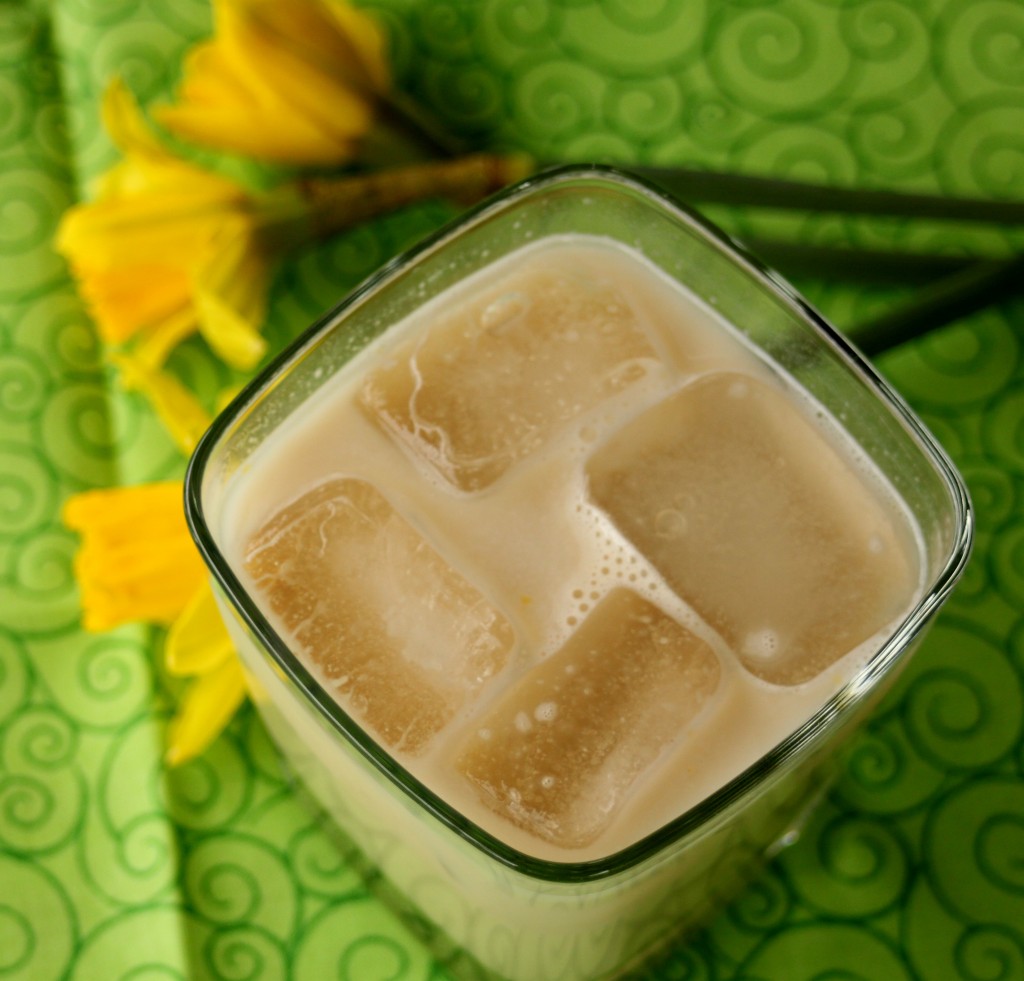
Irish Cream

Irish Cream

Irish cream, it makes me think of college and ill-formed ideas, a chilled liqueur poured over ice and sipped on a spring evening and, of course St. Patrick’s Day. As long as I’ve been old enough to drink I’ve loved Irish Cream, mostly Bailey’s but occasionally St. Brendan’s or another slightly lower shelf product. Last year, or was it two years ago?, BF started to develop a taste for irish cream as dessert. Pouring himself a small glass over ice in lieu of sweets or baked goods.

Whiskey

So in January while reading the Eat Boutique website I came across a recipe for homemade Baileys by Maggie and immediately started plotting – as far as I could tell I had all the ingredients on hand and it seemed like a perfect afternoon pick-me-up. So I made it. It was a resounding success and a perfect Friday afternoon snack.

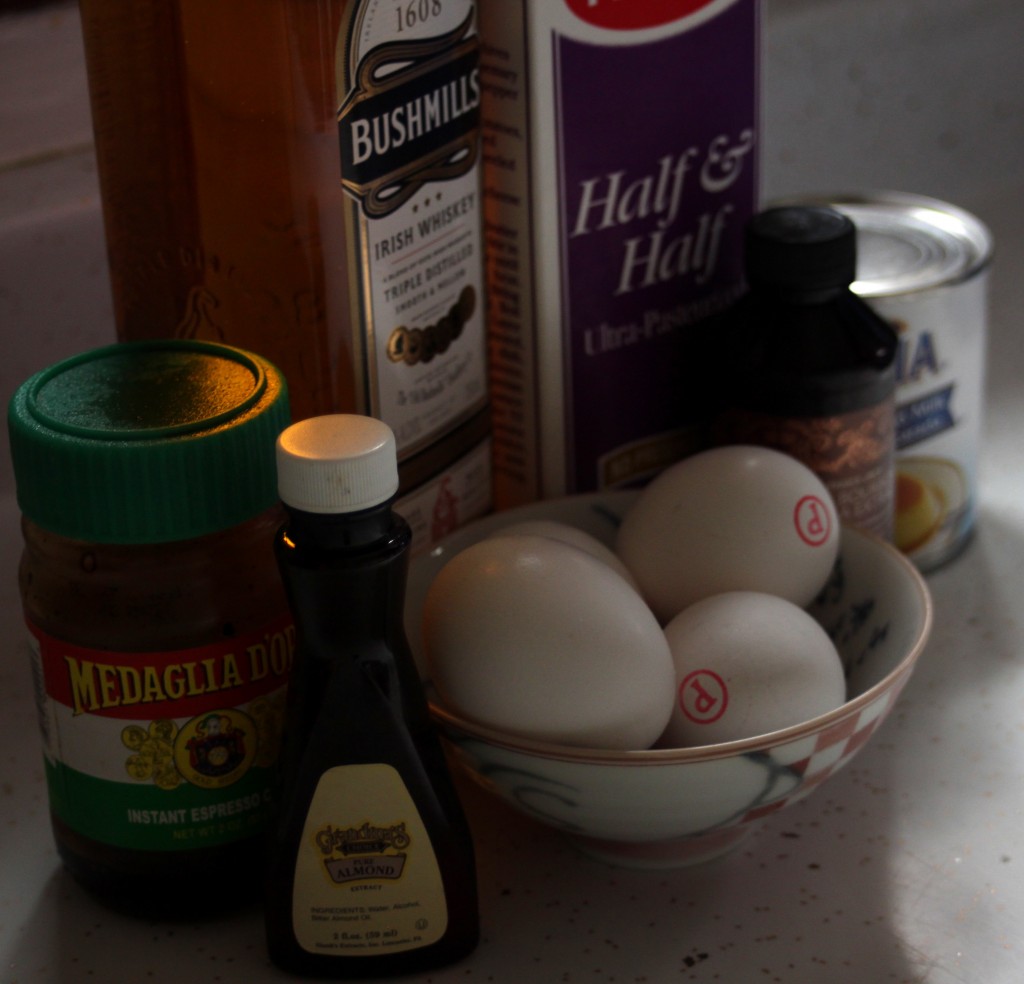
Ingredients

So, now it St. Patrick’s Day and all I want to do is share this recipe with you. It’s 4 in the afternoon, but I’m in Boston and drinking early on St.Pat’s is totally respectable, right? This has rapidly become my go to in lieu of Bailey’s, and it means I always have an excuse for good irish whiskey to be kicking around. And I have zero problems with that!

Irish Cream

Adapted from Eat Boutique by Maggie Battista


  • 4 eggs (I use pasteurized or very fresh eggs)
  • 1/2 tsp almond extract
  • 1 1/2 tsp real vanilla extract
  • 2 tsp instant espresso
  • 1 tsp boiling water
  • 1 tsp Irish Whiskey
  • 1 can sweetened condensed milk
  • 1 1/2 cup Irish Whiskey (I like to use a good whiskey, like Jameson or Bushmills)
  • 1 cup heavy cream (1/2 and 1/2 works too, it’s just not as rich)
  • Combine the boiling water, the instant espresso, and the 1 tsp whiskey together in a small bowl and set them aside to cool (I like to make this in batches of 1/4 cup of each ingredient and use it like extract in everything).
  • In the bowl of a stand mixture fitted with the whisk attachment combine the eggs, extracts, sweetened condensed milk, and cream or half and half.
  • Whip on medium until everything is frothy and fully incorporated.
  • With the mixer on low (on my KitchenAid I use the 2 setting) gently stream in the whiskey and continue to mix everything until fully blended.
  • Enjoy over ice, preferably with a friend, preferably today.

Cheesy Semolina Bread Fail

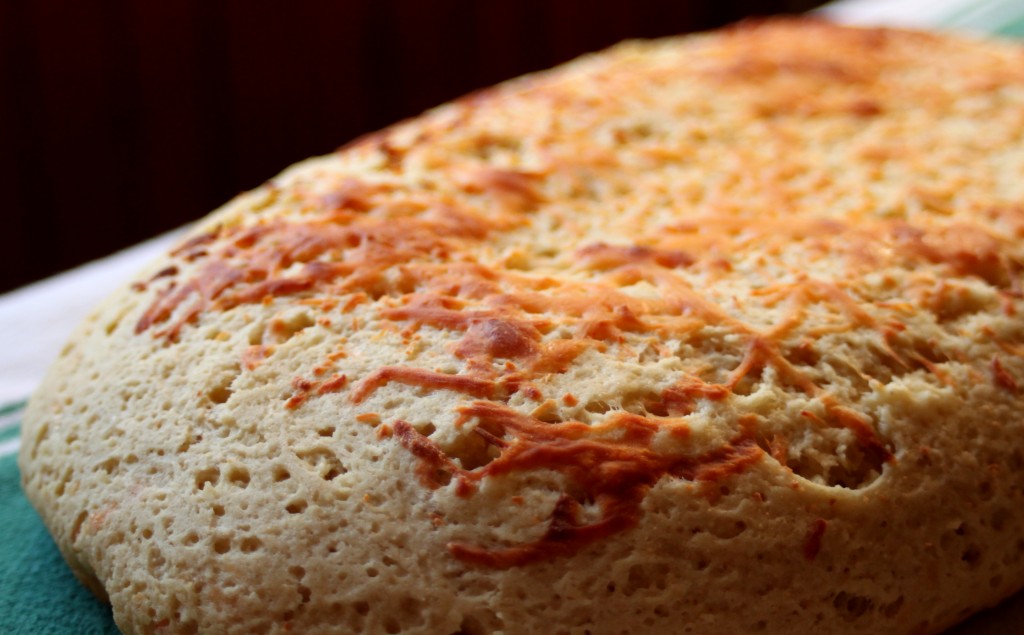
Finished Loaf

Not everything I make is a resounding success.  I frequently try recipes and end up throwing them out or pretending they never happened while trying to come up with something better.  This state of mind leaves me one of two ways, I am either sobbing and trying to figure out why I failed or I feel like a totally mediocre cook who can’t do anything right.  Though, sometimes I am trying a new recipe and it just falls flat, like in the case of this bread.  It looks tasty right – the cheese is golden and crispy on top and the whole thing is a lovely golden brown?  It’s not.  It’s dense and chewy and sits in your belly like a bowling ball, just making you feel full but not satisfied in terms of flavor or texture.

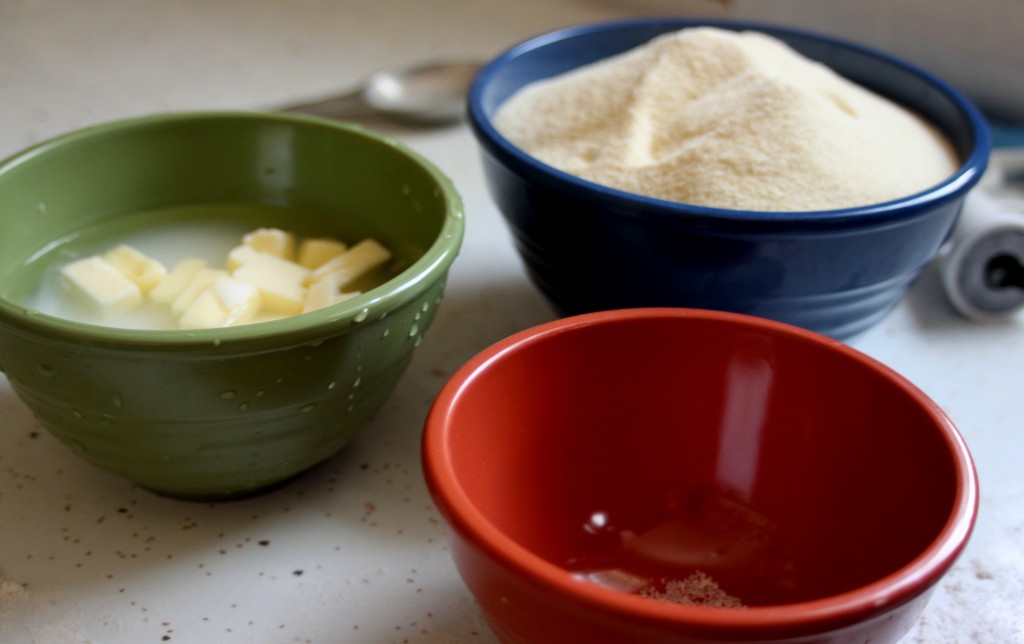
Mise En Place for bread

I’ve had semolina flour sitting on my shelf for quite a while now, initially it was there as a pasta making addition but more and more I’ve been coming across semolina breads.  These breads, when I buy them, are fluffy and airy – like a baguette or ciabatta but with a little more texture to the crumb and I am a  fan.  So one day last week I decided to try it out, make my own semolina bread.  So I looked in all of my cookbooks, I looked on the internet – I looked everywhere and found one recipe for semolina bread.  It was a recipe on the King Arthur Flour website and it only called for semolina flour, so I was wary of it but went for it.

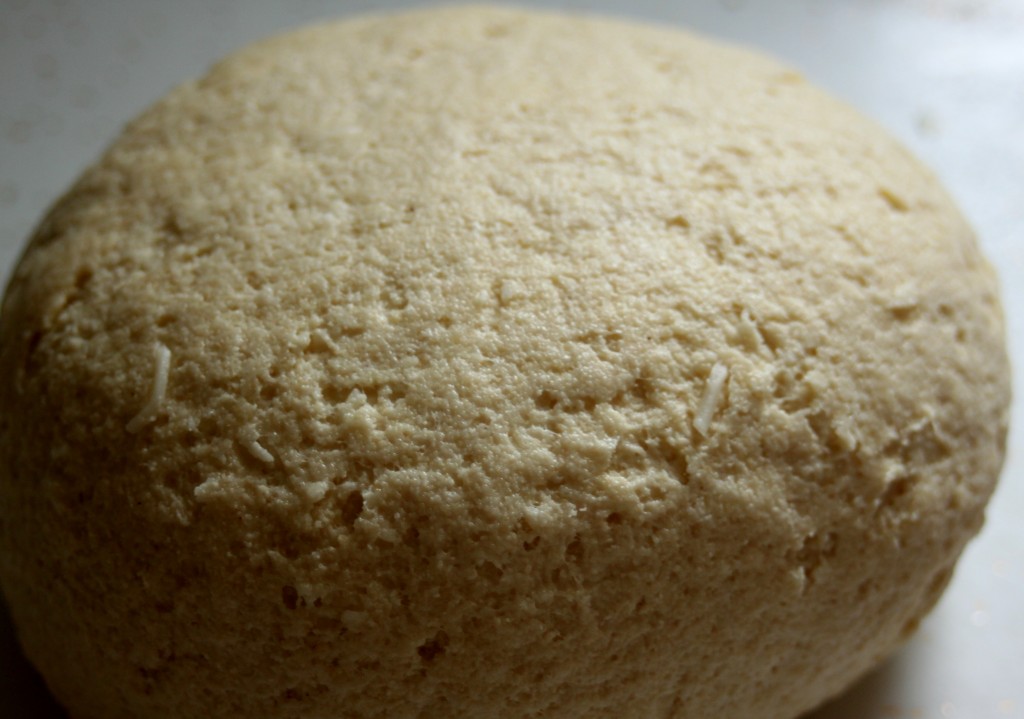
First Rise

The dough was a cinch and mixed up in just a few minutes, it rose well, and then rose well after shaping – but in terms of flavor it was flat and disappointing.  Will I try semolina bread again?, of course, I’m nothing if not persistent.  Will I use this recipe again, no.  It needs work – too much semolina flour created a dense bread that weighed heavily and didn’t do either my baking skills or the bread any justice.  I’ll definitely be trying semolina flour again, and maybe then I’ll find a recipe worthy of sharing.  In the meantime – here are some pictures of this bread.

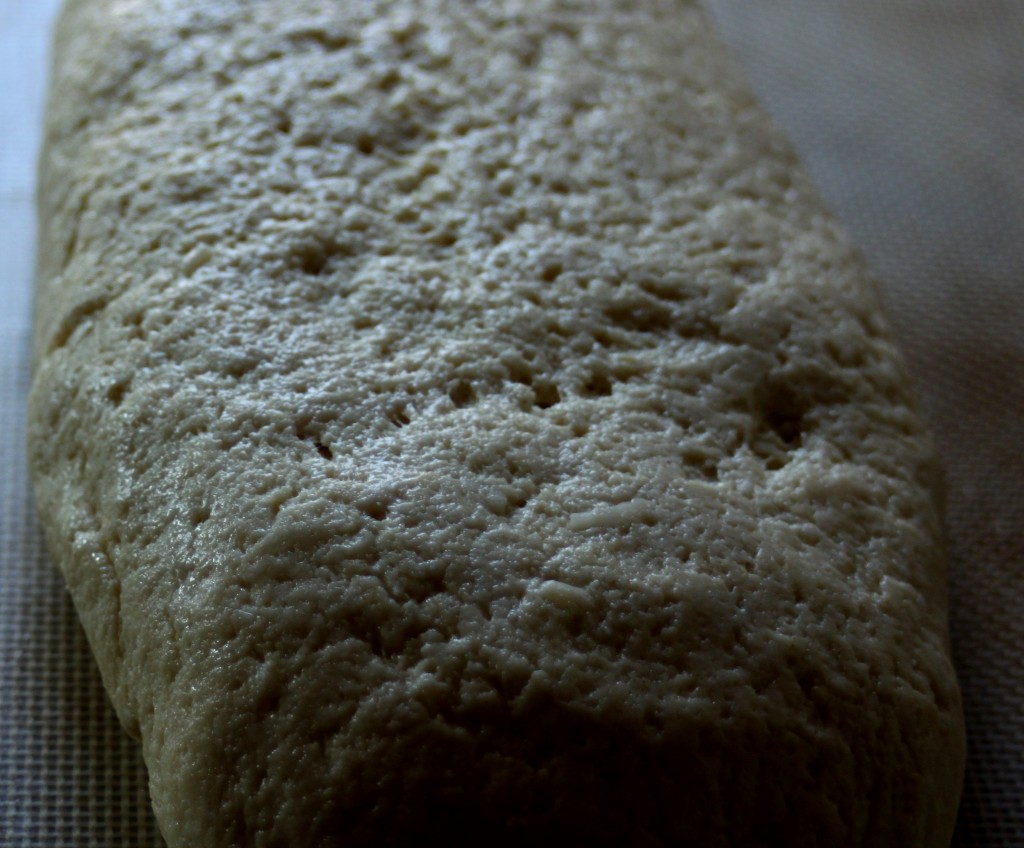
Final Rise