Dairy Free Pumpkin-Pecan Scones


Hello! I’m back and this time WITH SCONES. I’m sorry I know I’ve been absentee for two months (Ah!). I’ve been busy – I got a new job (two actually) that I think about a lot and my summer has been, well, a bit lazy. I haven’t been cooking so much. But, today marks the beginning of fall. So a new season means a fresh slate, and pumpkin, and apples, and nutmeg, and all the lovely flavors of fall. I can’t WAIT to get into the kitchen and start cooking, so here’s hoping I can come back here rejuvenated and full of new recipes for everyone. So, here you go, starting NOW: Pumpkin scones – WITHOUT DAIRY.
I am as accepting of a challenge as the next person (unless it’s squishy, or slimy, or in general unpleasant – then no, just no). So when BF’s family was visiting recently and his father requested scones made without dairy my mind started whirring, in that way it does.  I started thinking about butter alternatives (which seems like some sort of blasphemy coming from me) for BF’s dad, of course.  I pulled down books I loved, I searched blogs, and I checked my shelves for a semi-solid fat alternative, preferably with a good flavor. And then, I found it.  A can of coconut milk that had been sitting unshaken in my pantry.

I grabbed it almost immediately and started modifying the recipe I was thinking on.  Pumpkin (ok, I used Squash), cinnamon, coconut cream, flour, leavener, sugar – I was good to go.  I’ve been making these scones for about two months now.  They’re a little sweet and with a nice tartness from the berries. I love them.  BF loves them.  BF’s dad loves them.  They are universally loved.  These are best enjoyed with a debaucherous amount of butter, or jam, if butter’s not your thing.
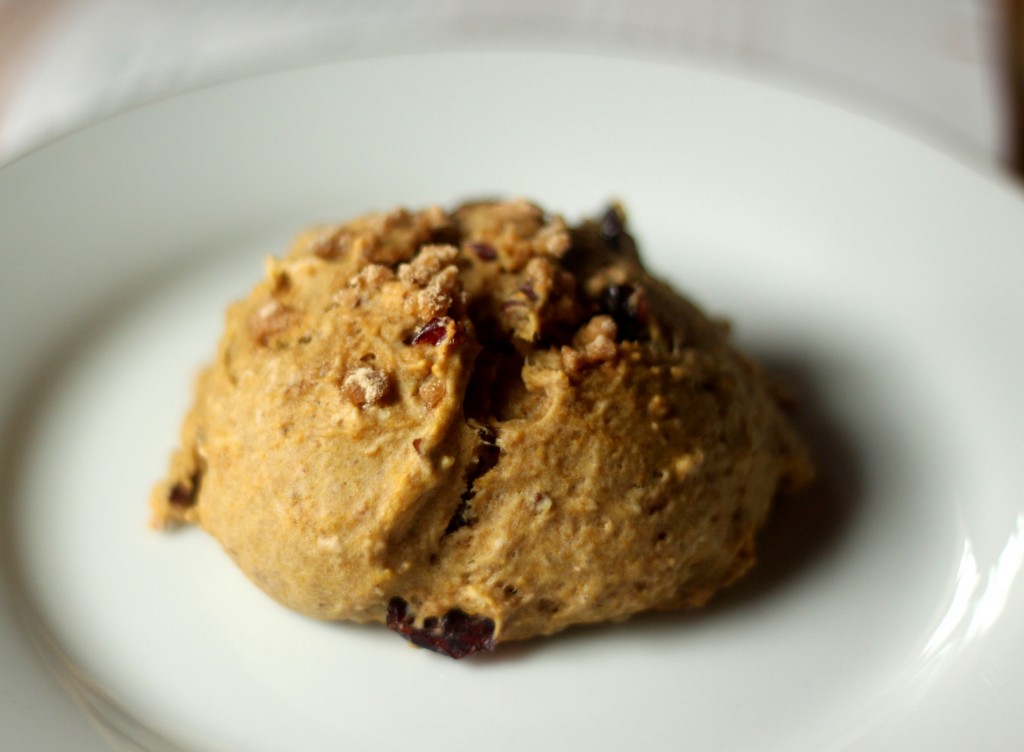
Dairy-Free Pumpkin Raspberry Scones
Note: I love these scones and I will continue to make more of them without butter in the future. This recipe is adapted from one in The Best Quick Breads by Beth Hensberger, which is a book I can’t recommend highly enough. Especially if you like sweet breads. It’s perfect.

  • 2 cups flour
  • 3 Tbs dark brown sugar
  • 2 tsp baking powder
  • 1/2 tsp baking soda
  • 1/2 tsp salt
  • 1 1/2 tsp pie spice (or make your own with what you’ve got on hand)
  • 6 Tbs Coconut cream the fatty heavy stuff on the top on a can of unshaken coconut milk)
  • 1/3-1/2 cup fresh or frozen berries, I use raspberries or dried cranberries
  • 1/2 cup chopped pecans
  • 1 egg
  • 1/4 cup coconut milk (use the water from th can after you’ve gotten the cream from on top)
  • 1 tsp apple-cider vinegar
  • 1/2 cup pumpkin puree (I use One-Pie Squash, because it’s my favorite and canned in Maine from Maine pumpkins)
  • Cinnamon-Sugar
  • 1 egg gently beaten (for brushing the scones with)
  • Preheat the oven to 400 degrees Fahrenheit and line a cookie sheet with parchment.
  • In a medium bowl combine the flour, brown sugar, baking powder, baking soda, salt, and spice. Mix until evenly combined.
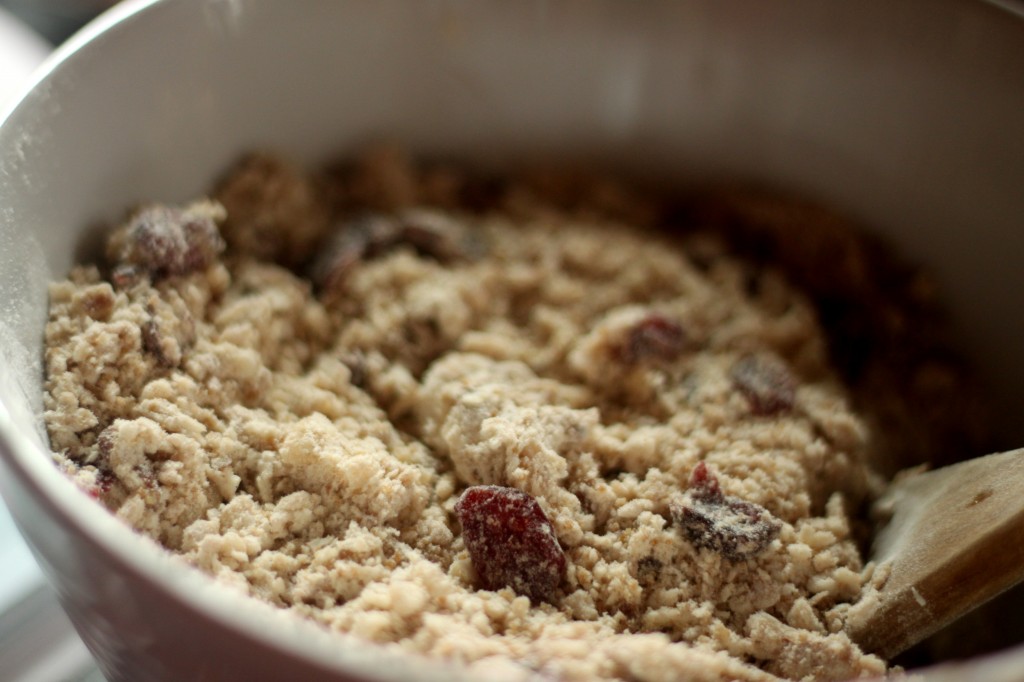
  • Cut in the coconut cream – the mixture will look a little loose, it’s ok go with it. The nice thing about using coconut cream here instead of butter is that it doesnt require the labor that butter will to cut in. you should just be able to stir it with a fork and get nice little bits of fat.
  • Mix in the pecans.
  • In a small bowl (I usually just use a two cup measure) combine the pumpkin, coconut water, cider vinegar, and 1 egg. beat this with a fork until it comes together.
  • Add the wet ingredients to the dry and stir to combine. Mix until everything just comes together.
  • Fold the raspberries in, gently.
  • Using a large cookie scoop, spoons work too, measure out the scones (I use a 2 oz cookie scoop, it makes my life easier). Place the scones on a cookie sheet 1 to 1 1/2 inches apart.
  • Brush the tops of the scones with the beaten egg and sprinkle with cinnamon-sugar.
  • Bake the scones for 20-25 minutes, until the tops are slightly golden and a toothpick comes out clean.
  • Serve these warm. With a smear of butter and coffee. They make a great afternoon snack later, too!
  • Enjoy!

Squash and Apple Soup

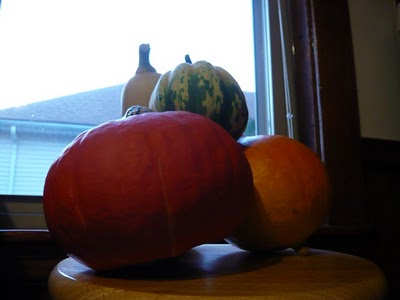
I know that the winter squash obsession has passed for most people, but I’m still obsessed.  The sugars in those hardy winter squash are really coming into their own right now, making the squash really shine and work so well with whatever you want to add to it!  I like my squash soup with a fall fruit (in this case, apples) because I feel like it really fills out the flavors and lightens the heavier squash components.  I don’t roast my squash for soup; I feel like it takes too much time and I can just cook it down in water (or stock if you’ve got some laying around), keeping all of those delicious juices right in the soup pot.  I also feel like it leads to a smoother soup.  It also has the added bonus of NOT burning my hands, which is “handy” (yes, I went there – don’t judge me).

My dining companions (also known as BF and Big Sis) and I enjoyed this soup with sandwiches of baguette, salami, and brie, which were out of this world and were a fantastic accompaniment.

Squash soup isn’t one of those soups I remember eating as a child; it wasn’t even on my radar until I became obsessed with sunshine squash and soup a couple of years ago.  Such bright, cheerful little squash need to be soup.  They are vibrant and they have a fantastic flavor.  But I could be biased.  Also, I bought the one I used for this soup at an adorable honor system farm stand with a drop box for the money!  I love honor system stands in general, but one where I can stand in a little mud and pick out my favorite squash from the pile – those are the best.

Squash-Apple Soup
1 Medium Winter Squash (I like sunshine squash but butternut or hubbard will work too) (1 1/2-2 lb) peeled, cored, and cut into 1” cubes
1 Asian Pear (Pear-Apple) peeled, cored, and cut into 1” cubes
1 Macintosh Apple (Cortland will also work but a tart apple is key) peeled, cored, and cut into 1” cubes
1-2 tsp Garam Masala seasoning (to taste)
1/2 tsp salt
1/2 tsp fresh ground pepper
4-6 Cups Water or stock
Sour Cream/Creme Fraiche/Mascarpone Cheese/Greek Yogurt (for garnish, optional)

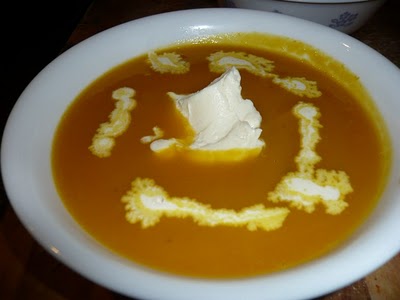
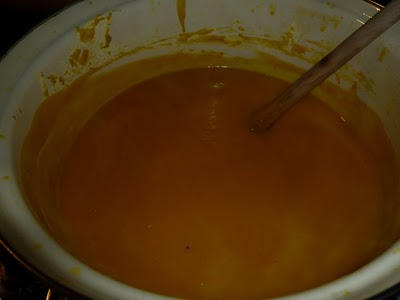
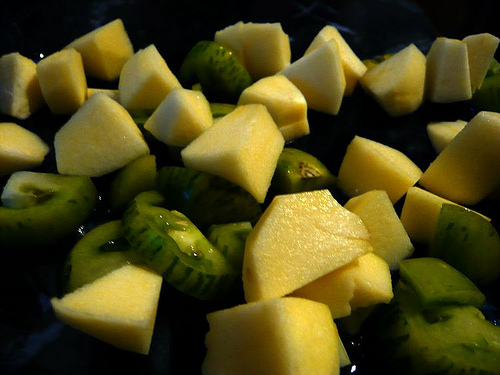
Put squash and apples into a large pot and add just enough water/stock until it comes to the top of the squash/apples but doesn’t cover them.  Heat the pan over med-low heat and let it simmer, stirring occassionally until the squash is soft (15-20 mins).  When the squash has begun to fall apart, add the spices and stir well to fully incorporate them.  Taste the soup – add additional spices as you like.  Allow the soup to simmer for another 10-15 minutes for the flavors to come together.  You can serve the soup chunky if you like texture, or you can use an immersion blender/food processor/blender to make it velvety smooth.  Serve in large bowls with a dollop of your cream of choice (my favorite is Greek yogurt, preferably Cabot).

Sunshine Squash Butter

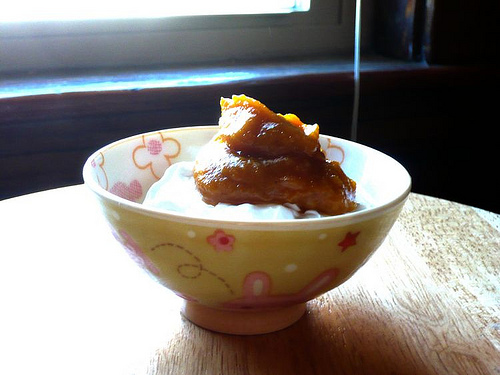
I love winter squash.  I love all of it. And I love all the different ways you can eat it – baked, mashed, soup-ed, stuffed, and pureed into a thick and luscious spread known as Pumpkin Butter.  I know that Sunshine Squash isn’t a pumpkin at all, but it is a winter squash and pumpkins are winter squash.  Also people tend to know what something will taste like a little more if you say you made “pumpkin butter”, as opposed to “winter squash butter”. (Author’s Note: I was going to put an image of Winter Squash here but I didn’t like any of them, so here is Boyfriend’s Hallowe’en pumpkin instead)

I am a stress cook; well, sometimes I’m a stress cook.  I made this batch of [insert something cozy and sweet here] butter after a spectacularly bad day at work.  I was cooking to relax – chopping, peeling… it was soothing and exactly what I needed to do the evening I made this butter.  I also tackled granola and creme brulee that night.  The granola rocked but I overcooked the creme brulee (curses!).  I also don’t have a stellar amount of pictures here, because the actual night that I made the butter, I wasn’t photo-ing, just cooking to cook,which is something I simultaneously like and don’t like.  I need to form good cooking habits right now, with the top two being a) dishes while I cook, because they are always so sucky after and b) take pictures throughout, from start (raw ingredients) to finished product and serving.  These are both fairly tricky for me because I’m kind of lazy and messy. I tend to get my hands covered in flour/butter/squash; then I don’t want to touch my camera. Anyone know a helpful person willing to come take pics while I cook free-of-charge?

Anyway – the pumpkin butter was delicious and hit the spot on that night, when I needed something warm and sweet to offset the bitter taste of my work day.

Winter Squash Butter
Note: I made this with a Sunshine Squash because it’s what I had on hand, but any flavorful winter squash will do; Kabocha or Sugar Pumpkin would undoubtedly be lovely.  Also, the spices are in portions I like. If you want your butter to be more like pumpkin pie, add more clove and less cinnamon.  Also, you can just throw in some pumpkin pie spice in place of all the spices; just remember to punch it up with some extra cinnamon.

1 medium winter squash- cored, peeled, and chopped into 1/2 inch pieces
Apple Cider- get it as local and as fresh as possible, about 2 cups
1/4 tsp Ground Nutmeg
1/4 tsp Ground Cloves
1/2 tsp Ground Ginger
1 tsp Ground Cinnamon
1/2 cup dark amber Maple Syrup. Again local is better and if you can’t get real maple syrup, use 1/4 cup molasses

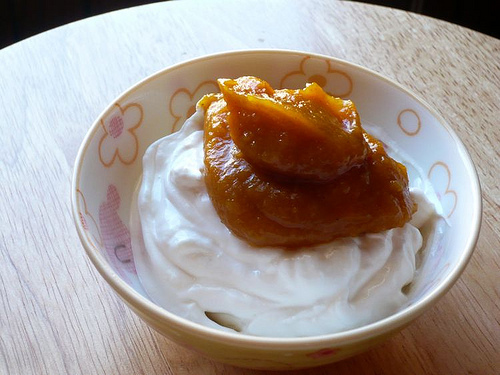
In a deep pot (or a dutch oven if you are lucky enough to have one) put the squash and just enough cider to come up to but not cover it.  Bring it to a simmer and cook until soft and falling apart (15-20 mins).  Remove the pot from the heat.  If you have an immersion/stick blender, use it to puree the squash apple mixture until it is smooth with no lumps.  If you don’t have an immersion blender, you can use a regular stand blender or a food processor; just do it in batches again until it’s smooth and even.  Return the squash puree to the heat and add the spices and syrup.  Stir everything well and bring it to a simmer.  Simmer the pot, uncovered if you dare (it gloops and splatters) for about twenty minutes.  The mixture will start to thicken and be spreadable when it’s ready.  And you’re done.  Serve it while warm on vanilla ice cream or cold on yogurt.  This is wonderful as a spread for breads too. Basically I love it, ALL THE TIME.  Actually I’m going to have some… right now.  Ta-Ta!

Warm Quinoa Salad

With Boston’s recent spate of July in October I wanted salad for dinner.  Simple right?  But I am forever getting salad ingredients and not using them, so there are frequently no basics, like lettuce, in my house.  Ever.  I’m just not that kind of salad girl.  I’m much more a fan of a nice pasta salad covered in vinaigrette or German potato salad.  But I didn’t want either of those things and the ingredient on everyone’s lips (well blogs) recently has been quinoa.

I get that quinoa is a delicious grain, I even get that it is very helpful, full of nutritional value and makes everything taste wonderfully nutty, but the thing about quinoa is, my mom.  My mom went through a phase when I was younger where she was obsessed with those little curly grains – they were in everything, sautees, soups, salads, even granola (which I now realize was fantastically delicious).  I grew to hate it.  I loathed it on principle the way a sullen teenager will; it’s sort of funny to me now to think about it.  I started to hide the quinoa so she couldn’t use it; I was terrible.  Then I graduated, and she discovered more grains; sesame seeds and flax among them.

It has taken me a long time but I’ve finally come back around to the idea of quinoa in my cooking.  For me it started with this post on quinoa salad from Michelle over at Fun and Fearless in Beantown, and most recently, from this post, by the lovely ladies over at We Are Not Martha.  Both of these salads were cold salads cooked and left to cool before eating, but I wanted mine to be warm. I also wanted it to remind me that it was fall and local fall produce was still kicking around and ripe for use; apples, carrots, winter squash.  I had a plan and I was excited.

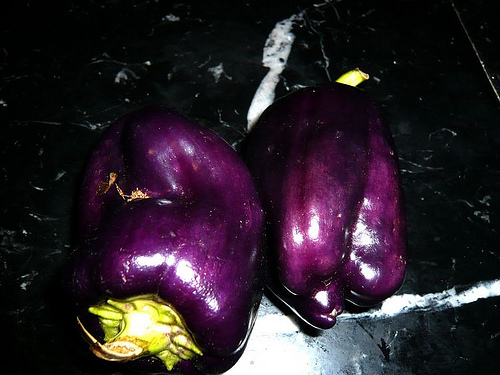
So, on my way home from work on Tuesday, I stopped at the Dewey square farmers market looking for three things: winter squash (Boyfriend actually put the kibosh on the winter squash though; apparently I’ve been making us live on it… which may be a bit true), sweet bell peppers, and onions.  So I wandered a bit in the sunshine and wind, grabbed a bunch of scallions and found PURPLE BELL PEPPERS!  I got two for my salad, thinking that the color would be a lovely addition to the orange carrots and green scallions.  I was set.  I grabbed a train to Alewife and excitedly oggled my farmer’s market purchases.

Warm Quinoa Salad
Note: This is all mine. I wasn’t expecting it to be, but it is; so much a kitchen sink recipe, that it was great and delicious.  This salad can be made vegeatrien by skipping the chicken and cooking your quinoa in vegetable stock or water (I’m pretty sure this is also very good).

1 cup quinoa, uncooked
2 chicken thighs, boned and skinned
2 cups carrots, apples, winter squash, beets (hard roast-able veggies)
2 cups green beans, ends trimmed and blanched
2-3 scallions, the green part only, chopped
3 1/2 cups of water
2-3 cloves garlic, chopped into medium-small pieces
salt and pepper to taste
1/4 cup balsamic vinegar
2 tbs olive oil
Cranberry Wensleydale, chopped (optional but delicious)
Dried cranberries (again, optional but delicious)

Chop all of your roasting vegetables into 1/2 inch pieces, put them in a lightly greased baking dish and roast at 400  degrees for 30 minutes, or until tender.  Meanwhile, in a medium saucepan, bring the water, chicken thighs, and garlic to a simmer.  Poach the thighs until they are fully cooked.  Reserve the poaching liquid and chop the chicken into chunks; toss it into your main salad bowl.  Blanch your green beans and toss them in with the chicken.  Check the poaching liquid for the chicken – if it is 3 cups you are good to go. If not, bring the liquid up to three cups. Bring this to a boil and add the quinoa, simmer 15 mins over medium heat, and drain.  Add the quinoa to the chicken and green beans.  Pull your vegetables out of the oven; are they done? Good. Add those too, and give the whole thing a good toss.  Add the dried cranberries (if you’re using them) and the scallions.   Let it sit for a minute.  Combine the olive oil and vinegar in a lidded jar and give it a good shake (I’ve actually started to use a milk frother for combining vinaigrettes; it’s awesome).  Toss the whole salad with the vinaigrette dressing and serve while it’s still warm.  Sprinkle the cranberry Wensleydale over the top and serve in big bowls with bread, if you’re into that.  The Wensleydale will melt ever so slightly while you eat, and will add just the right texture consistency to make the whole thing sing. I bet goat cheese could do the same thing.  Let me know if you try it!  Eat the salad while watching a Gossip Girl marathon with girlfriends and being appalled at some of this season’s clothing; seriously, when did the 80’s decide to throw-up on Serena?