Maine Sourced Granola

This is a celebratory post. It is it my hundredth post here – I feel like it should have shown up sooner and there should be a greater fanfare, but I’ve been busy. I worked really hard and threw an epic beer fest with some absolutely fantastic people, I started a new job (more on that later), and I’ve just been sort of lazy. I know I’m not supposed to admit that here – where I show you pretty pictures of food and make you think I eat like that all the time – but I don’t. Most nights I eat pasta with butter and Parmesan on it or instant mac and cheese. I have plenty of knowledge but a low threshold for motivation. Occasionally that comes out here. This post is about the awesome though, this is a celebration of this little blog – this corner of the internet I have claimed as mine and proudly declared to be KATHY CAN COOK. I’ve covered it in 8-bit sprites, I’ve met some amazing people, and I’ve eaten SO.MUCH.GOOD.FOOD.
This is not me signing off – please don’t think that as I wax nostalgic about how great keeping this blog has been. I’m not giving up on it, at least not yet, I’m not even taking a break. I’m just sharing how loved this makes me feel – and how great it is to have made friends, actual friends, through blogging. That’s what this recipe is – new to me comfort food that is a little bit of home and a whole bunch of love. I made it with my big sister on a Monday afternoon that she’d taken off to hang out with my kid brother and I. It was a perfect leisure activity.
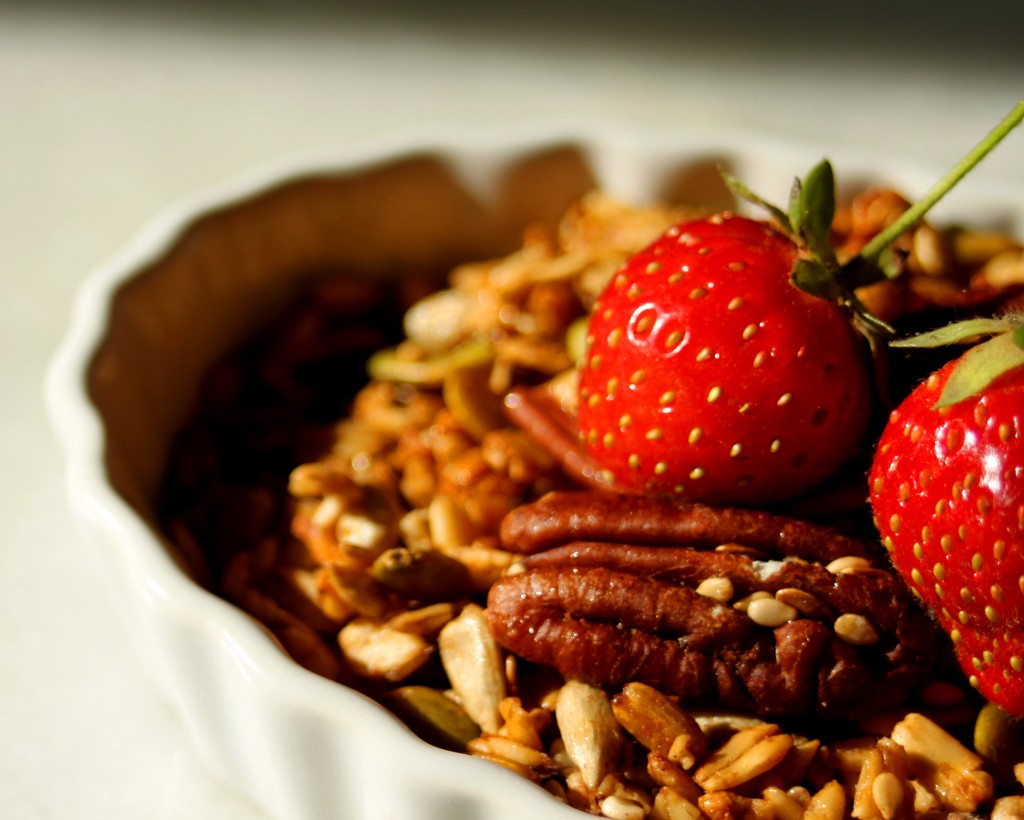
This granola is made with rolled oats sourced from Aurora Mills in Maine, and alone they are great and nutty oats – in granola they have just the right flavor and give while still being chewy and filling. This is not-too sweet granola either, it’s maple-y without being in your face and it holds its own against the tang of Greek yogurt.
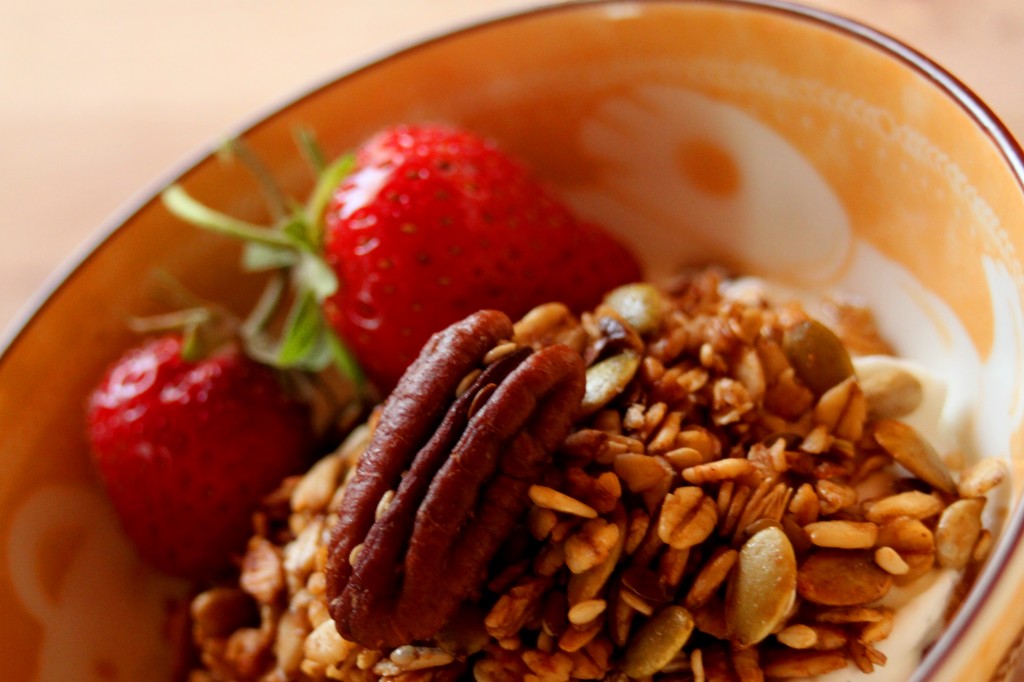
I say this granola is home because it is. I feel a special connection to pretty much anything sourced from Maine and even now, when I don’t live in Maine anymore I still refer to myself as a “Maine kid” it gives me a sense of identity and place. I love it – so this granola is a perfect example of blogging for me – it’s new, my first homemade granola (win) paired with some old (a few Maine oats to make me feel like I’m home).
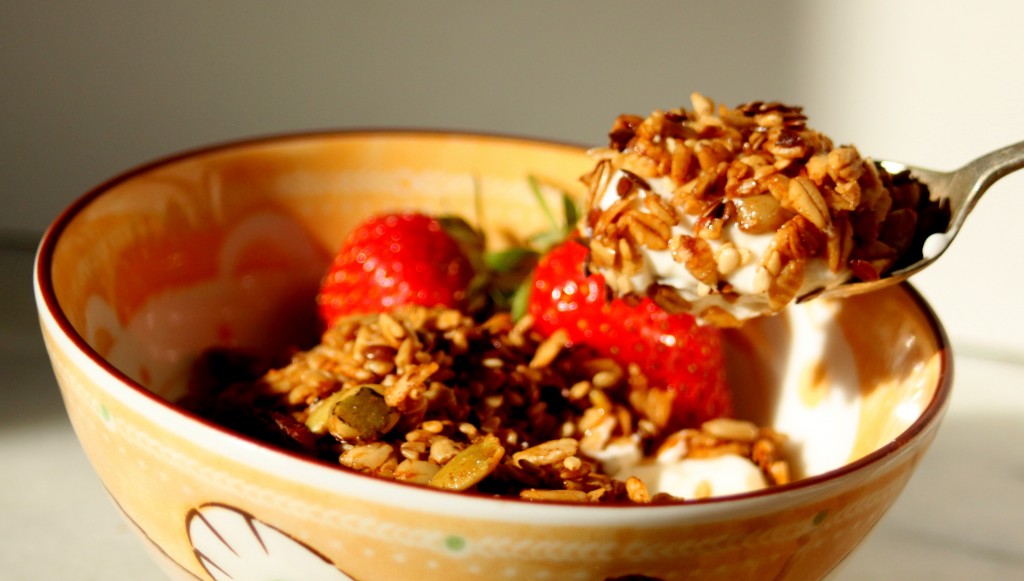
Home-Made Granola

Note: This recipe is loosely based on one from the Cooks Illustrated Cookbook in that I looked at that cookbook for ideas of what ratios to use and what temperature to cook my granola at. Please consider this a broad guideline to create your own granola recipe though, it’s totally adjustable I used the flavors and textures I really liked when I made this, as such you should adjust in your own way. It does make a lot of granola though, so be prepared to share!

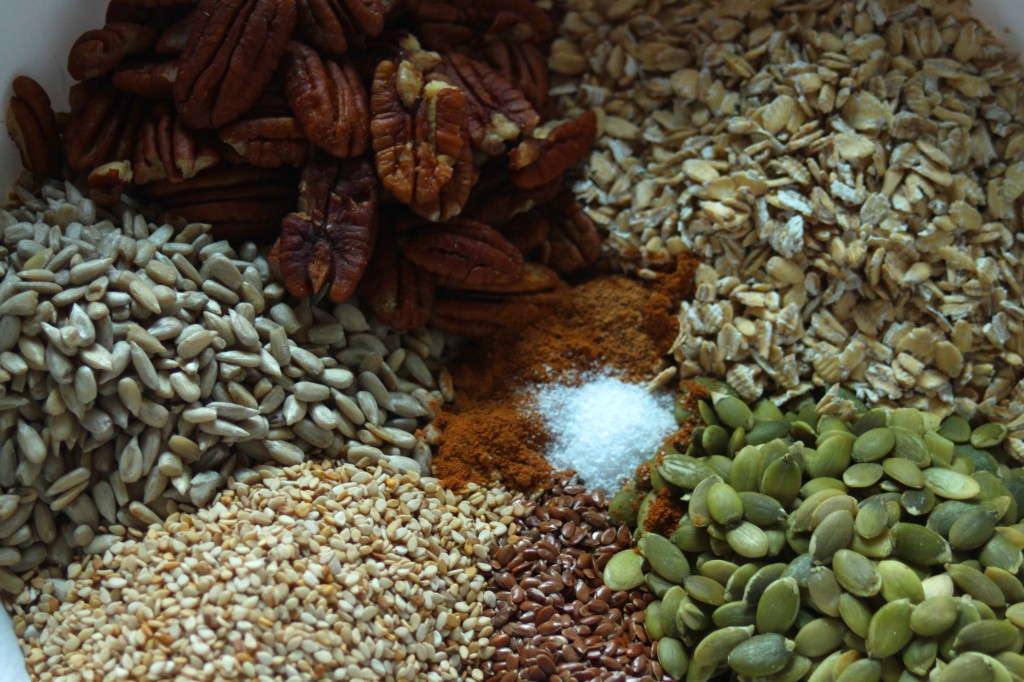
  • 3 1/2 Cups Old Fashioned Rolled Oats – small batch rolled oats will be nuttier and more flavorful
  • 2/3 cup Pepitas, hulled pumpkin seeds
  • 1/3 cup sesame seeds. raw
  • 1/3 cup flax seeds
  • 2/3 cup nuts (I used pecans and they were AWESOME)
  • 2 tsp cinnamon
  • 1/2 tsp nutmeg
  • 1 tsp salt (I use coarse kosher, but go with your preference)
  • 1/3 cup high heat oil (I used peanut, but you can use safflower, sunflower or whatever else too)
  • 2/3 cup Real Maple Syrup (The corn syrup stuff will not work here)
  • 1 tsp vanilla extract
  • 1/4 cup Honey (the honey/maple syrup ratio is really forgiving and can be modified to what you have)
  • 1/2 cup toasted coconut
  • 1 1/2 cup dried fruit (I used cranberries, tart cherries, and candied ginger)
  • Preheat your oven to 300 degrees farenheit.
  • In a large bowl combine the dry ingredients (oats, nuts, and seeds) and mix until evenly distributed.
  • In a small pan combine the oil, honey, vanilla, and syrup. Heat them over low heat until the liquids are fluid and easily mixed.
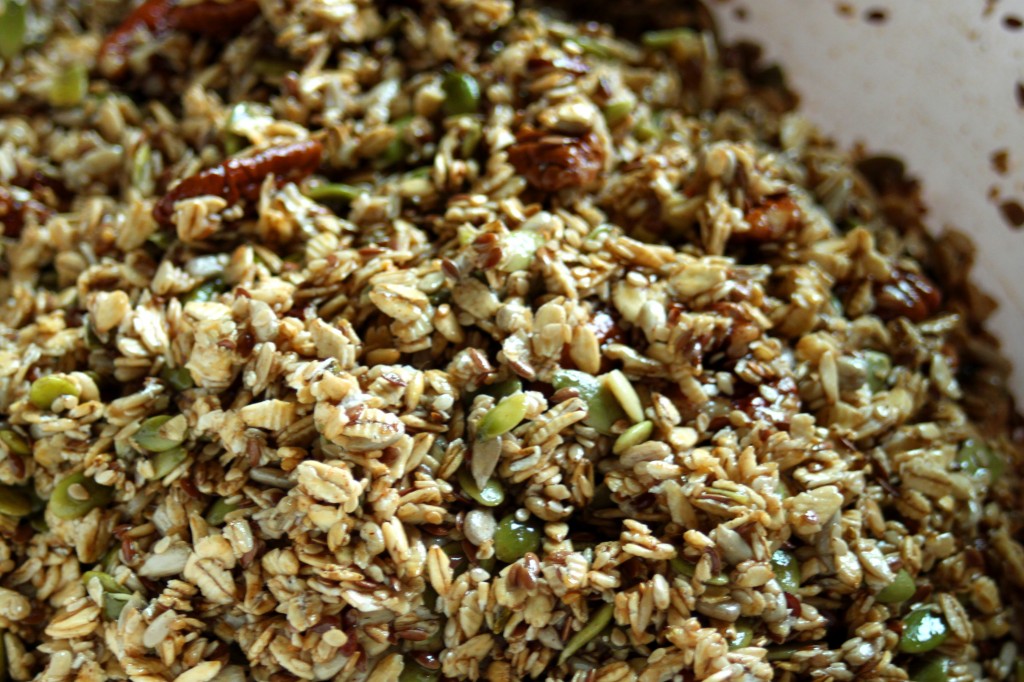
  • Pour the liquid over the dry ingredients and mix until everything is evenly coated
  • Put the granola in a large pan (I use my turkey roaster) and spread it out evenly so it is an even layer (mine was about 3/4 inch thick).
  • Toast the granola in the oven for about an hour – stirring every 10 to 15 mins to prevent large clumping. THe granola will be golden brown and fragrant when it is done.
  • Allow the granola to cool completely, for at least an hour.
  • Mix the toasted coconut and dried fruit into the toasted granola.
  • Eat over your favorite yogurt or by the handful!

Mustard-Cauliflower Tart

I’m getting back to that point in the year where I over-commit myself. That point where I a things like, oh you need a blog post by thus and such a date – of COURSE I CAN DO IT. Then I forget. Or the product I’m reviewing/creating a recipe for arrives in the mail and I’ve totally forgotten what it’s for and the original, magical, wonderful recipe I had planned for said item goes out the window and something entirely new shows up on the table instead. I’m not saying this is uncommon, actually just the opposite – it happens ALL THE TIME. Not because I miss deadlines, though that sometimes happens too, but because I forget to write down my brilliant idea to creatively use whatever I’ve been thinking on. I’ve been getting better, at least a bit – now I email myself or write stuff down on random scraps of paper when I come up with them. I mention this craziness to point out that I am entirely fallible (but don’t tell Kaylee), and because of this last night’s dinner was a cauliflower tart as opposed to the initial goat cheese cheesecake I came up with.

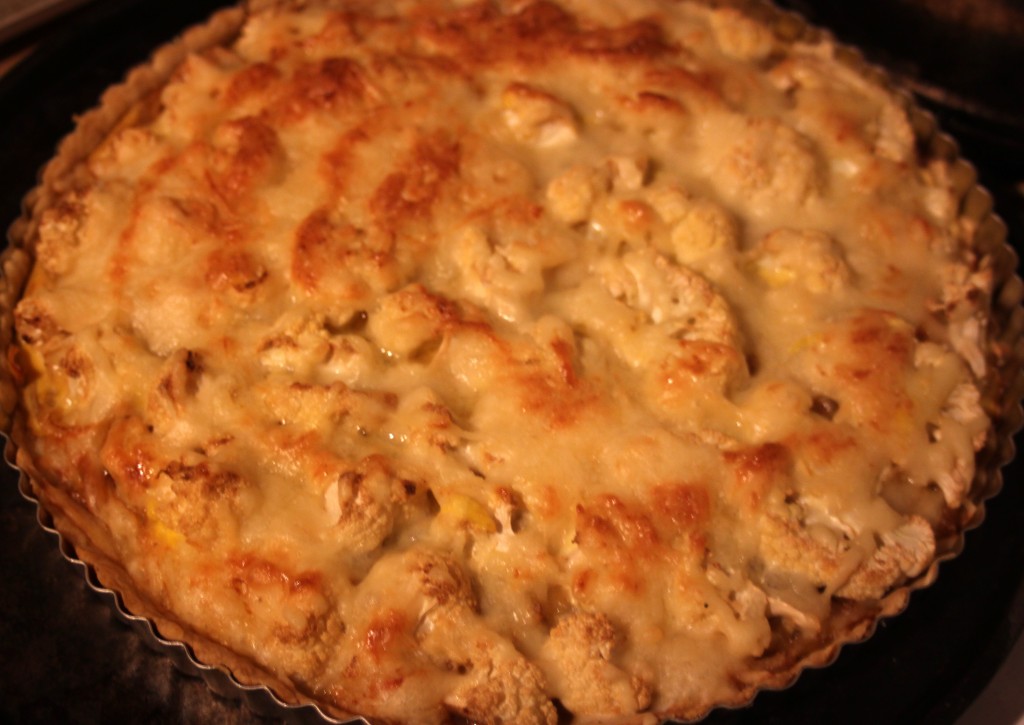
So here we are now. Cauliflower tart and not a goat cheese cheesecake. The cheesecake would have had a pretzel crust and a mustard drizzle. It would have been ultra rich and delicious. But then I did some research – apparently goat cheese cheesecake is bizarre, a little too rich and more like a spreadable warm cheese than anything else. So I came up with something else – this tart. This tart was delicious it was layers of perfect flavor – from the mustard infused tart crust to the maple glazed caramelized onions to the crispy swiss cheese browned and bubbling on the top.

I plotted this tart after a tweet from Stonewall Kitchen saying they were conducting a blogger contest using their mustards. I immediately tweeted them my interest. I asked for the Maine Maple Champagne mustard – as a Maine kid I gravitated to this because it brought me back to my love of Maine, my love of maple, and, of course, my love of mustard.

Mustard and Cauliflower Tart

Note: This tart is my own creation though the idea is a morphing of one from Epicurious.

For the Crust:

For the Tart:

  • 3 Tbs Stonewall Kitchen Maine Maple Champagne Mustard, separated
  • 1 medium onion, sliced into thin half moons
  • 2 Tbs butter
  • 1 Tbs good maple syrup (I like grade be best)
  • 1 half head of cauliflower, cut into 1 inch florets
  • 1 1/2 cup of shredded swiss cheese
  • 2 eggs
  • In the bowl of a food processor combine the flour and butter. Use the pulse feature and blend 3-4 times. You should be able to see the butter bits in the flour.
  • Add the tablespoon of mustard to the butter/flour mixture in the food processor, pulse this for a minute until fully incorporated.
  • Add water, one tablespoon at a time until the dough just starts to come together.
  • Roll the dough out so it will cover the bottom and sides of a removable bottom tart pan and then line the pan.
  • Melt the butter in skillet over medium heat.
  • Gently spread the onions out in as thin a layer as possible over the melted butter in the skillet. Allow the onions to sweat over medium heat until they are translucent (about a minute).
  • Drizzle the syrup over the onions and allow them to caramelize slowly over a 15-20 minute period, stirring every few minutes.
  • While the onions cook preheat your oven to 350 degrees farenheit.
  • spread 2 Tbs of mustard on the bottom of the tart.
  • Once the onions are fully caramelized spread them over the mustard slicked tart evenly.
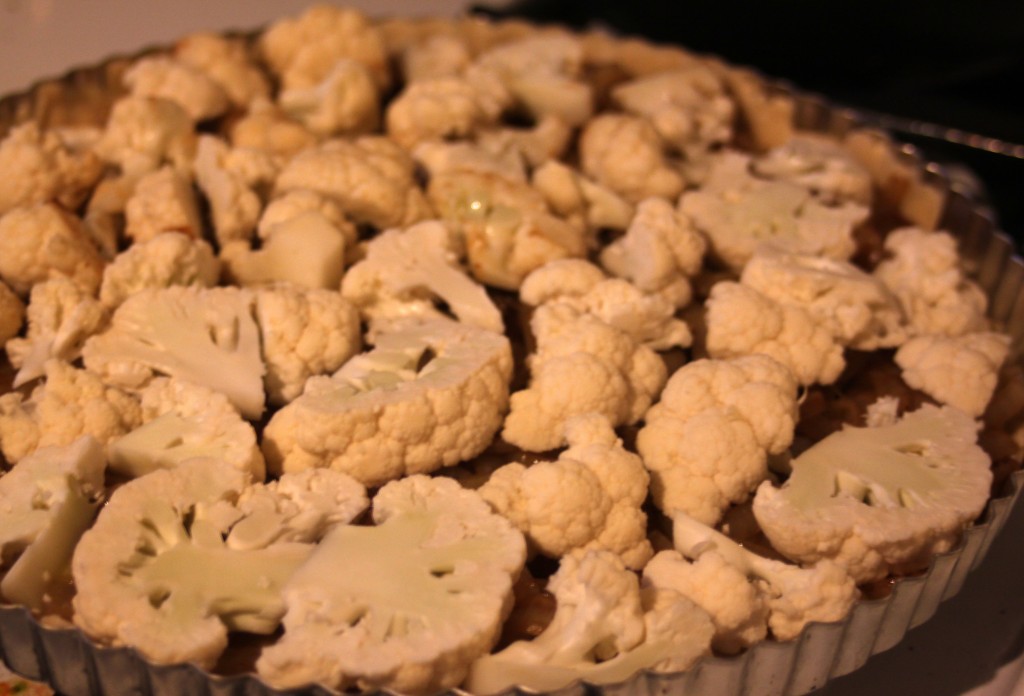
  • Place the pieces of cauliflower over the tart in a single layer until the onions are covered – this takes about half a head of cauliflower, though you could use more if you liked. Sprinkle the whole thing with the shredded Swiss cheese.
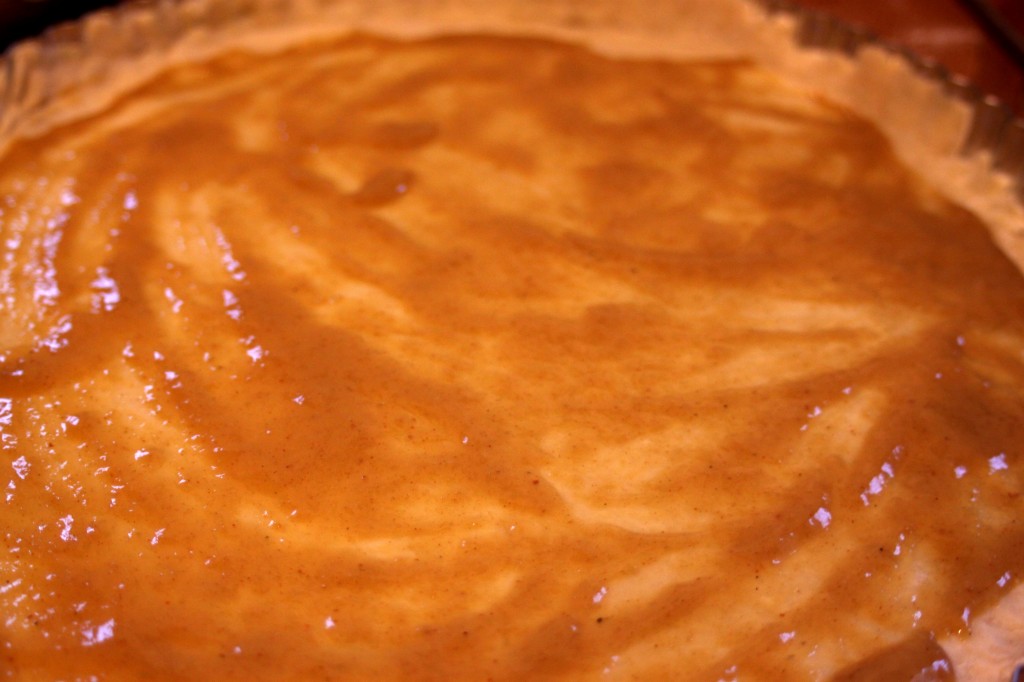
  • In a small bowl combine the eggs and remaining tablespoon of mustard. Blend this with a fork, like making scrambled eggs. Pour the egg/mustard mix over the whole tart as evenly as possible (you should get a good swirl).
  • Bake the tart for 35-40 minutes, until the cheese is brown and bubbly and the crust if golden on the edges.
  • Serve the tart with a light salad and a drizzle of mustard.
  • Enjoy!
I was given this mustard to create a recipe with for Stonewall Kitchen. All opinions listed here are my own.

Rosemary-Asiago Shortbread

Rosemary Asiago Shortbread

I’m a sucker for savory-sweet combinations – so when my Boston Organics box arrived last Thursday and had a clamshell container of rosemary inside I did a little jump of joy. See, I’d been thinking about a savory shortbread for quite awhile after an accidental tweet to the fantastic Shelby saying I owed her some parmesan shortbread. I meant to say parmesan crackers but that accidental tweet started my cooking brain going. There was a salty-sweet cookie that sounded swoon-worthy and it lingered. I started to fantasize about this cookie and spent a lot of baking time playing with it.

Ingredients

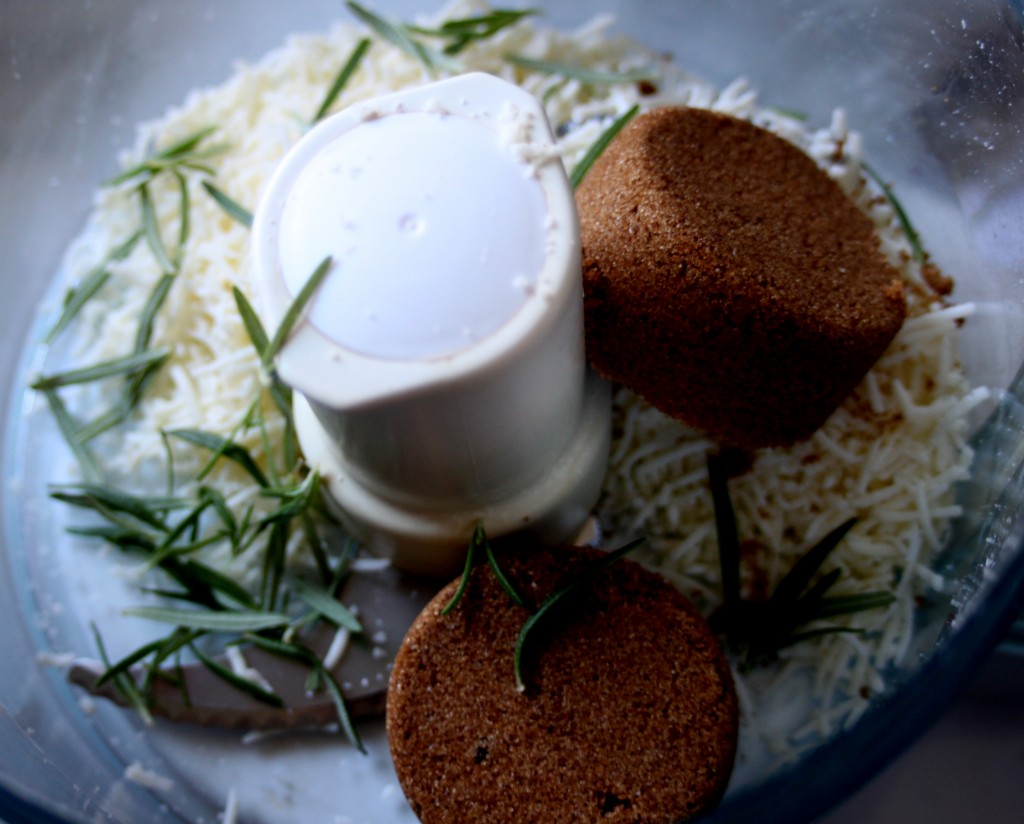
Then I tried the Lark’s fine foods Rosemary Shortbread – I ate an entire package of these cookies in a sitting. I would say oops to that lapse in common sense, but I don’t regret it – they were luxurious and decadent with a perfect crumb. Here’s the thing – I am not typically a fan of shortbread in any form. I find it bland and lackluster most of the time. But, this shortbread – the Lark’s and my own are perfect. They are a little sandy and offer just the right amount of sweetness to keep you eating them.

Dough

I am hopelessly in love with these cookies, and everyone I’ve shared them with (aside from BF, because he’s not the biggest rosemary fan) has felt similarly. These are rich without being overly so, they are sweet without being cloying, and the rosemary is such an unexpected burst of flavor you really just want to keep eating them until they are all gone.

Wedges

Rosemary-Asiago Shortbread

Note: This recipe is an odd Frankenstein’s Monster of at least three that I’ve had kicking around my apartment for a while. I’m now fiercely attached to it though and will probably continue to use the base for all of my shortbread needs.
  • 1/2 cup grated asiago or parmesan cheese
  • 3-4 Tbs rosemary leaves removed from the stem, more rosemary is a stronger flavor – I prefer more, BF prefers none
  • 1- 1 1/2 Tbs maple syrup
  • 1/2 cup dark brown sugar
  • 1 cup butter
  • 2 cups flour
  • 1/2 tsp baking powder
  • In a small saucepan over medium-low heat, melt the butter and gently swirl it around until it becomes a light brown and smells nutty. DO NOT WALK AWAY FROM THIS BUTTER AT ANY TIME. The butter will burn if you do that, because it’s an evil thing that wants you to waste more butter.
  • Set the browned butter aside to cool slightly.
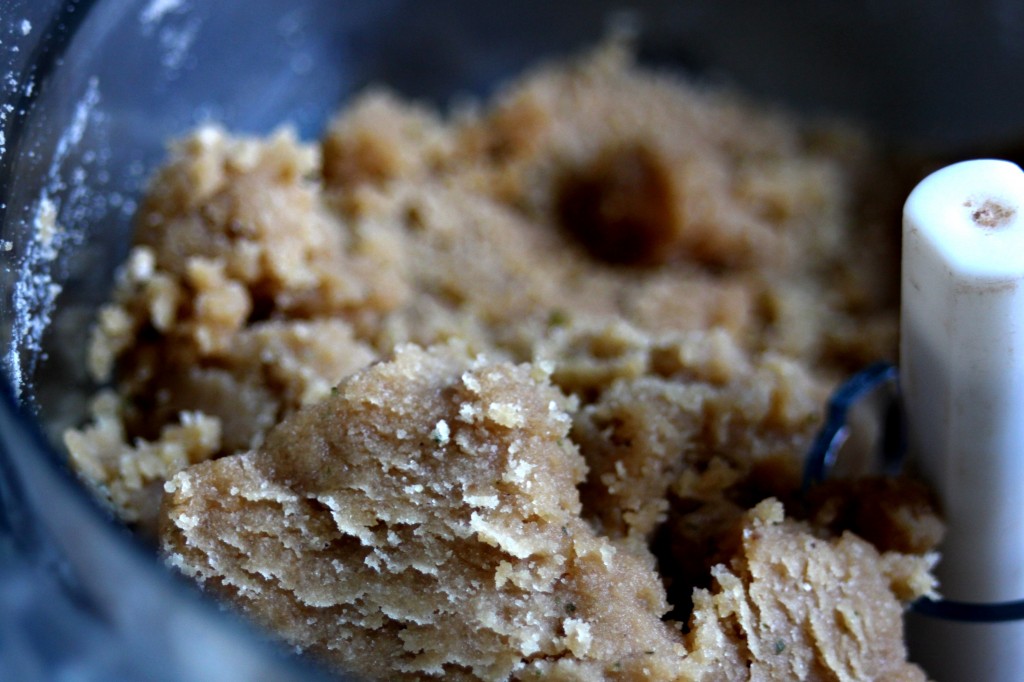
  • Add the cheese, rosemary, brown sugar, and maple syrup to the bowl of a food processor, pulse or run this until it resembles wet sand – about fifteen pulses or 45 seconds of steady speed.
  • Add the butter to the food processor and allow it to fully absorb into the sugar mixture (this should only take a couple of seconds).
  • Add the flour and baking soda and pulse until just combined. The mixture will look like loose pie dough.
  • Wrap the dough in plastic wrap (a couple layers are better, I find) and chill it in the fridge for half an hour to an hour.
  • Separate the chilled dough in half.
  • Press each half of dough into a 9-inch round cake pan. You may need to crumble the dough up then press it back in tightly. Don’t worry, you won’t hurt it. I usually use a piece of parchment and a ball jar to smooth mine out so it’s even.
  • Press the edges of the dough down with a fork, so there are little lines all around (this is my favorite part).
  • Bake the shortbread at 325 for 20-25 minutes; the edges will be a light golden brown and they will smell amazing.
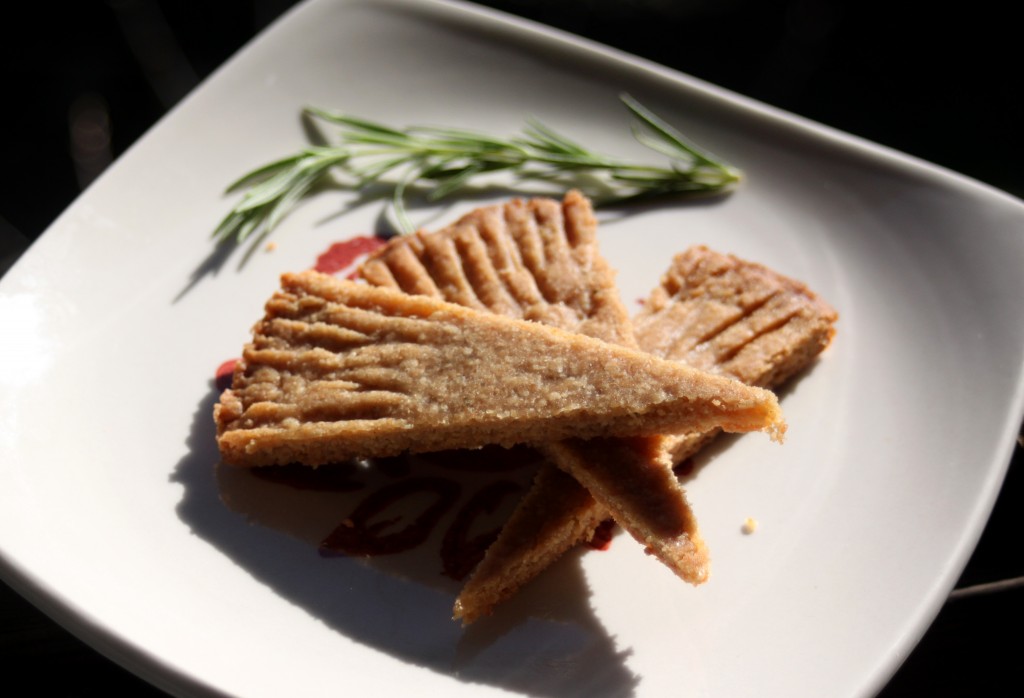
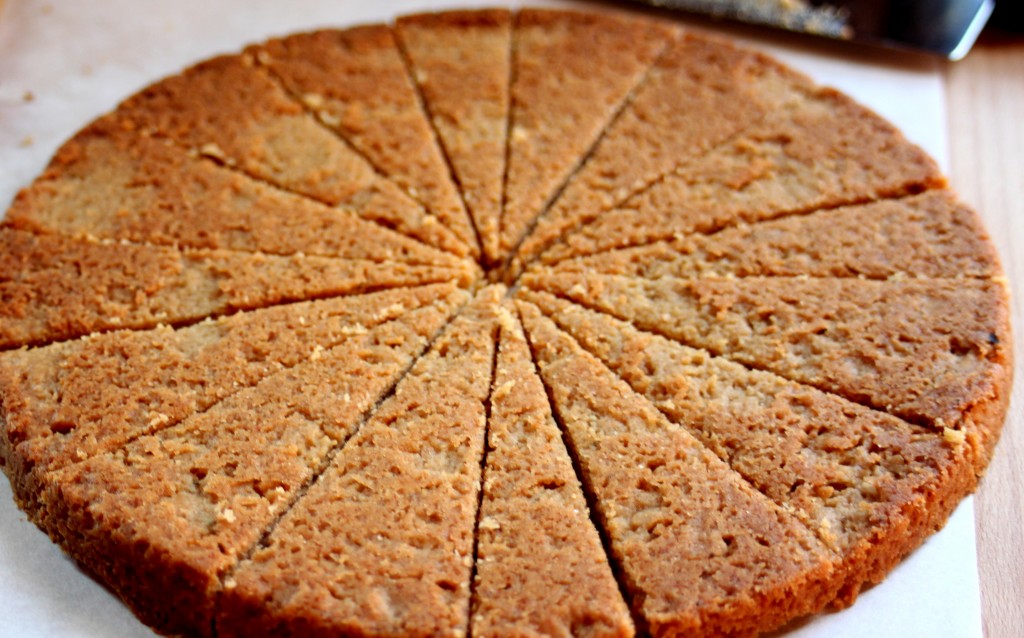
  • When the shortbread is done, remove it from the oven and immediately flip it out onto a cutting board. Cut this into wedges while it is still warm. If you don’t cut the cookie while it is still warm it will turn to crumbs when you try to cut it later. THIS IS YOUR WARNING.
  • Eat this with tea on a sunny porch. You will love it. I promise.

Sunshine Squash Butter

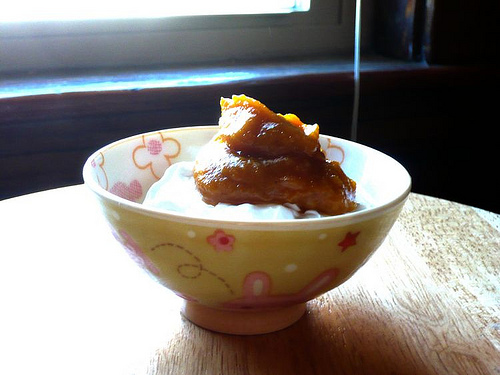
I love winter squash.  I love all of it. And I love all the different ways you can eat it – baked, mashed, soup-ed, stuffed, and pureed into a thick and luscious spread known as Pumpkin Butter.  I know that Sunshine Squash isn’t a pumpkin at all, but it is a winter squash and pumpkins are winter squash.  Also people tend to know what something will taste like a little more if you say you made “pumpkin butter”, as opposed to “winter squash butter”. (Author’s Note: I was going to put an image of Winter Squash here but I didn’t like any of them, so here is Boyfriend’s Hallowe’en pumpkin instead)

I am a stress cook; well, sometimes I’m a stress cook.  I made this batch of [insert something cozy and sweet here] butter after a spectacularly bad day at work.  I was cooking to relax – chopping, peeling… it was soothing and exactly what I needed to do the evening I made this butter.  I also tackled granola and creme brulee that night.  The granola rocked but I overcooked the creme brulee (curses!).  I also don’t have a stellar amount of pictures here, because the actual night that I made the butter, I wasn’t photo-ing, just cooking to cook,which is something I simultaneously like and don’t like.  I need to form good cooking habits right now, with the top two being a) dishes while I cook, because they are always so sucky after and b) take pictures throughout, from start (raw ingredients) to finished product and serving.  These are both fairly tricky for me because I’m kind of lazy and messy. I tend to get my hands covered in flour/butter/squash; then I don’t want to touch my camera. Anyone know a helpful person willing to come take pics while I cook free-of-charge?

Anyway – the pumpkin butter was delicious and hit the spot on that night, when I needed something warm and sweet to offset the bitter taste of my work day.

Winter Squash Butter
Note: I made this with a Sunshine Squash because it’s what I had on hand, but any flavorful winter squash will do; Kabocha or Sugar Pumpkin would undoubtedly be lovely.  Also, the spices are in portions I like. If you want your butter to be more like pumpkin pie, add more clove and less cinnamon.  Also, you can just throw in some pumpkin pie spice in place of all the spices; just remember to punch it up with some extra cinnamon.

1 medium winter squash- cored, peeled, and chopped into 1/2 inch pieces
Apple Cider- get it as local and as fresh as possible, about 2 cups
1/4 tsp Ground Nutmeg
1/4 tsp Ground Cloves
1/2 tsp Ground Ginger
1 tsp Ground Cinnamon
1/2 cup dark amber Maple Syrup. Again local is better and if you can’t get real maple syrup, use 1/4 cup molasses

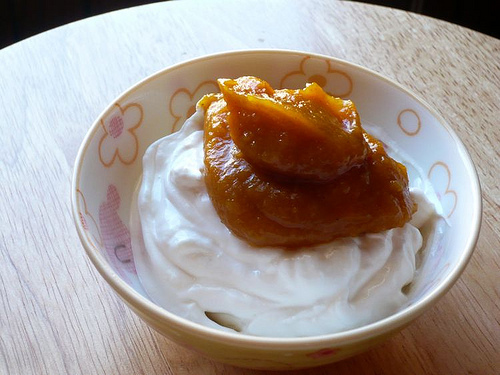
In a deep pot (or a dutch oven if you are lucky enough to have one) put the squash and just enough cider to come up to but not cover it.  Bring it to a simmer and cook until soft and falling apart (15-20 mins).  Remove the pot from the heat.  If you have an immersion/stick blender, use it to puree the squash apple mixture until it is smooth with no lumps.  If you don’t have an immersion blender, you can use a regular stand blender or a food processor; just do it in batches again until it’s smooth and even.  Return the squash puree to the heat and add the spices and syrup.  Stir everything well and bring it to a simmer.  Simmer the pot, uncovered if you dare (it gloops and splatters) for about twenty minutes.  The mixture will start to thicken and be spreadable when it’s ready.  And you’re done.  Serve it while warm on vanilla ice cream or cold on yogurt.  This is wonderful as a spread for breads too. Basically I love it, ALL THE TIME.  Actually I’m going to have some… right now.  Ta-Ta!