 This past winter I had a love affair with short grain brown rice (preferably mixed with soy sauce and sriracha, topped with an over easy egg and drizzled with sesame oil) – in my look for work, home for breakfast state, I was always looking for something quick and easy to make for breakfast. Inevitably I ended up with over easy eggs on toast or whip it up quick oatmeal, but one day I decided to make myself some rice – it was less work to put rice in the rice cooker than it was to make oatmeal, and I would love the results.
This is where my love of Bibimbap sort of originated, this constant rice mixed with soy sauce and sriracha for breakfast topped with a gently fried egg. To make this into bibimbap I would have to change some ingredients and bulk it up, but essentially it was the same thing. GENIUS. So when the American Lamb Board and Boston Chefs emailed me and asked me to make a lamb dish for the Boston Lamb Pro-Am my mind immediately went to Bibimbap, and some delicious slow braised lamb I made this past fall.
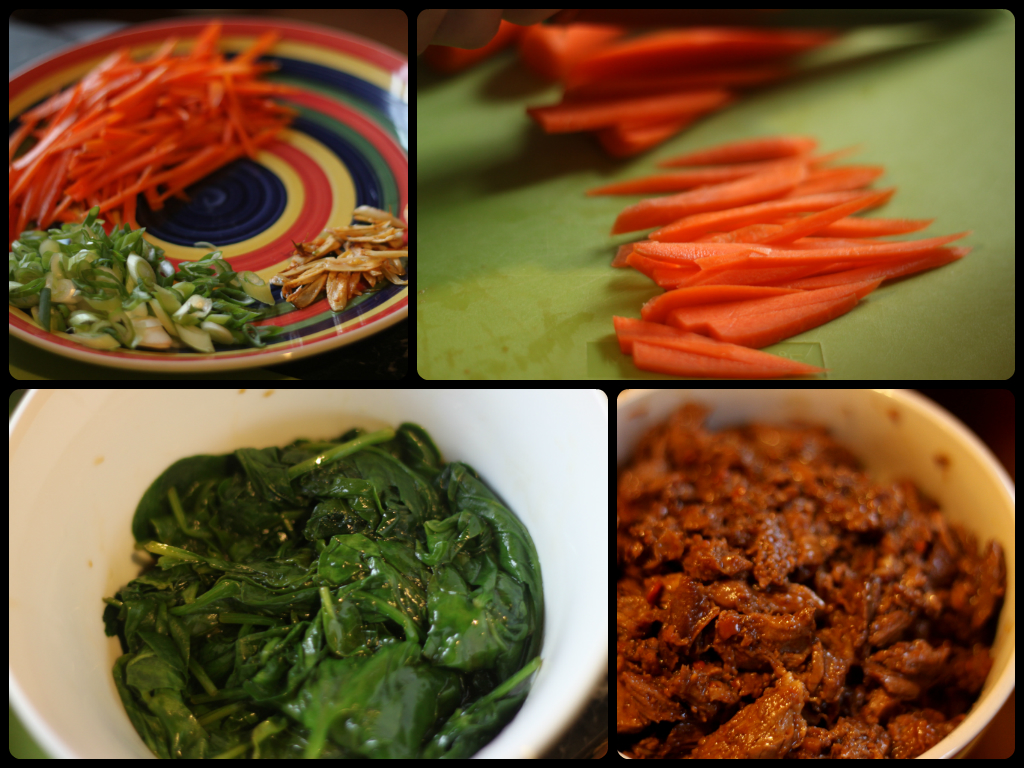
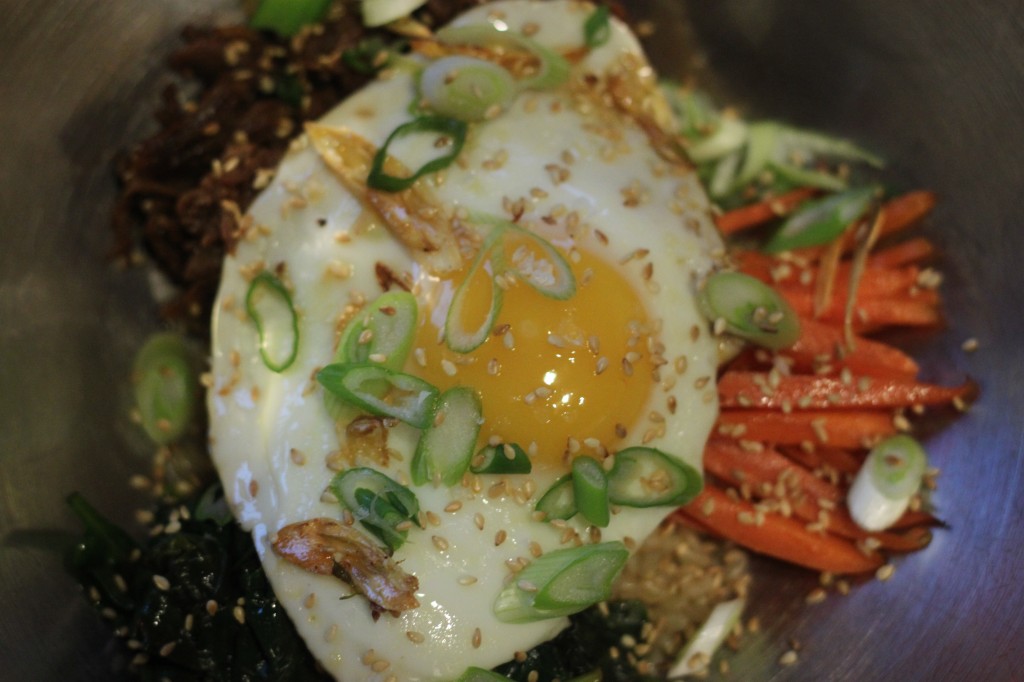
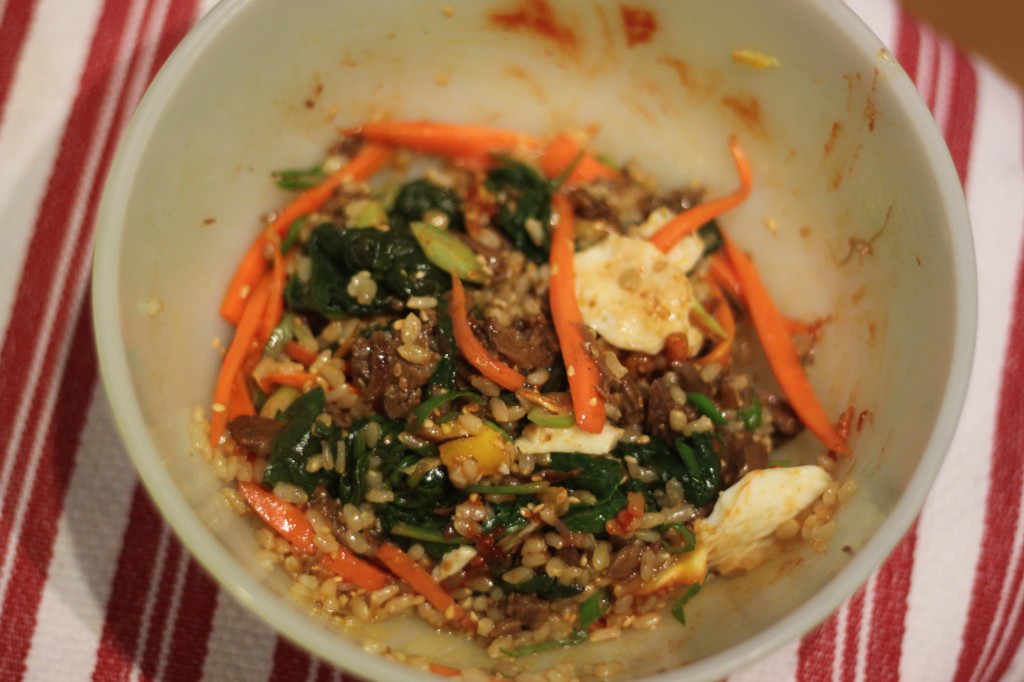
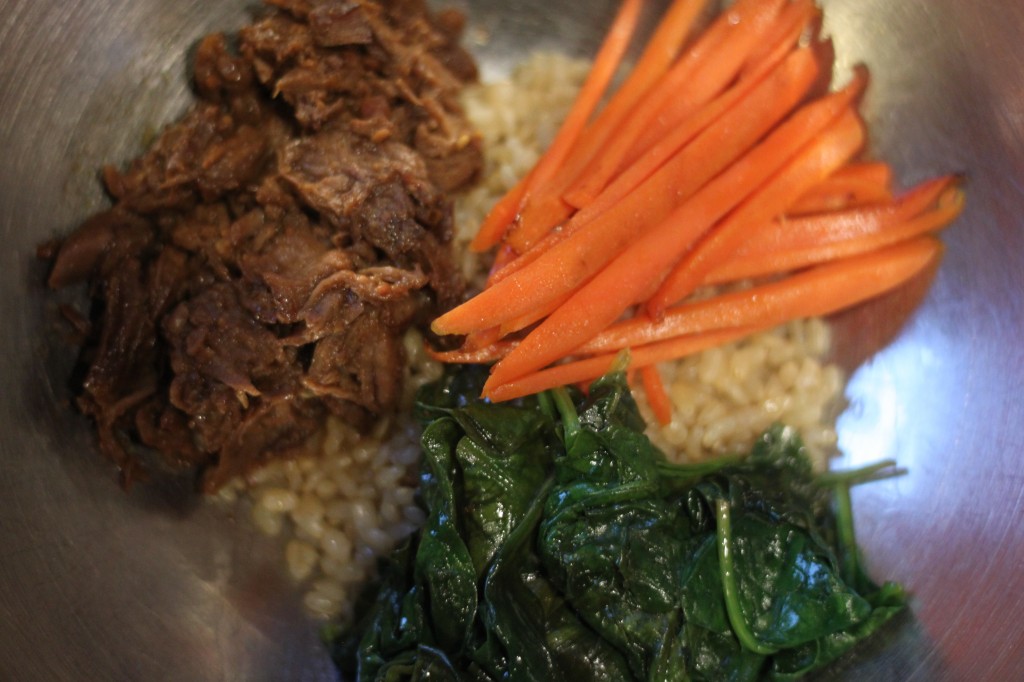 Bibimbap literally means mixed rice. It’s a Korean dish that is rice, meat, spinach, sprouts (I didn’t have those here), carrots, gochujang, and a gently fried egg. I love it. This is one of those dishes that’s going to enter our weekly rotation of meals – it cooks up fast and can easily be tailored to fit one person’s tastes.
 If you want to guarantee you can come to see the bloggers (and me, with any luck) and chefs at Lamb Pro-Am grab your tickets today here!
BiBimBap with Ssamjang Braised Lamb
Note: This is all my recipe in the sense that I didn’t need to follow a recipe for this dish, but Bibimbap is a family meal for most, so trying to follow a recipe for it is like trying to follow a recipe for pasta sauce – you make it to your taste. I used this recipe, sort of, to understand better what I needed to put in it. Also, my big sister was a huge help.
Serves 4, each bowl of Bibimbap is a single serving
For the lamb:
- 2 lbs Lamb, cut into 4 fist sized pieces
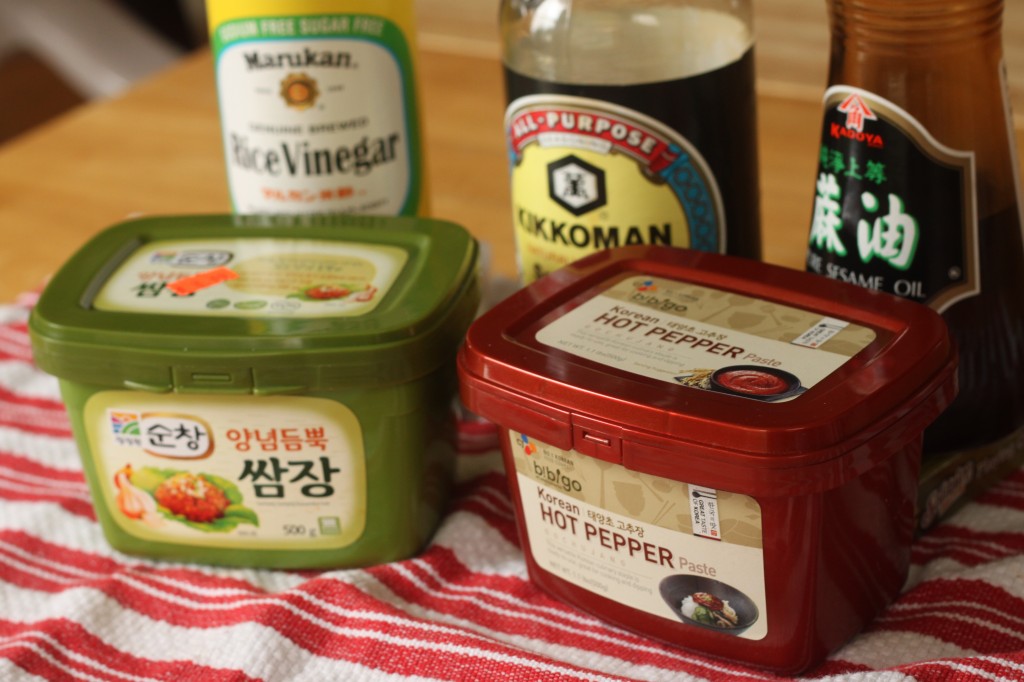
- 3-4 Tbs Fermented Soybean Paste, Ssamjang*
- 2-3 Tbs toasted sesame oil*
- Preheat your oven to 300.
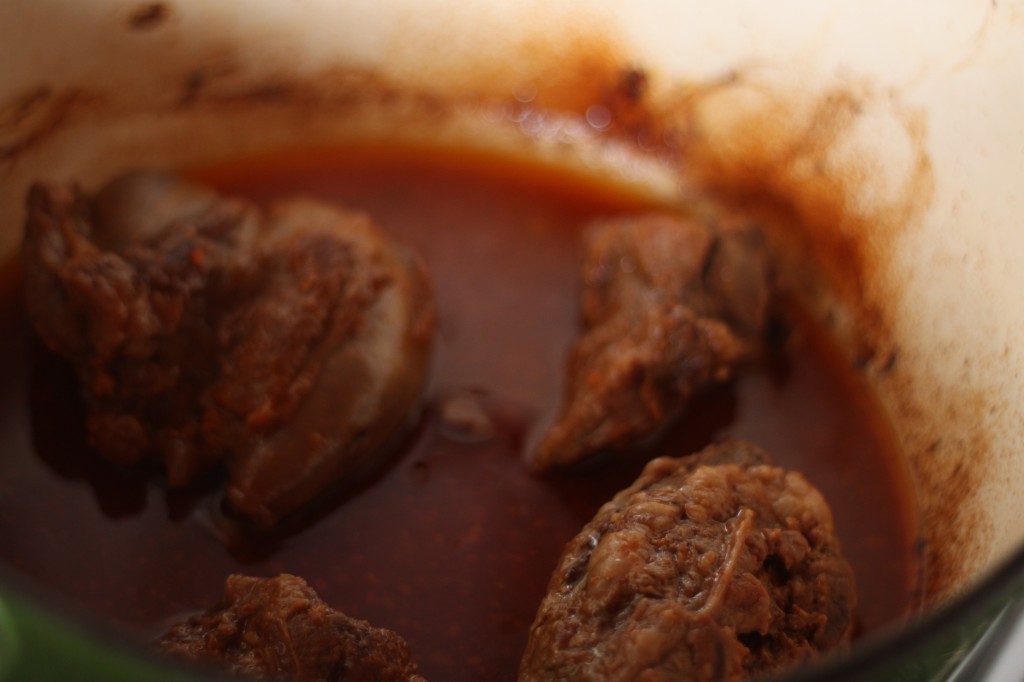
- Rub the ssamjang evenly over the lamb pieces, make sure to get all the nooks and crannies in the meat. It should look almost orange from the ssamjang. Place it in a dutch oven. drizzle the lamb with the sesame oil.
- Cook the lamb for about 2 hours, turning occasionally so that it can sit in the juices as it cooks. Feel free to reapply ssamjang as needed. Your kitchen should smell awesome at this point.
- Remove the lamb from the oven when it’s done, it should be light brown throughout and fork tender. Allow the meat to cool for ten minutes. WHen you remove the lamb form the dutch oven reserve the liquid in the dutch oven.
- Shred the lamb into bite size pieces – I accomplished this by cutting against the grain to make this slices then chopped them coarsely, and I used a fork. These two methods together gave a me a wonderfully tender pulled lamb.
- Skim some of the fat off the top of the juice in the pan – we’ll use this for sauteing later.
- Bring the juices in the pan up to a simmer over medium high heat, whisking constantly. After the pan juice simmers add the lamb and gently stir to coat. Set it aside.
FOr the Bibimbap:
- 1 1/2 cups cooked short grain brown rice, or whatever you have – I like the brown
- 4-6 oz spinach, just barely steamed
- 1 tbs soy sauce*
- 1 tbs toasted sesame oil
- 1 tsp rice vinegar
- 2-3 carrots, cut into matchsticks
- 2-4 cloves of garlic, sliced thinly (optional)
- 4 eggs (worried about eating over easy eggs? Grab some pasteurized ones, I like SafeEggs)
- toasted sesame seeds
- scallions, thinly sliced
- toasted sesame oil
- Gochujang*, Red Pepper Paste
- In a medium bowl combine the spinach, soy sauce, sesame oil, and rice vinegar. Toss so that the spinach is evenly coated.
- Saute the carrot sticks over medium high heat in some of the fat you reserved from the lamb, if you don’t have that sesame oil works just fine here. You want the carrots to be soft but still a little crunchy – no more than a minute of sauteing.
- Crisp the garlic in some oil – you want it to be crunchy and a bit fried. It’s delicious this way and really does make the bibimbap better.
- Fry your eggs. To fry eggs for bibimbap the eggs need to be over easy and not brown on the bottoms, it’s much easier to break the egg up when the bottoms aren’t browned. To get this gently cooked egg cook the egg on a pan that is no higher than medium. Once the egg has set put a cover over it – this will help finish the egg without having to overcook it.
- Assemble your bibimbap in a large bowl.
- Start by making a mound of rice in the bowl – it doesn’t have to be huge, 1/2 cup is PLENTY of rice here.
- Beginning at 12 o’clock add the marinated spinach, shredded lamb, and carrots to the bowl – it should look similar to the photo above.
- Place your gently fried egg on top of the who shebang.
- Sprinkle the fried garlic slices, sesame seeds, and scallions over the whole thing. Add one tsp of gochujang in a dallop (more if you like things spicy). Gently drizzle sesame oil over the whole thing.
- Mix it all together, making sure to break up the egg well.
- Deee-licious.
*You can find gochujang and ssamjang in the Asian foods section of most supermarkets, they are becoming increasingly common.
*Most supermarkets have soy sauce, go for a good brand here though, you don’t want your bibimbap to suffer because you went for the lame soy sauce, I really like Kikkoman.
*Sesame oil is probably the most hard to find item here; I tend to only go with brands I trust, this one is Kadoya. You should probably hunt it down at an Asian market if possible. Don’t get the supermarket stuff – it’s awful and you will never want to try Korean food again, and that will be so sad for your tastebuds.
I was given the lamb in this post by the American Lamb Board and Boston Chefs News to create a recipe with. All opinions posted here are truly my own, I was honored to be asked and delighted to create this dish. It’s so good.

